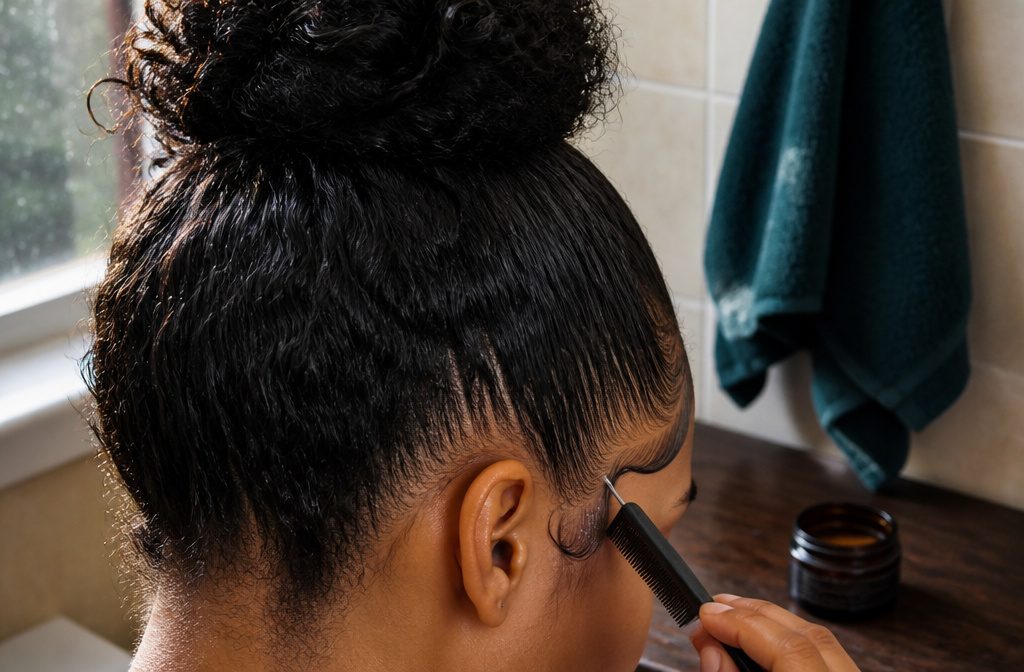
A clean, set hairline takes about 15–30 minutes under a satin or silk scarf and a few dollars of edge control, plus a steady hand with a tail comb.
Most people go wrong at the comb stage: once the product dries, the shapes are hard to adjust, so refine them while it’s still wet.
1. Prepare Tools and Products
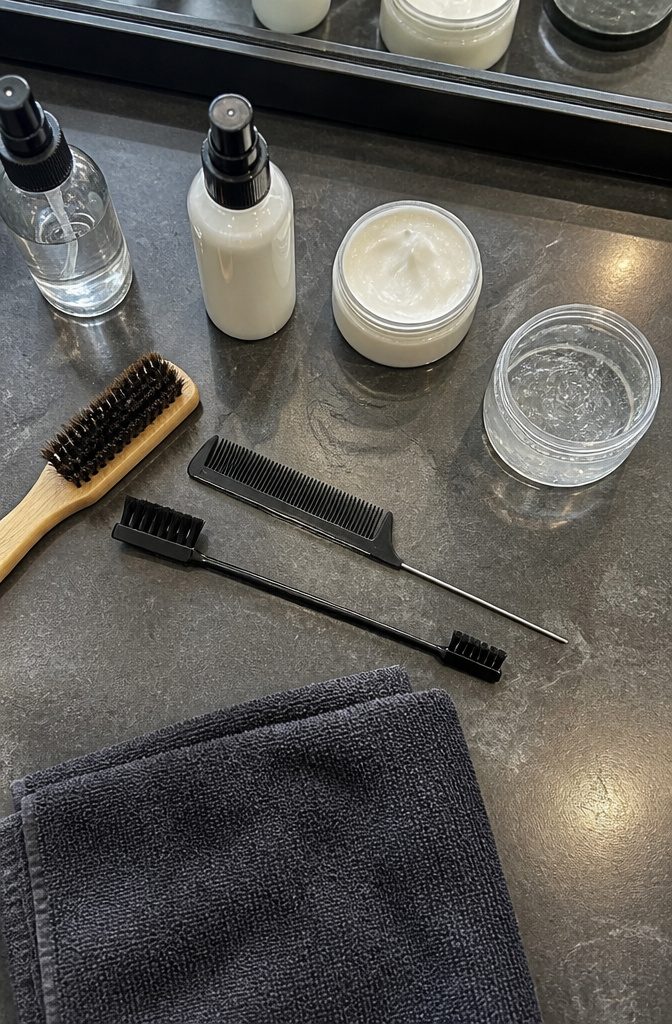
Edges are the shorter, finer baby hairs along the hairline, so the kit stays small. Gather these before you start:
- A soft boar-bristle brush or an edge brush. Fine hairs need a gentle touch, and a clean toothbrush works as a stand-in. Double-sided edge brushes add a pointed end for shaping.
- A rat-tail or tail comb for parting and fine detail.
- Edge control or gel, with strength matched to your texture. For 4C hair, I’d look for firm hold that isn’t harsh, since heavy buildup around delicate baby hairs causes trouble fast.
- Leave-in conditioner (optional). It goes on before the edge control.
- Hairspray (optional) for extra hold once the shape is set.
2. Separate the Edges
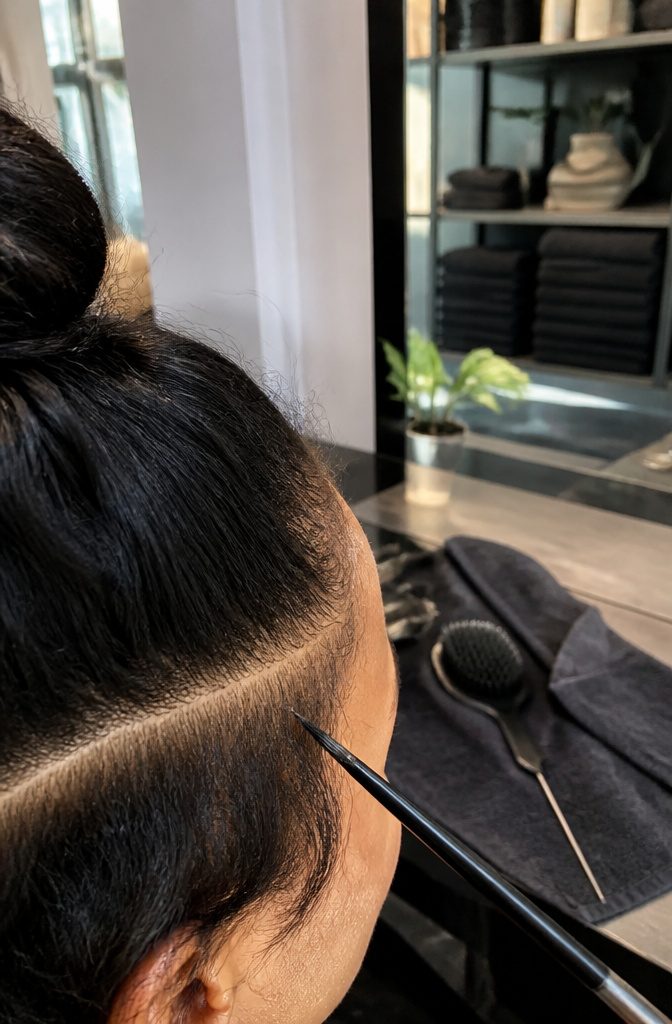
Slide the tail of a rat-tail comb, or the pointed end of an edge brush, along the hairline and pick the shorter hairs forward.
They should sit apart from the rest of your hair, with a visible line between the two. Work in small sections so the separation stays clean.
Tools that catch are the real risk here.
Baby hairs are delicate, and anything that snags them can damage the edges and thin the hairline over time. I’d skip any comb or brush that tugs when it passes through.
For very fine hair, a soft bristle brush is the better pick over a sharp tail. Its gentler touch moves the hairs without pulling.
3. Apply Edge Control
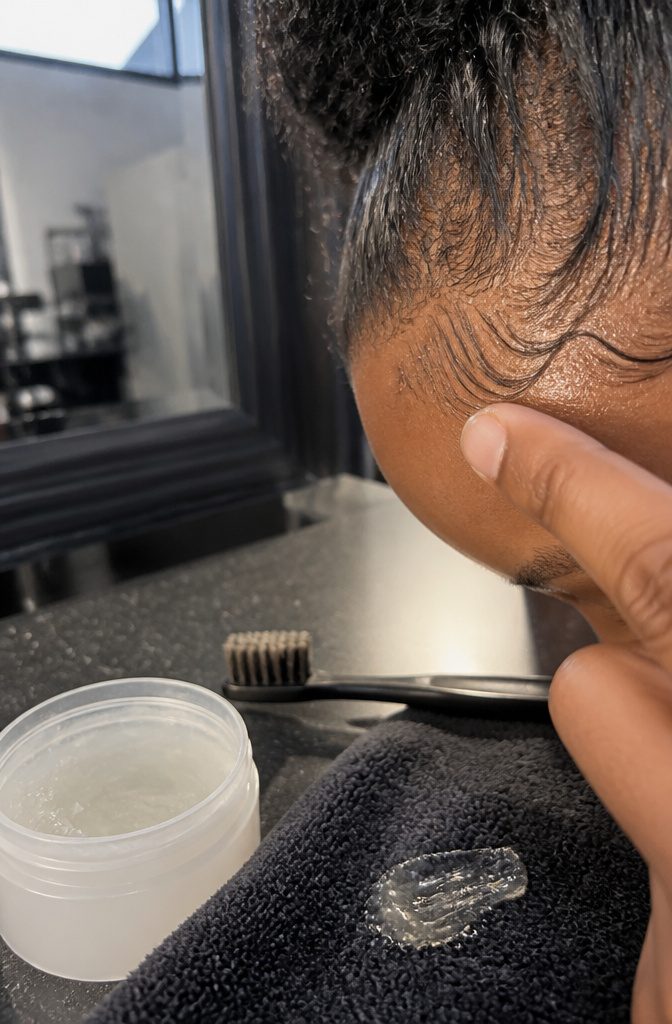
Spread a thin layer of edge control along the hairline with a fingertip or an edge brush, following the downward direction you set, without pressing the hair flat right away. Add more only if the hair still lifts.
Hair type decides the product. Relaxed hair does well with oil and water or a wax stick, which hold without heavy buildup.
Curly and coily textures need true edge control, thick and tacky enough to lay tight curls down. On thick natural strands, I put edge control down first and gel over it for extra hold.
For a natural look, a dime-size amount of gel is plenty. Takisha Sturdivant-Drew’s gentler stand-in is conditioner shaped with a toothbrush.
4. Brush and Shape
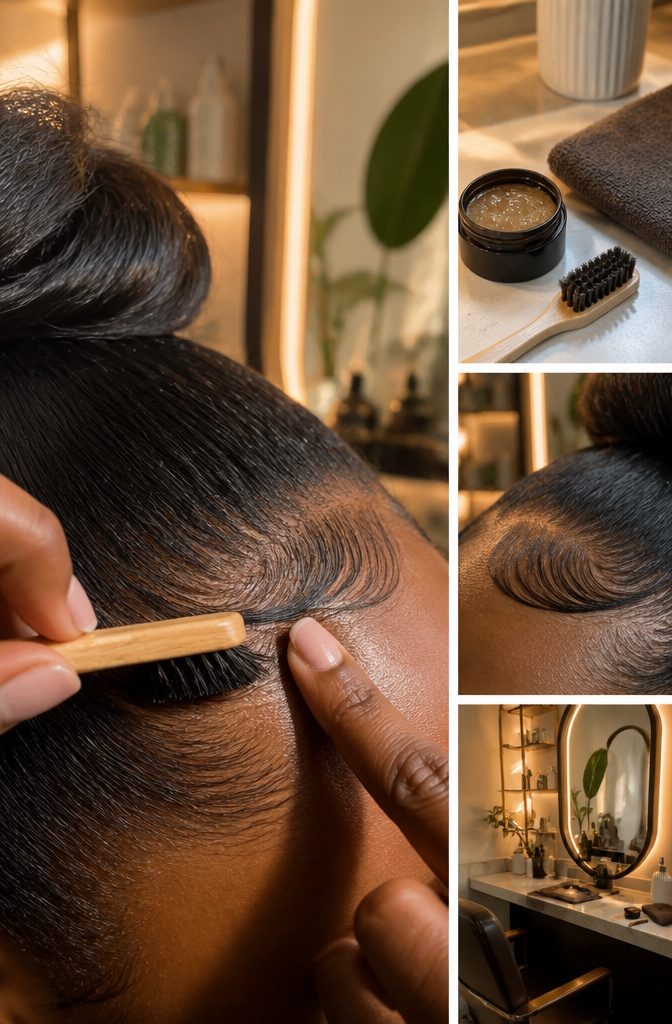
Hold the top of your edges flat with one finger, then smooth the hair with a boar bristle brush or a clean toothbrush. Either works, since the bristles are nearly identical.
Beginners should start simple: split the baby hairs into two equal halves and brush each one downward, with only a small amount of product. Coarse hair may need a heavier edge control than curly hair.
Once the hair lies flat, guide it into swoops, swirls, or waves. For swoops, sweep upward in large strokes while a finger anchors the center.
For waves, scoop with the bristles and sweep straight across. For a messy-chic look, I’d skip the brush entirely; pressing the hairs down with your fingertips is enough.
5. Refine With a Comb
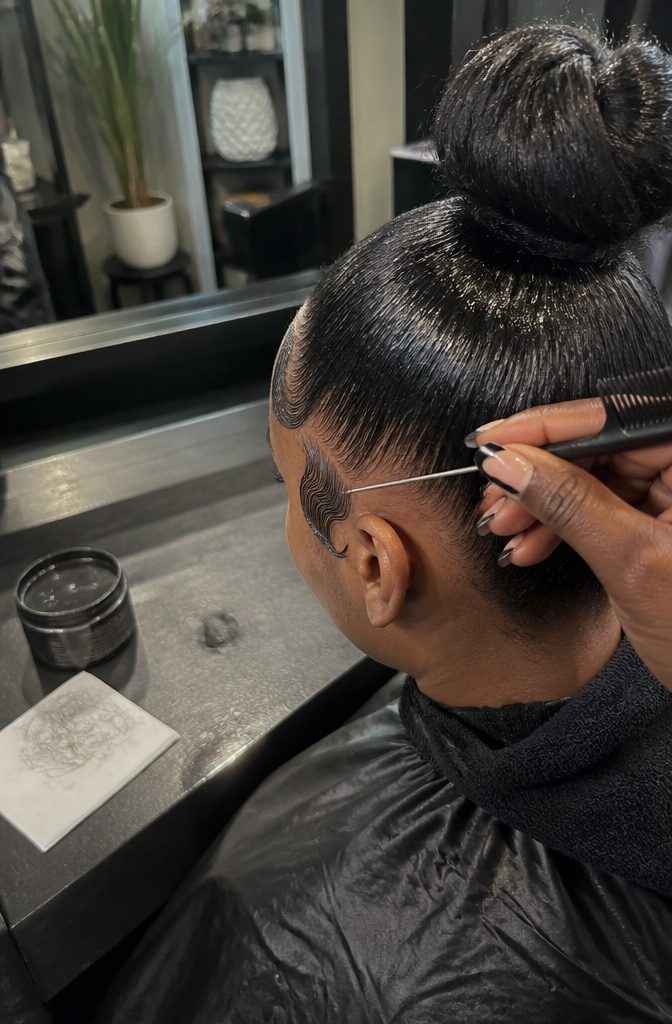
The pointed end of a rat-tail or pintail comb does the fine work here. Run it along the shape you’ve already molded and trace each swoop, pulling sections of the hairline inward so the edges break into curvy, defined pieces.
This step only neatens. You’re cleaning up shapes, not building new ones.
Timing matters more than technique, so work before the edge control dries. Once it sets, the shapes are much harder to adjust.
If a design has to last all day, I’d put a little gel on the very tip of the comb and finish each swoop with it. Where a section looks bare, add a touch more product as you go.
6. Set the Edges
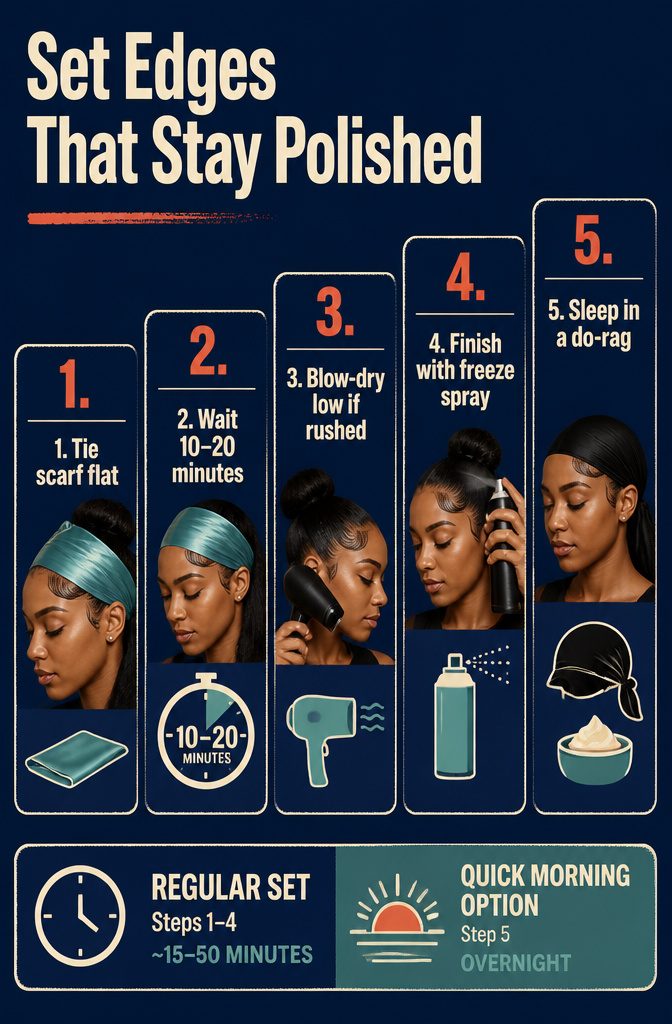
- Tie a satin or silk scarf over the edges so it lies flat against the hair. Bunching or wrinkles can nudge the strands out of place.
- Leave it on for 10–20 minutes, or 15–30 minutes with silk, until the product dries and hardens. Use the time for something else.
- Short on time? Skip the scarf and blow-dry on low heat, pressing the edges down with your fingers.
- Remove the scarf and go over the edges with freeze spray. It usually holds stronger than regular hairspray, and I’d never skip it in heat or humidity.
- For a morning with no time, rub a little shea butter on the edges and sleep in a do-rag. The finish is softer than gel, but still polished.
7. Fix White Residue
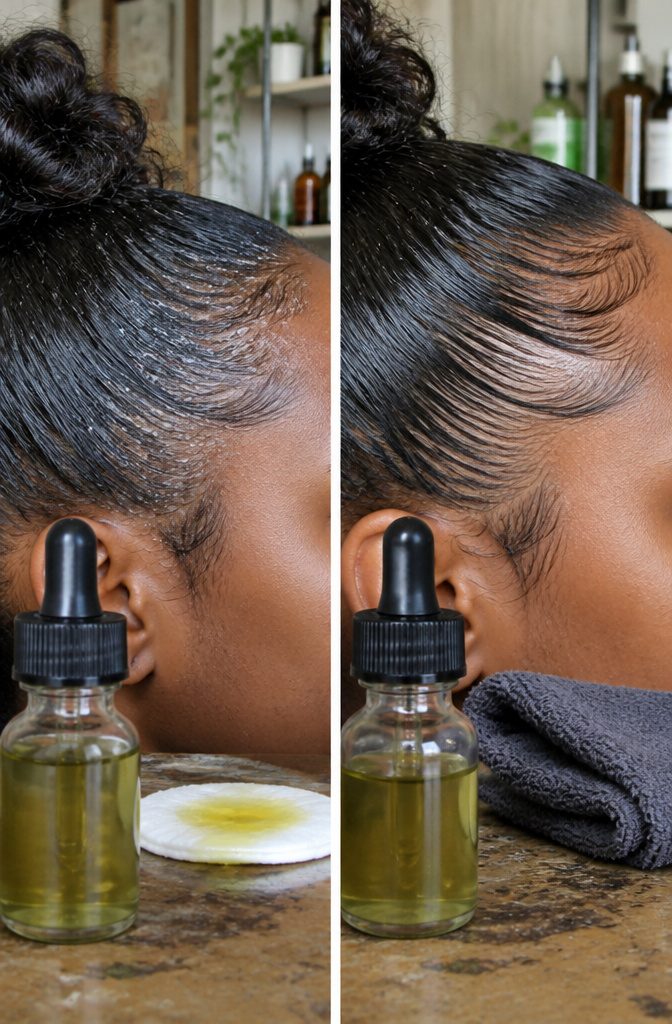
A few drops of oil or serum fix white residue after the edges are set.
Smooth them over the hairline until the flakes disappear and the shine comes back. Color Wow Pop & Lock High Gloss Finish Serum is one option, and a light hair oil works too.
Hairspray is optional, and I’d skip it if the edges already hold.
Starting with a product that doesn’t flake saves the repair step. Creme of Nature Perfect Edges Extra Hold gets this praise:
In all my years of using it, I haven’t seen it leave even a single flake or weird white residue.
— Allure
That’s the standard to shop for.
8. Protect Your Hairline
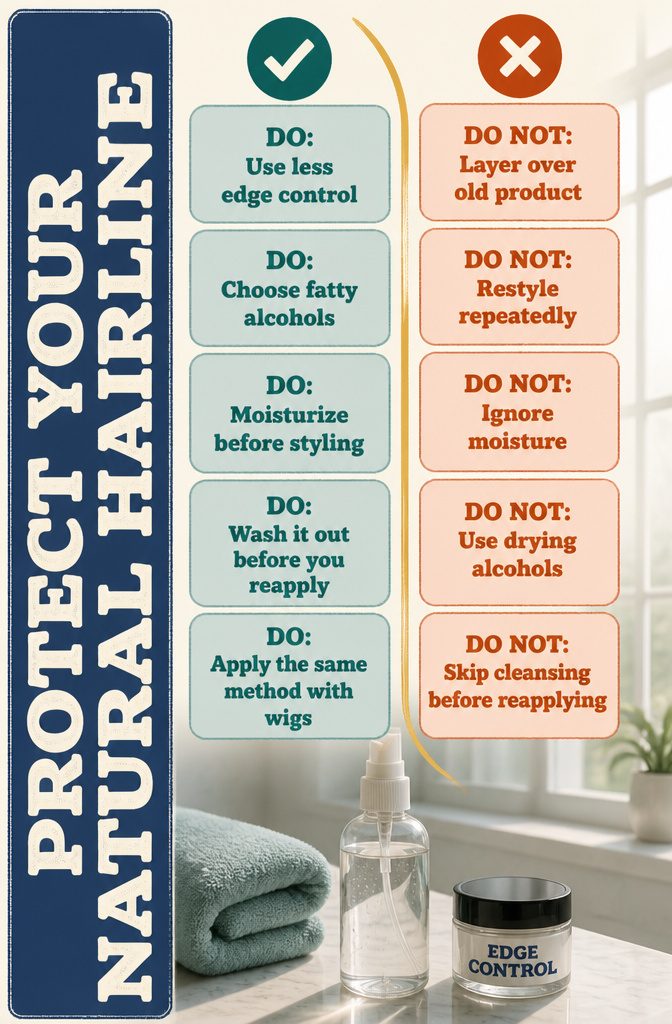
Dryness, breakage, thinning and even a receding hairline usually trace back to a short list of habits:
- Excess product: a thick layer of edge control builds up and dries the hairline. Use less than you think you need.
- Drying alcohols: check the label. Products with fatty alcohols are the safer pick.
- Moisture: smooth on a leave-in conditioner before the edge control. Regular edge control alone dries the hairline out.
- Old product: wash it out before you reapply instead of layering a fresh coat over yesterday’s.
- Friction and restyling: every extra round of brushing and redoing tugs at fine hair, so set your edges once and leave them alone.
- Wigs and protective styles: the same method applies, so prep, moisturize and cleanse the same way.
Keep the hair balanced and hydrated, and the edges hold up.
Edge Products Worth Buying
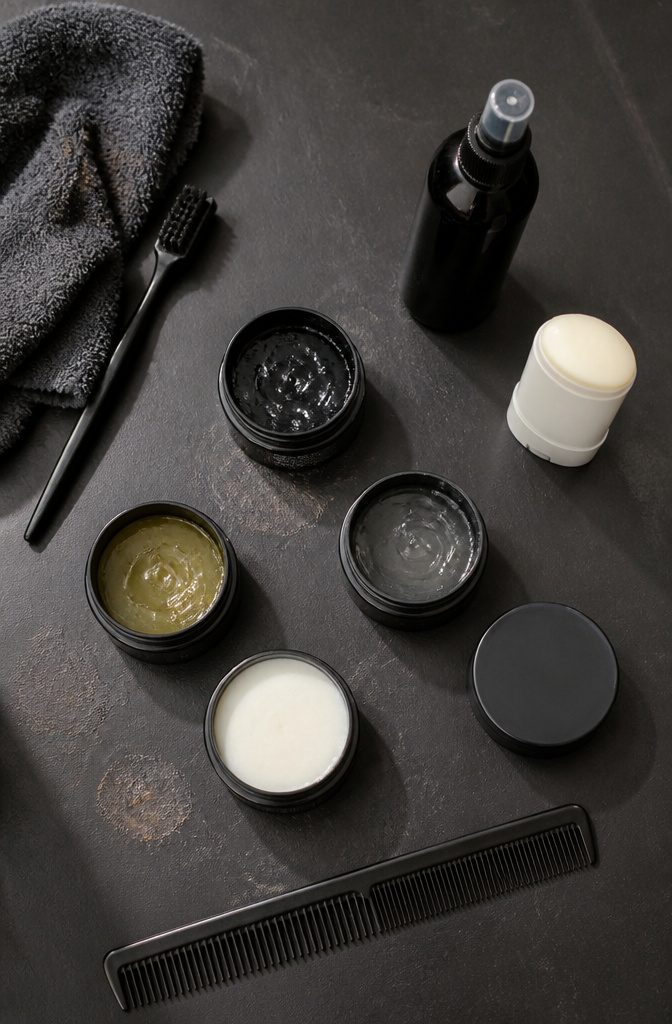
Curls Blueberry Bliss Control Paste at $9 is my pick for everyday brushed-back edges: soft hold, no residue. Swoops need L’Oréal Studio Line Mega Gel, made for hard-to-hold styles.
African Pride Black Castor gel works overnight under a silk scarf. ECO Styler is alcohol-free, and Carol’s Daughter is another option.
| Product | Type | Price |
|---|---|---|
| Instant Control Edge & Braid Gel | Gel | $19 |
| Level 3 Freeze Spray | Spray | $12 |
| Got2B Ultra Glued Gel | Gel | $8 |
| Kera Care Wax Stick | Wax stick | $10 |
| Cricket’s Amped Up Edges Brush | Brush | $5 |
| Creme of Nature Perfect Edges Extra Hold | Edge control | $6 |
| Mielle Rosemary Mint Strengthening Edge Gel | Gel | $7 |
| The Mane Choice Stubborn Edges Freezing Gel | Gel | $11 |
| Curls Blueberry Bliss Control Paste | Paste | $9 |
Edge Designs to Try
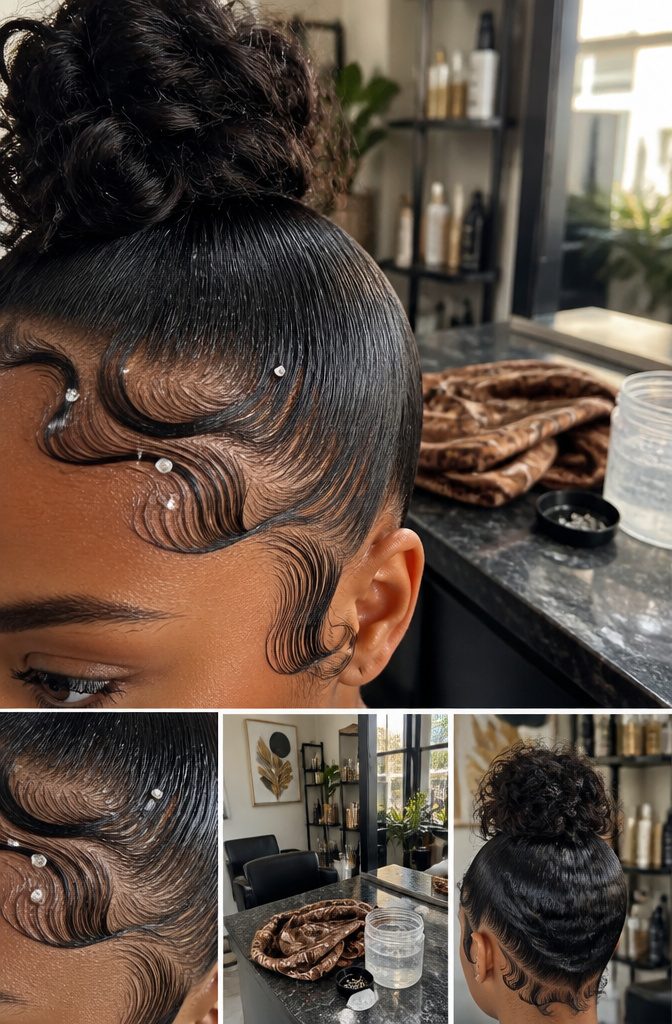
Soft and subtle is the easiest look to ask for: a barely sculpted hairline that suits Type 3A–3C curls, set with edge control and a silk scarf tied on for 15–30 minutes.
Waves are my pick for a first real pattern, since they’re less defined than swoops and softer than swirls.
Pinwheels, hearts and zigzags take a steady hand, so intricate designs are easier with a temporary tattoo edge than freehanded. Messy chic, water waves, poof and slay, and braided and laid are the names to bring to a stylist.
Pearls, crystals, rhinestones and glitter go on last. Let the gel dry fully, then place each piece with tacky hair glue, following the directions so your edges don’t thin.
Frequently Asked Questions
How do you do your edges?
Pick the baby hairs forward with a rat-tail comb, then smooth on a thin layer of edge control.
Brush the hairs flat with a boar-bristle brush, trace the shape with the pointed comb before the product dries, and tie a satin scarf over the hairline to set it.
Use less product than you think you need, since heavy buildup dries out fine hair.
What are edges or baby hairs?
Edges are the shorter, finer hairs along the hairline, and they’re especially noticeable on textured hair. People style them into shapes like swoops and swirls, or lay them flat for a sleek, polished look.
How long should you lay your edges for?
Leave a satin scarf on for 10–20 minutes, or 15–30 minutes with silk, until the product dries and hardens.
If you’re short on time, blow-dry on low heat while pressing the edges down with your fingers. Finish with freeze spray if you’ll be out in heat or humidity.
What can you use to make edges?
You can get by with a few basics: a soft boar-bristle brush or edge brush, a rat-tail comb, and an edge control or gel that suits your texture.
A clean toothbrush works in place of a brush, and conditioner shaped with a toothbrush is a gentler stand-in for edge control. Leave-in conditioner and hairspray are optional extras.
What are the best brushes for laying down edges?
A boar-bristle edge brush is the best choice, and a double-sided one adds a pointed end for shaping.
Cricket’s Amped Up Edges Brush ($5) is one example. A clean toothbrush also works, since the bristles are nearly identical.
What are the best edge control products?
It depends on your texture and the look you want. Curls Blueberry Bliss Control Paste ($9) suits everyday brushed-back edges, and L’Oréal Studio Line Mega Gel is made for swoops.
Creme of Nature Perfect Edges Extra Hold ($6) is praised for leaving no white flakes, and ECO Styler is alcohol-free. African Pride Black Castor gel is a good pick for wearing overnight under a silk scarf.
What are the different styles of edges?
Soft and subtle is the easiest, followed by waves, swoops, and swirls.
Pinwheels, hearts, and zigzags take a steadier hand. Other styles to ask a stylist for include messy chic, water waves, poof and slay, and braided and laid.