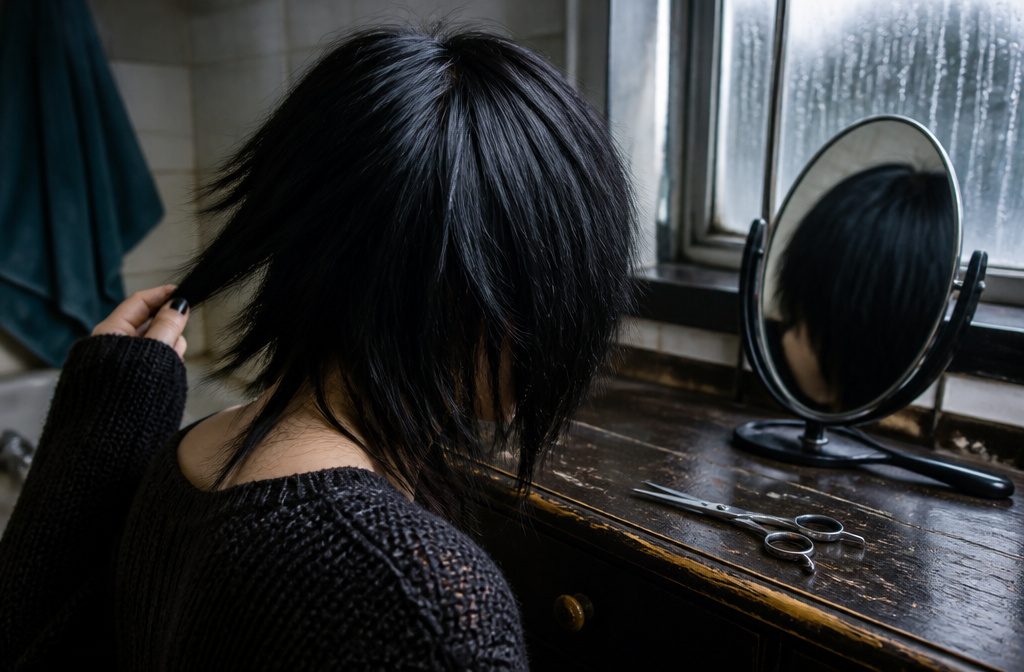
Choppy layers cut with scissors pointed into the hair, a deep side part that starts at the outer edge of your eyebrow, and bangs swept long across one eye.
The part is what most people miss: moved even an inch toward the center, the asymmetry flattens and the cut reads as layered hair rather than the emo look.
Real haircutting shears cost $15–$20 and prevent the blunt edge kitchen scissors leave, while two mirrors let you check the back against the front so the layers stay even where they should and choppy only where you planned it.
1. Choose the Look Before Cutting
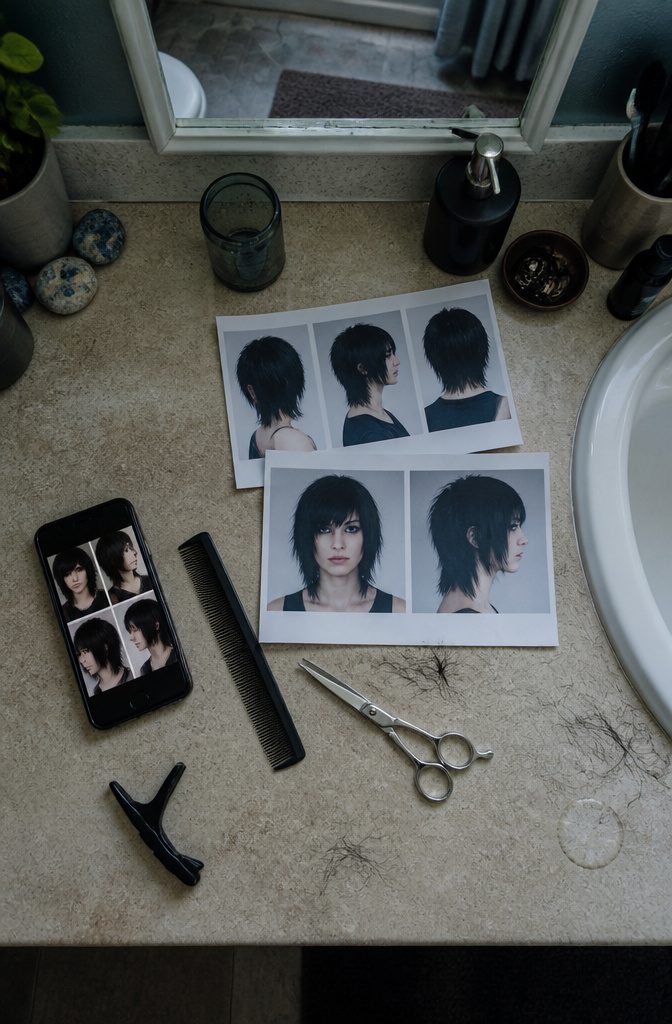
Before you pick up the scissors, spend real time with photos of the look you want. Save several angles to your phone or print them out, and keep them visible while you work.
The detail that matters most is where the layers start — some emo cuts layer from the cheekbone down, others begin higher at the temple or lower near the chin, and that starting point changes the whole shape.
Study inspiration photos so you’ll know what look you’re going for. Pay attention to what you like about different haircuts. Look at where the layers originate, and picture how this would translate to your own hair.
— wikiHow
YouTube tutorials are worth hunting down because you can watch the scissor angle change as someone moves around the head.
Pinterest references work too, especially the ones shot from multiple sides or posted as 360-degree clips. The time you spend now catches mistakes you would otherwise make halfway through the cut, when fixing them means going shorter than you planned.
2. Prepare Dry Hair and Organize Sections
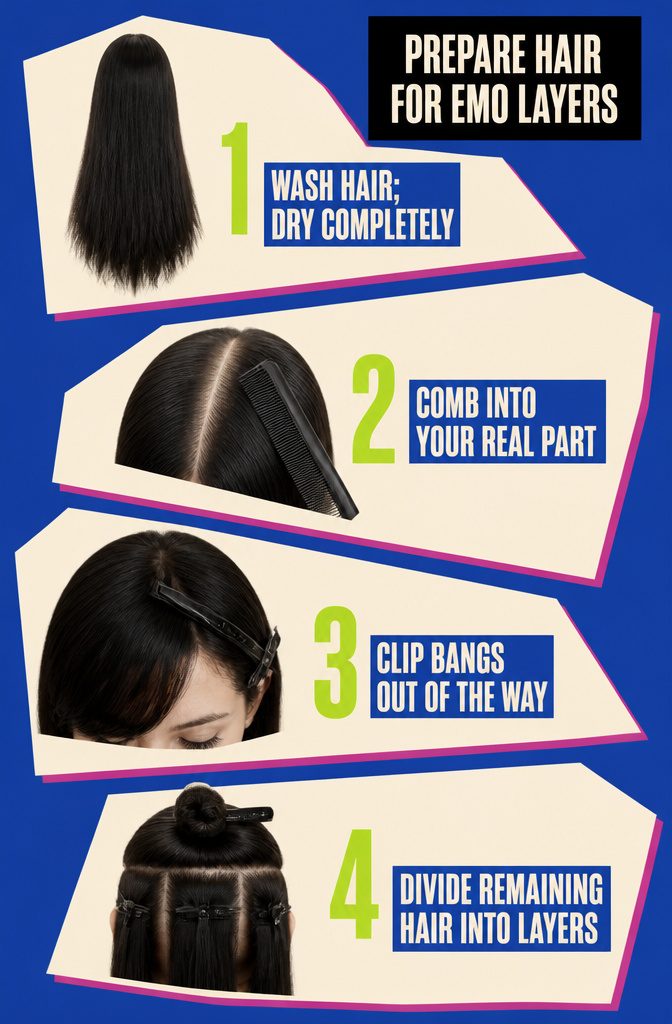
- Wash your hair and let it dry completely. Wet hair hangs longer than dry hair, so anything cut damp ends up shorter than you planned once it dries.
- Comb it into the part you plan to wear. Cut with your real part in place, because a part that moves later shifts where every layer falls.
- Section off the bangs and clip or pin them out of your way. They get their own cut later, so leave them alone for now.
- Divide the rest of your hair into sections that will become the layers. Check your inspiration photos to decide how many layers you want and where the first one should start. I’d settle that before the scissors come out, since a layer can’t be put back.
3. Use Haircutting Scissors and Two Mirrors
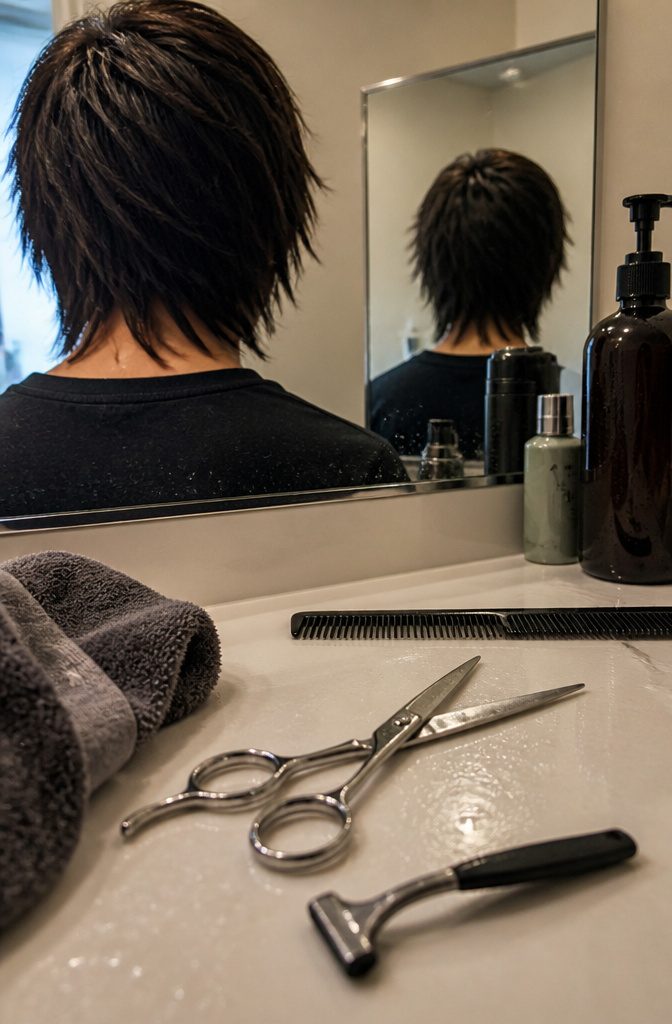
Skip the kitchen scissors and buy real haircutting shears.
A pair in the $15–$20 range is adequate for a home cut, while professional ones can cost over $100. I wouldn’t spend that on a cut you’ll only do now and then.
You also need two mirrors so the front and back are both visible. Stand facing a wall or bathroom mirror and hold a second one behind you, so you can check the back against the front as you go.
Without it, the back gets uneven fast, and choppy layers only look deliberate when the uneven lengths are planned.
If you’d rather have a salon do a razor cut, ask for a new razor. Razor cutting can cause split ends, and a fresh blade reduces the damage.
4. Cut Choppy Layers Gradually
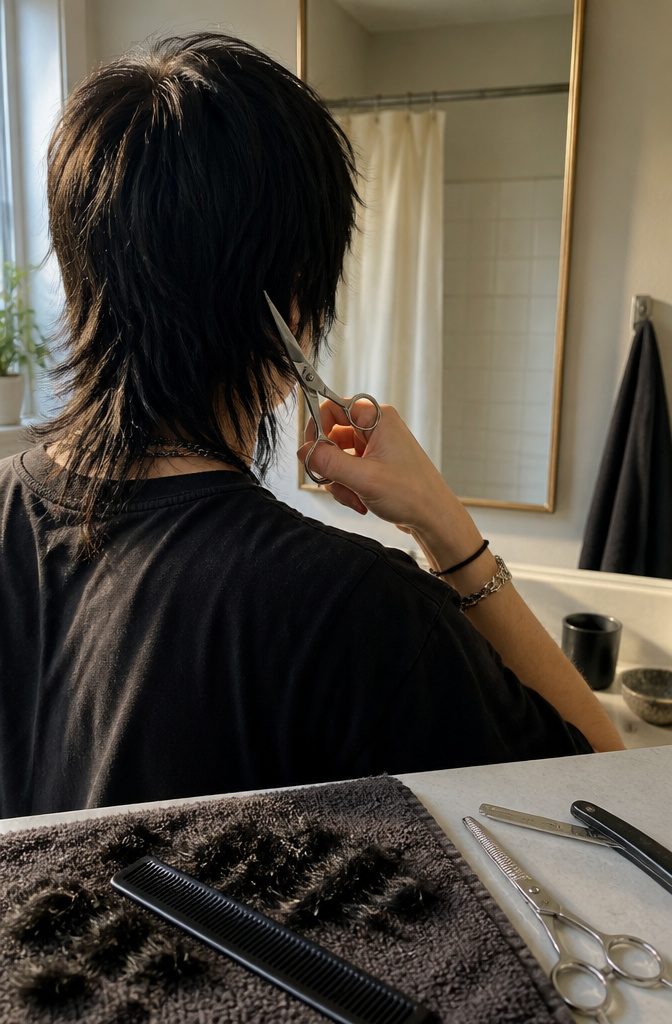
Hold the scissors with the points aimed up into the hair and snip small notches across each layer.
Cutting straight across gives a blunt edge that is hard to blend. A straight razor also works: hold it at a 45-degree angle and take off only a little at a time.
Cut hair cannot be made longer, so stop at a length slightly longer than you think you want, then trim again until it looks right.
I’d leave some of the bottom layers extra long, since that uneven length is a big part of the authentic emo look. If the underside ends up bulky, a stylist can thin the bottom 3–4 inches (7.6–10.2 cm) with thinning shears.
5. Shape the Bangs Long
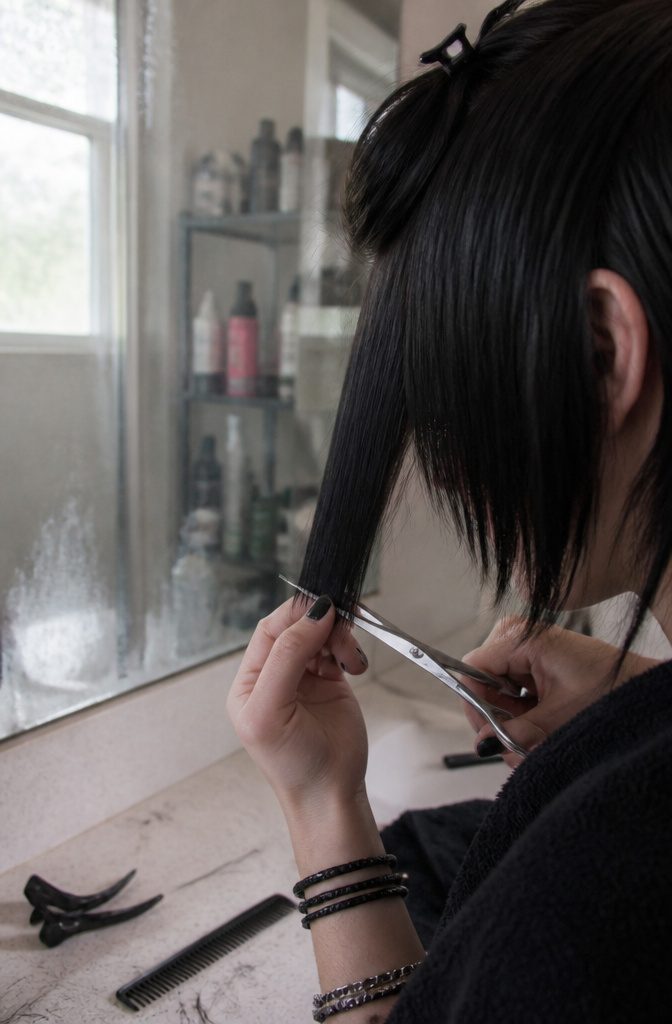
Emo bangs run long: they should fall below the eyes, around the cheekbones or the chin.
Clip them out of the way while you work on the layers, then cut them with the same small, pointed snips. If you plan to tease them, leave them longer, since the volume pulls the length up.
There are three ways to play this. Skipping the bang cut is the safest, because hair you never cut can’t come out too short.
For more coverage over the eyes, I’d pull hair from farther back and work forward to build a fringe. And if your bangs seem too long, hold off shortening them; you can trim more, but you can’t add length back.
6. Style With a Deep Side Part and Volume
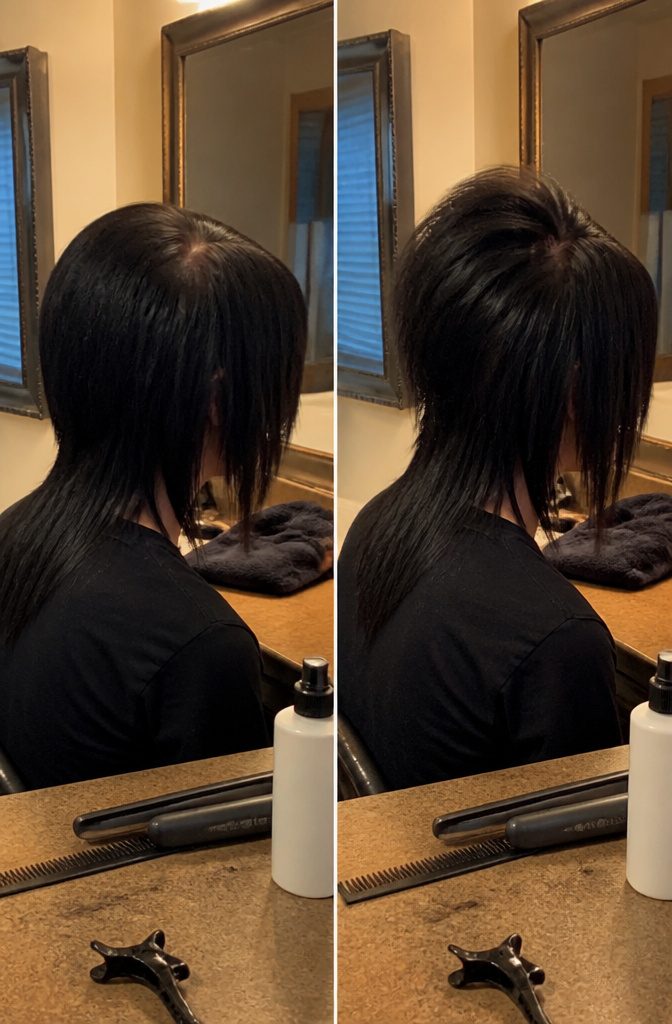
Start the part at the outside of your eyebrow and draw a line straight back through your hair from the hairline to the crown.
Comb everything on either side of that line, spray it to hold, and sweep the bangs forward so they fall across one eye. The asymmetry is what makes the style read as emo rather than just layered.
You can wear the hair straight or leave it wavy as long as the bangs stay sleek.
Most people straighten everything to show off the choppy layers, but natural texture works if you run a flat iron over the bangs alone.
Backcombing at the roots gives you the volume emo hair needs at the crown.
Lift a section, comb it backward toward the scalp several times until you see lift, then smooth the top layer over the backcombed part and spray it down.
Backcombing damages hair: it roughens the cuticle and makes strands tangle more easily, so save it for days when the look matters more than the upkeep cost.
7. Add Color or Accessories if You Want Them
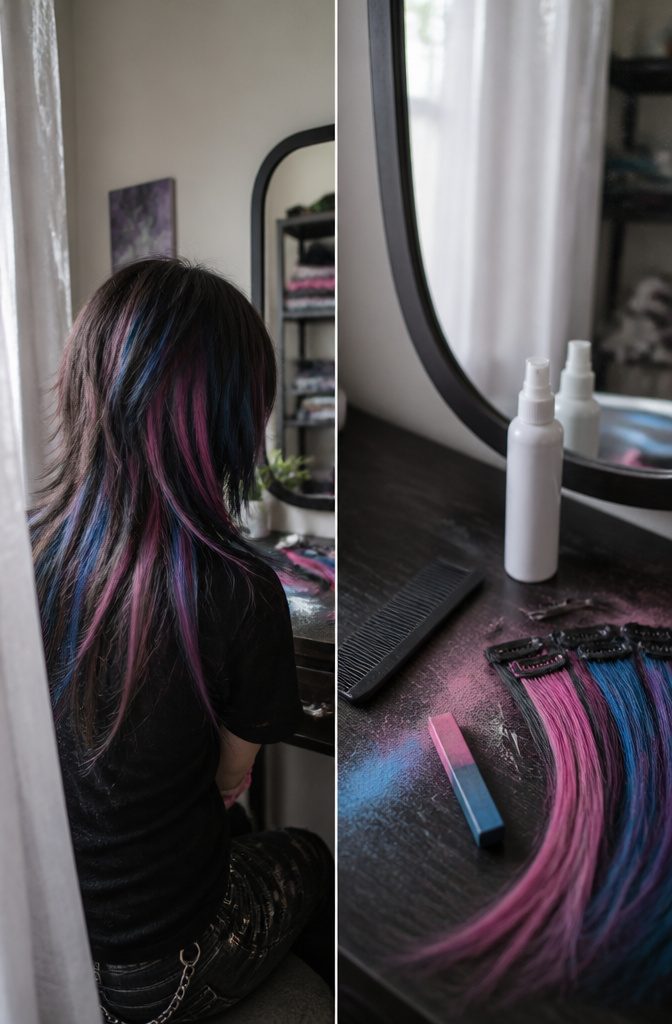
Color is optional, and a choppy, layered cut reads as emo scene hair on its own. If you want it, these are the classic pairings:
- Black hair with blue or red streaks.
- Blonde hair with pink streaks.
- Blonde hair with darker horizontal coon tails, which are bands of contrast color across the hair.
Temporary options let you test the look first:
- Hair chalk adds color you can wash out the same night.
- Colored hair spray coats the surface for a day of wear.
- Colorful clip-on extensions add streaks without touching your own hair, and you can move them around until the placement looks right.
I’d try a temporary option before committing to dye. A streak that looks great in a photo can feel loud on you, and clips or chalk cost you nothing to take back.
8. Return for Trims Every 4–6 Weeks
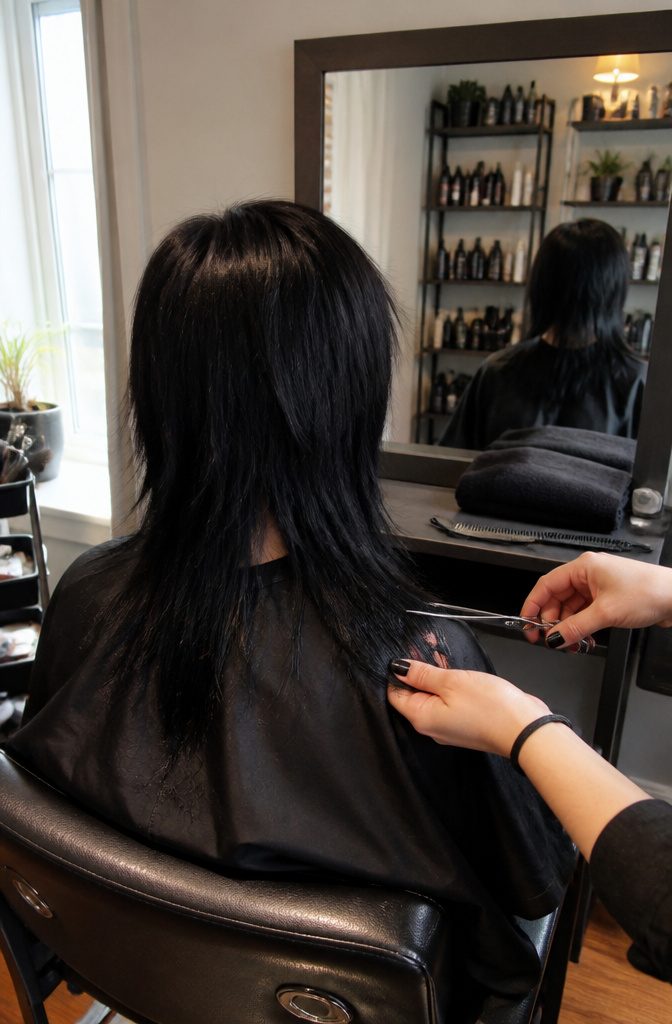
Once the cut is finished, put a salon trim on the calendar every 4–6 weeks. Emo scene hair depends on choppy layers and long bangs that fall in a defined line, and both lose their shape fast as the hair grows.
Grown-out bangs blend into the side layers, so the deep side part stops looking deliberate and starts looking like you skipped an appointment.
Split ends do the rest of the damage. On a razored, choppy cut the ends are the whole texture, so frayed ones read as scruffy rather than piecey.
I’d book the next visit before the shape slips, since a trim every 4–6 weeks is what keeps the layers and bangs looking intentional. A stylist can also clean up any uneven spots left from cutting at home.
Cutting at Home or Using a Salon
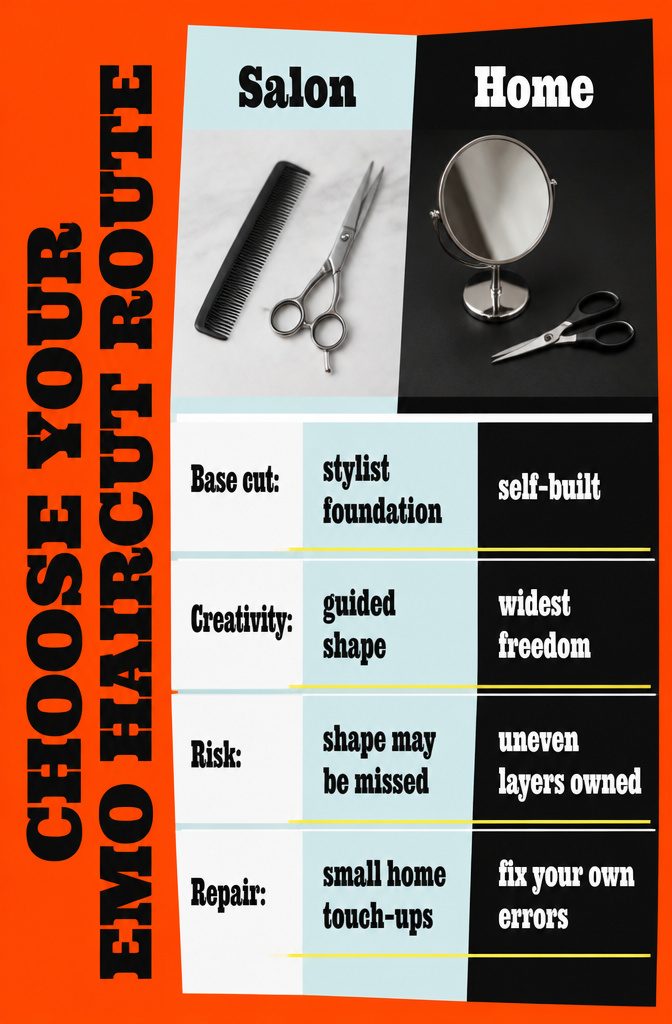
A salon gives you a proper base, and reshaping from there at home is much easier with tutorials. A bad stylist can ruin the cut, since many don’t know how to do choppy, razored layers.
Booking is close to a coin flip: you may land someone who cuts alt styles well, or someone who has never done choppy layers and side-swept bangs.
A stylist who misses the shape rarely butchers it, though, and a little effort at home can fix what’s off.
Cutting everything yourself leaves the most room for creativity, but you build the base and own every uneven layer.
A salon cut followed by small touch-ups at home splits the risk, and it’s the route I’d lean toward if you’ve never cut layers before.
What Emo Hair Looks Like
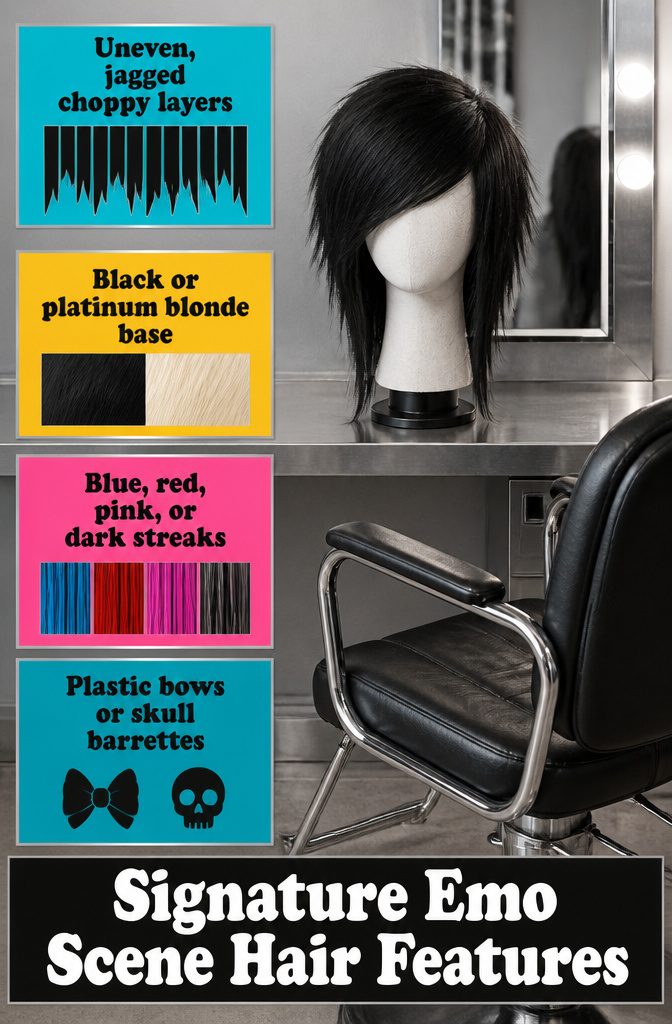
Emo scene hair comes down to three things: choppy layers, a black or bleached platinum blonde base, and bangs swept to one side.
The layers are uneven on purpose, with pieces falling at different lengths so the ends look jagged rather than blended.
Bright accent color is what separates the look from a plain dark cut: blue or red streaks on black, pink streaks on blonde, or darker horizontal stripes through blonde.
Colorful plastic barrettes finish it, usually bows or skulls clipped into the bangs or just above the ear.
Color is optional in my book. Plenty of people wear the cut on their natural shade, and the shape does most of the work.
Frequently Asked Questions
How do you cut emo scene hair at home?
Start with clean, fully dry hair combed into your real part, clip the bangs out of the way, and section the rest for layers.
Point the scissors up into the hair and take small snips instead of cutting straight across, and stop a little longer than your target length so you can trim more later.
Use 2 mirrors so you can check the back, and cut the bangs last so they land below the eyes, around the cheekbones or chin.
Is it a good idea to get emo scene hair cut at a salon?
It can be, but results vary: you may get a stylist who handles alt cuts well or one who has never done choppy layers. A bad outcome is rarely a disaster, and small fixes at home usually cover it.
A salon cut followed by home touch-ups is the safest route for a first-timer, and bringing inspiration photos helps the stylist see the look you mean.
What tutorials or references help with a first emo scene haircut?
YouTube tutorials and Pinterest references are the most useful, especially ones shot from several angles or posted as 360-degree clips.
Look for tutorials made for scene hair specifically, since general layering videos don’t always show the choppy, uneven finish. Save photos that show where the layers start, because that starting point changes the whole shape.
What is emo hair called, and is it the same as scene hair?
Color is the usual add-on, such as blue or red streaks on black hair or pink streaks on blonde. The cut itself does most of the work, so it also looks right on a natural shade.
How do emos style their hair?
Most start with a deep side part that begins at the outside of the eyebrow, then sweep the bangs forward so they fall across one eye.
Backcombing at the roots adds volume at the crown, and many people straighten everything to show off the layers. Hair chalk, colored spray, or clip-on extensions add the classic streaks without a commitment.