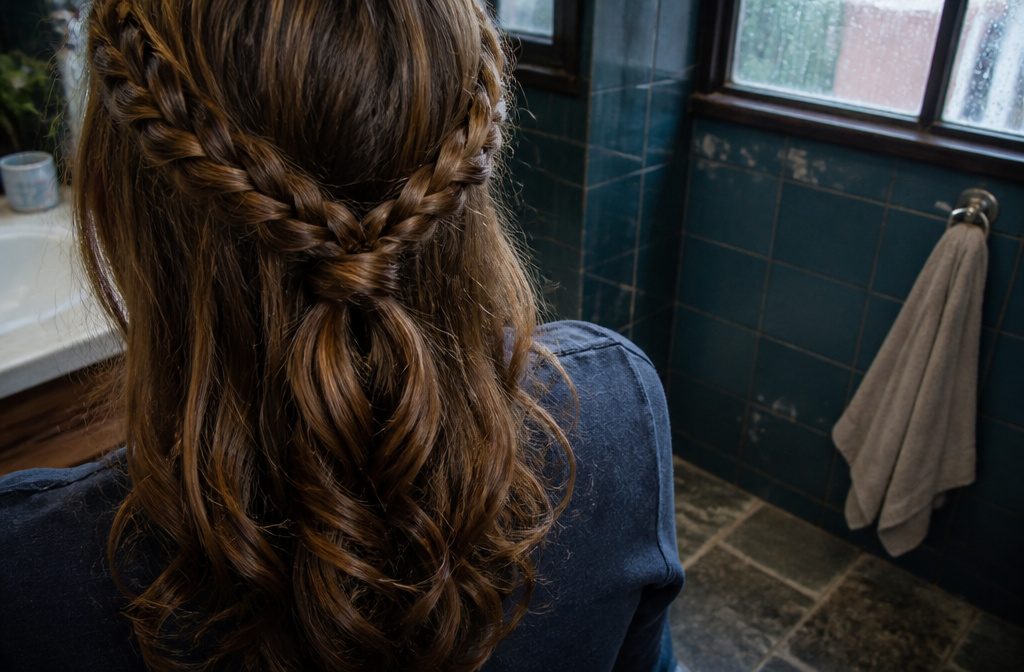
A braided half-up with curled ends takes about 20 minutes if you can braid and use a curling iron. Most versions fall apart because the braids slip before you secure them at the back.
The fix is crossing the two braids like the start of a knot before you tie them off.
That single twist holds the structure while you work, and it stops the half-up section from sagging or twisting sideways by the end of the day.
1. Prepare the Hair
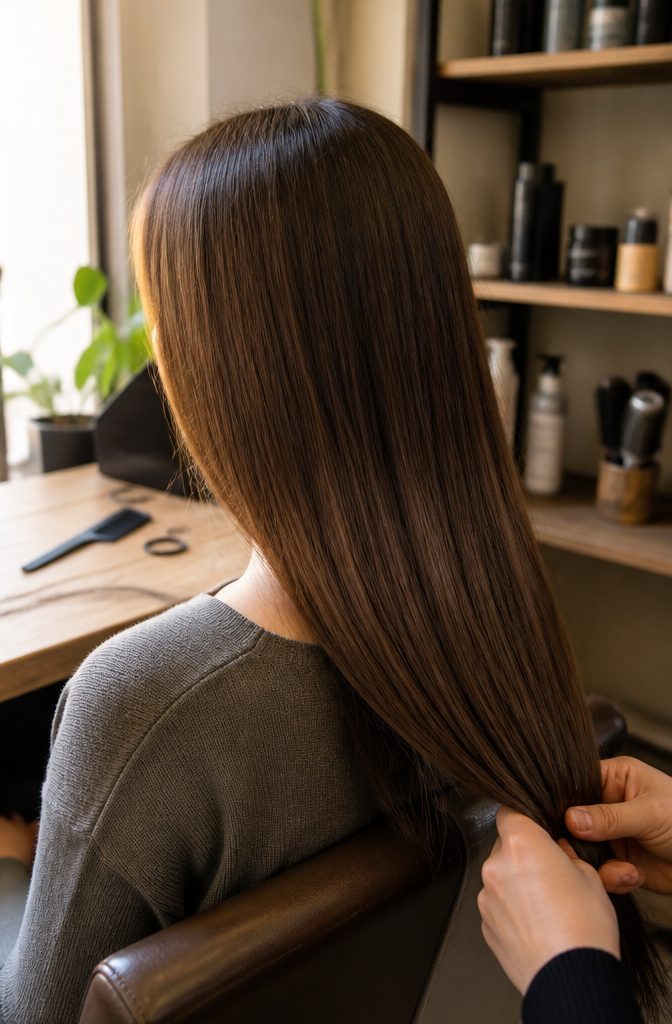
Start with clean, brushed hair. This braided half-up works for medium and long hair, and the look fits both casual get-togethers with friends and holiday parties.
The steps stay simple enough that if you can braid and tie a knot, you can handle the whole thing.
2. Make Two Braids
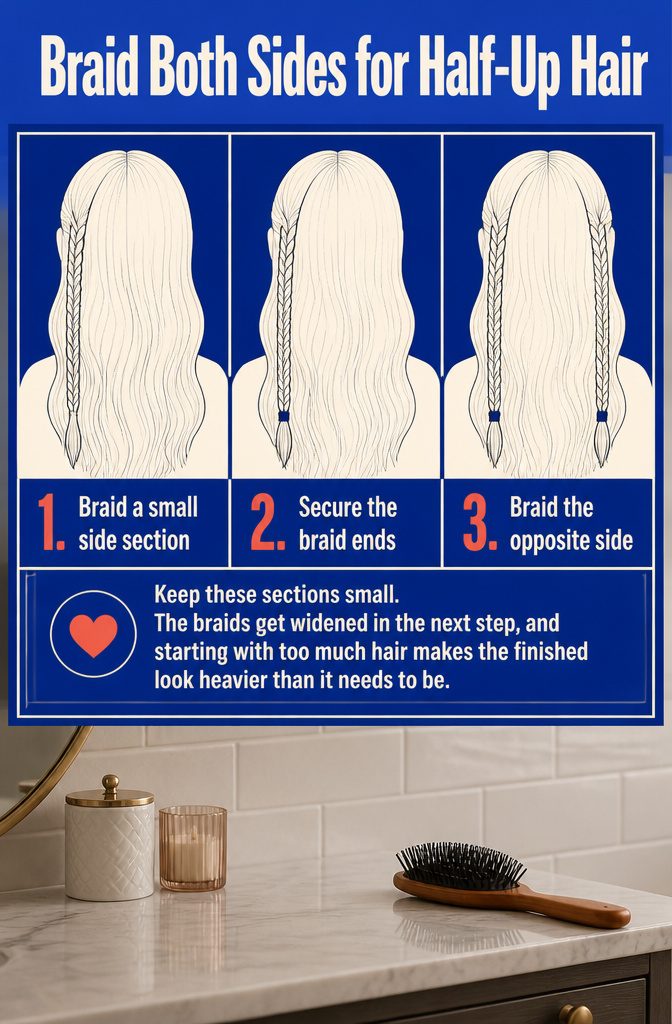
- Gather a small section of hair from one side of your head and braid it all the way down to the ends.
- Secure the end with a ponytail holder.
- Repeat on the other side so you have two braids, one on each side.
Keep these sections small. The braids get widened in the next step, and starting with too much hair makes the finished look heavier than it needs to be.
3. Widen the Braids
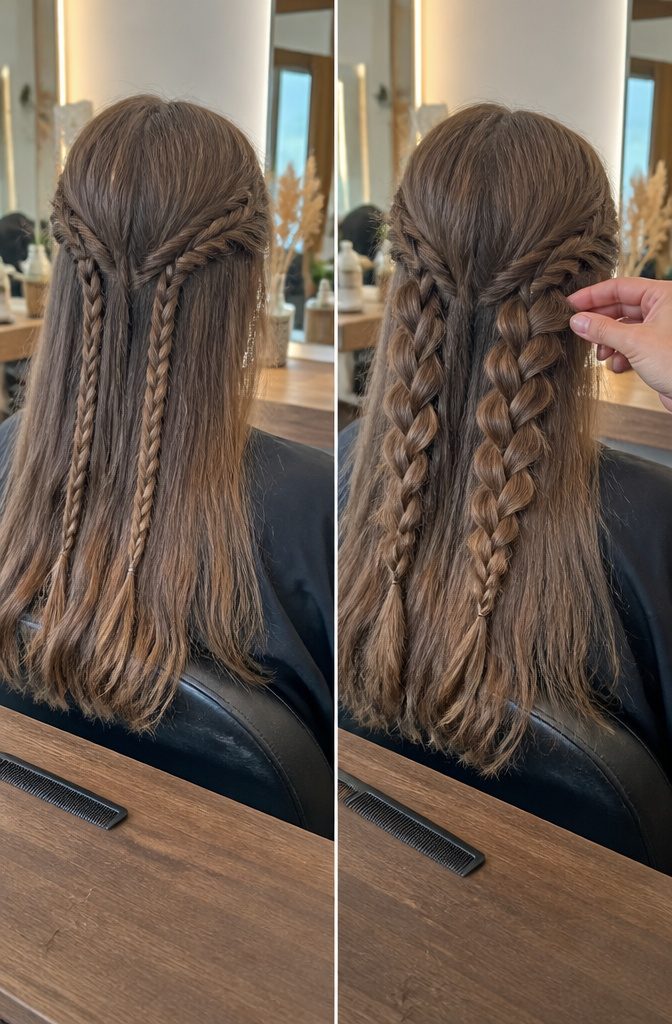
Starting at the top of one braid, use your fingers to pull the hair outward to the sides.
This is the volume step, and it happens by hand with no tools at all. Keep pulling from the top down to the bottom, stopping when the braid reaches the width you want.
Repeat the same thing on the other braid. The pulling makes each braid look wide and full instead of tight and narrow.
How far you pull is your call. A little gives definition, a lot gives drama, and you can always stop midway if it starts looking too loose.
4. Bring the Braids Together
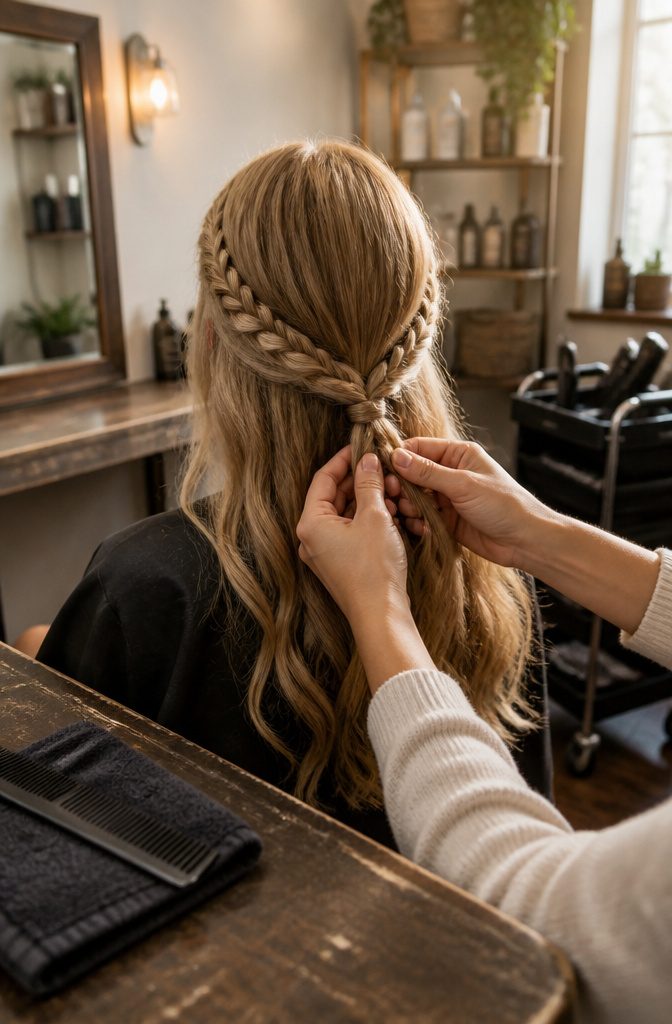
Move both braids to the middle back of your head, where they meet just above the nape. Cross one braid under and over the other as if starting a knot, then pull both ends snug.
That knot-start is what holds the half-up shape before you secure it. Without it, the braids slide around and the whole structure sags or twists sideways.
The tighter you pull that first cross, the longer the style holds, though I stop short of uncomfortable because you still have to wear this all day.
Once the knot feels firm, the loose ends hang together and you can join them properly in the next step.
5. Join the Hanging Ends
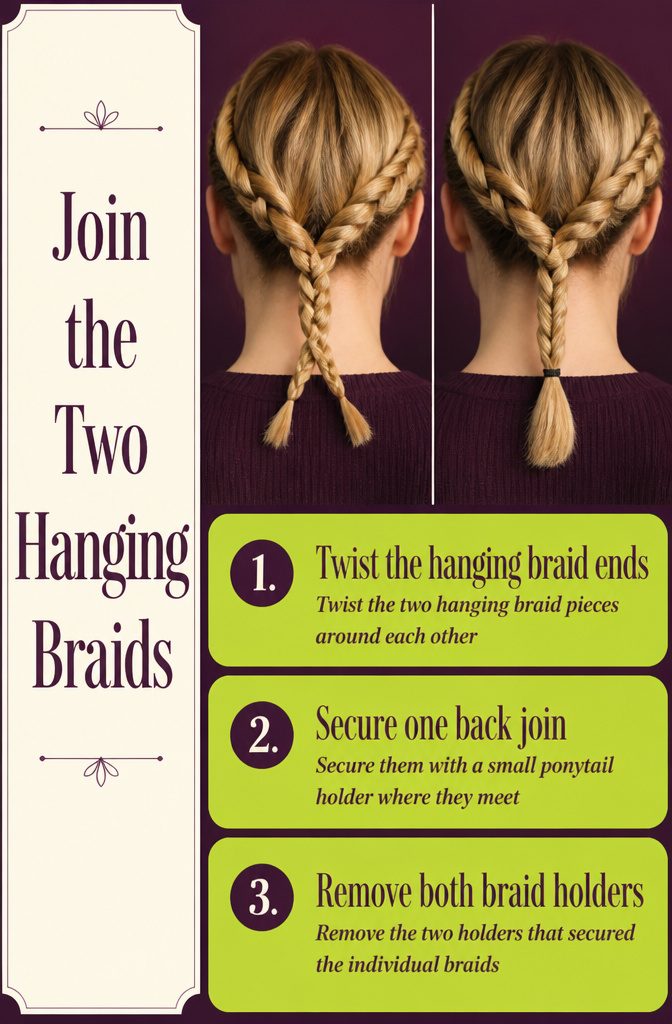
- Twist the two hanging braid pieces around each other and secure them with a small ponytail holder where they meet.
- Remove the two holders that secured the individual braids. You want one join point at the back, not three separate elastics weighing everything down.
6. Curl the Remaining Hair
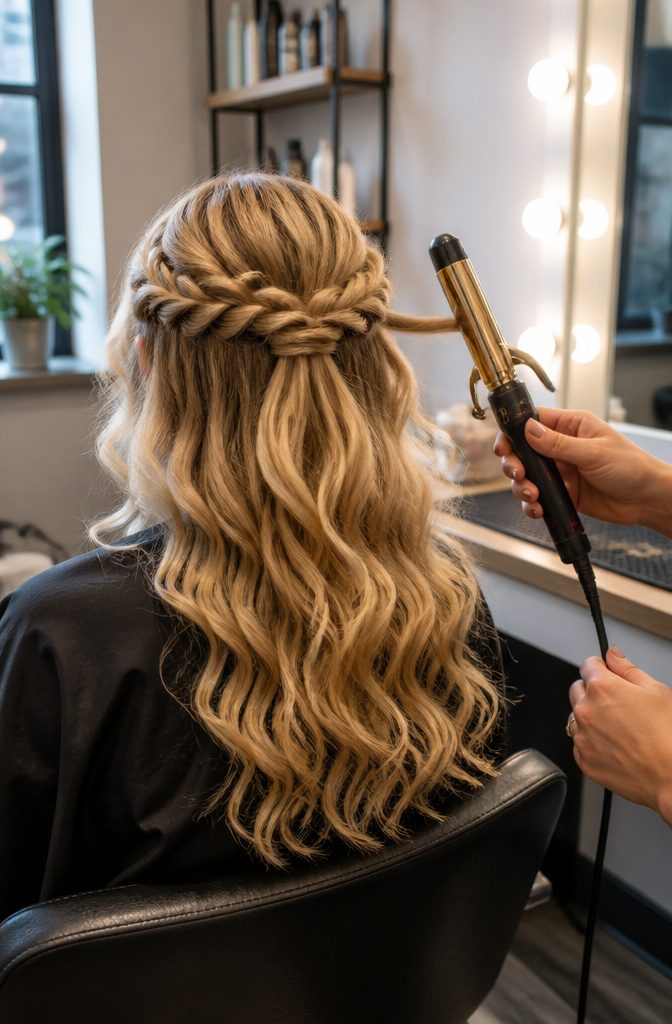
I curl the loose hair in small sections, about an inch wide, which gives me control and keeps the heat even.
I hold each piece around the barrel for a few seconds, longer if my hair is thick and needs more heat to hold the curl, shorter if it’s fine and takes shape quickly.
The timing matters more than the temperature setting, though thicker hair can handle a higher heat without going limp halfway through the day.
I work my way around the back and sides, releasing each curl as soon as it sets.
The curls look tight at first, but they relax into waves once I run my fingers through them or give them a few minutes to cool.
If one section doesn’t take, I let it cool completely before I try again, otherwise I’m just chasing the same piece with more heat and no better result.
Tools for Securing the Style
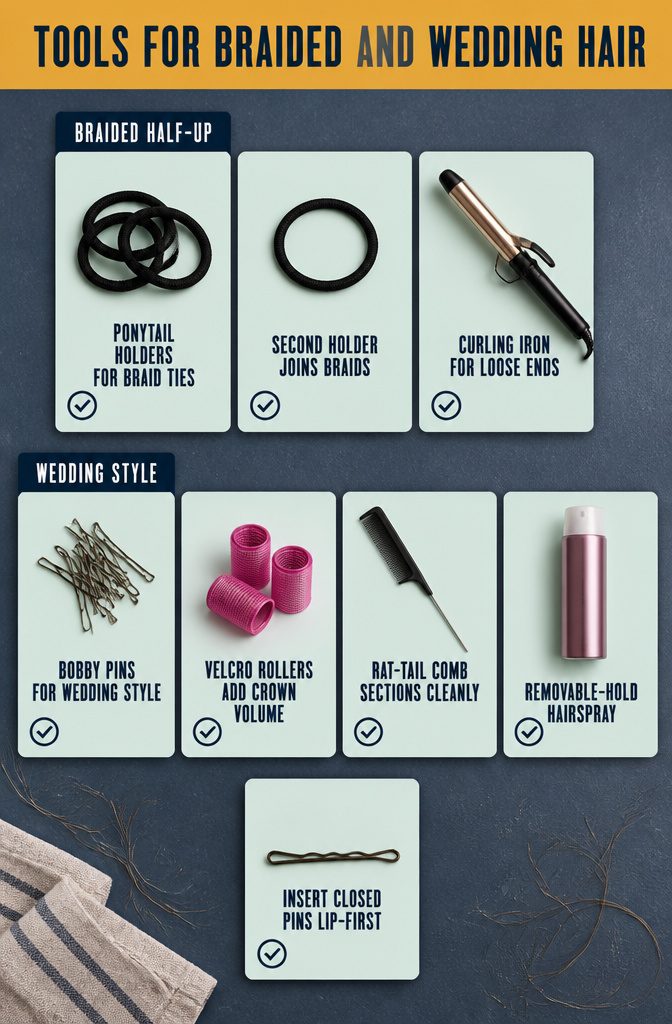
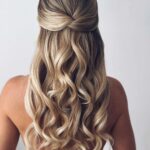
Each version needs slightly different tools, so I gather what the technique calls for before I start.
- The braided half-up uses a ponytail holder to tie off each braid, a second holder to join them at the back, and a curling iron for the loose ends.
- The wedding version swaps elastics for bobby pins and Velcro rollers on the crown for volume. A rat-tail comb sections cleanly, and removable-hold hairspray keeps everything in place without shellac.
- Insert a closed bobby pin lip-first, moving it back and forth as you push it in. Wiggle the pin slightly to set it in a twist so it grips rather than slides.
Build Volume Without Going Too Big
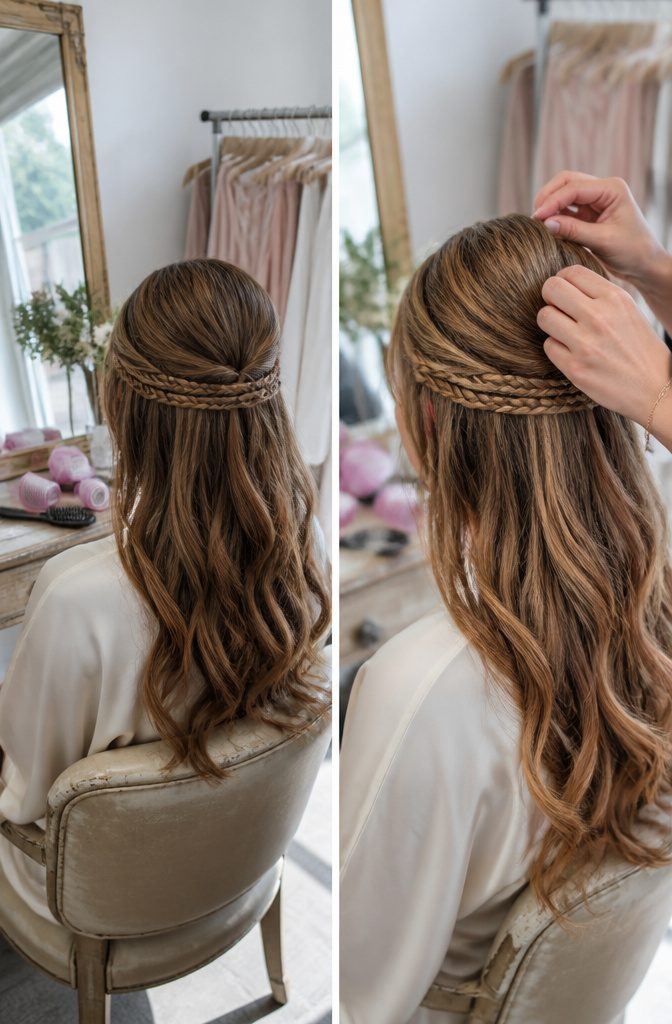
The braided version widens each braid by pulling the edges outward with your fingers, which gives the finished style more presence without heat or product.
The wedding approach takes more steps but delivers a smoother result. You set the top section in Velcro rollers first, which builds natural lift before you start working with it.
Once you take the rollers out, choose fine sections and pre-brush each one before teasing with light strokes moving the hair along. That keeps the volume controlled instead of frizzy.
The stylist flags one thing worth watching: don’t let the half-up section get too big or too rounded.
I see this happen when people tease too much or tease too close to the scalp. The shape should feel lifted, not balloon-shaped.
Frequently Asked Questions
How long should I hold each section of hair on the curling iron?
Hold each section around the barrel for a few seconds, adjusting based on your hair type.
Thicker hair needs more time to hold the curl, while fine hair takes shape quickly. The timing matters more than the temperature setting.
How do I keep the braids from looking too tight?
Pull the hair outward on both sides of each braid with your fingers, starting at the top and working down to the bottom. How far you pull controls the final look: a little pulling gives definition, a lot gives drama.
Why do I need to knot the braids before securing them?
The knot holds the half-up shape in place and stops the braids from sliding around or sagging sideways. Without crossing one braid under and over the other first, the structure loses stability before you can secure it properly.
How do I add volume without making it look too big?
For the braided version, widen each braid by pulling the edges outward with your fingers. For a smoother style, set the top section in Velcro rollers first, then tease fine sections with light strokes moving the hair along.
Avoid teasing too much or too close to the scalp, which creates a balloon shape instead of a lifted look.
How do I insert a bobby pin so it stays in place?
Insert a closed bobby pin lip-first, moving it back and forth as you push it in. Wiggle the pin slightly to set it in a twist so it grips rather than slides.