Glossy, slicked-down hair takes about 15 minutes and a generous hand with gel.
The stage people get wrong is the starting point: hair should be towel-dried to 50–60% dry, cool and damp, never dripping, because soaking strands dilutes the gel and lets it slide off instead of coating them.
1. Prepare Damp Hair
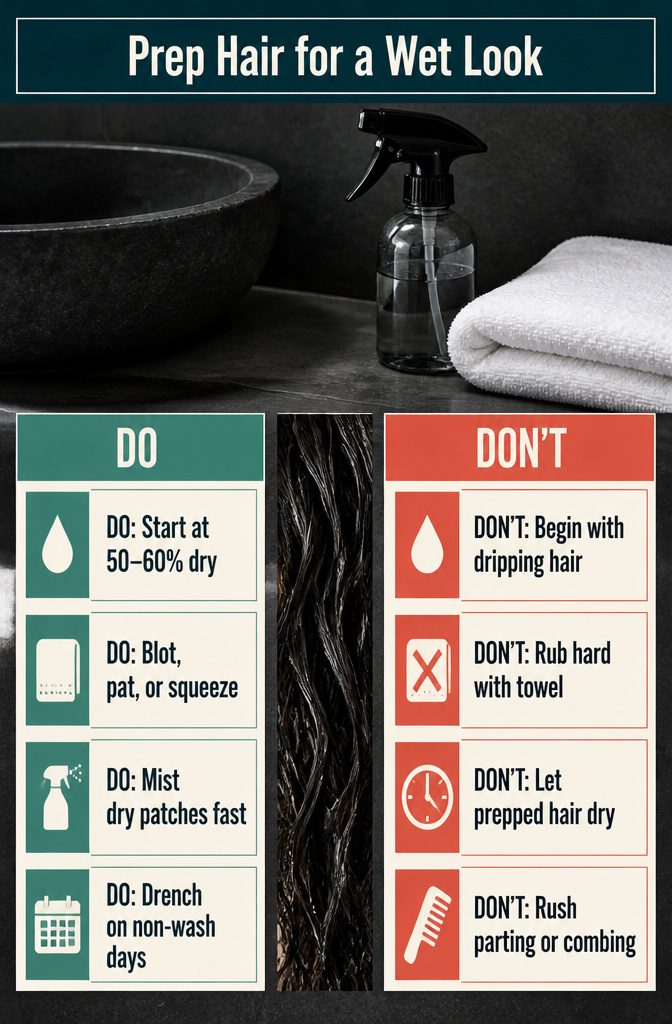
Start with freshly washed hair that is towel-dried to about 50–60% dry: damp and cool to the touch, never dripping. Soaking hair dilutes gel and lets it slide off instead of coating the strands.
Blot with a towel, or pat and squeeze section by section. Rubbing hard roughs up the cuticle and sets off frizz, which is the opposite of the glassy finish you’re after.
Work fast once the hair is prepped.
Hair that dries out while you part, comb and apply product won’t take the slick, saturated finish, so keep a spray bottle of water within reach and mist any patches that have gone dry.
On a day you skip washing, drench the hair with that same bottle and start from there.
2. Choose Your Products
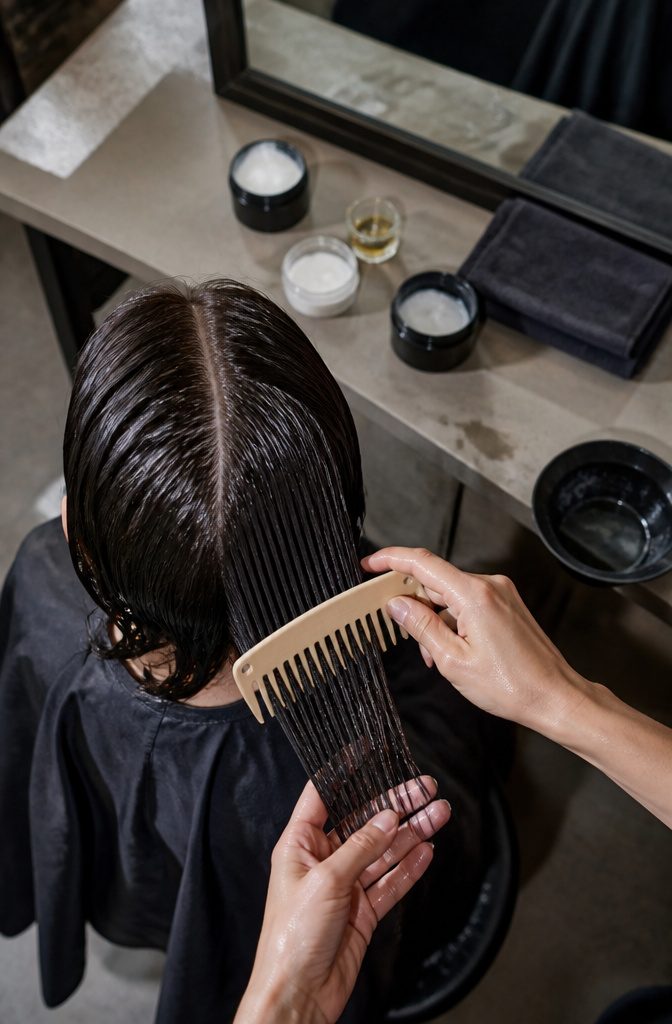
Gel does the heavy lifting here, and more gel reads wetter, so apply it generously from root to ends.
Give extra to the roots, hairline, part line and any dry patches. Gel alone can dry crunchy, so I mix it with a little oil, cream or mousse for a softer feel that lasts longer.
Thick or dry hair that soaks up product does best with serum and cream underneath, then gel and oil on top.
Fine hair needs a lighter mix: conditioner, mousse and a bit of lightweight gel. Pomade and wax are the exception to going generous.
Start with a small amount and build, since adding more is easy and removing it is not. Thick hair goes on more evenly in sections.
3. Part and Comb
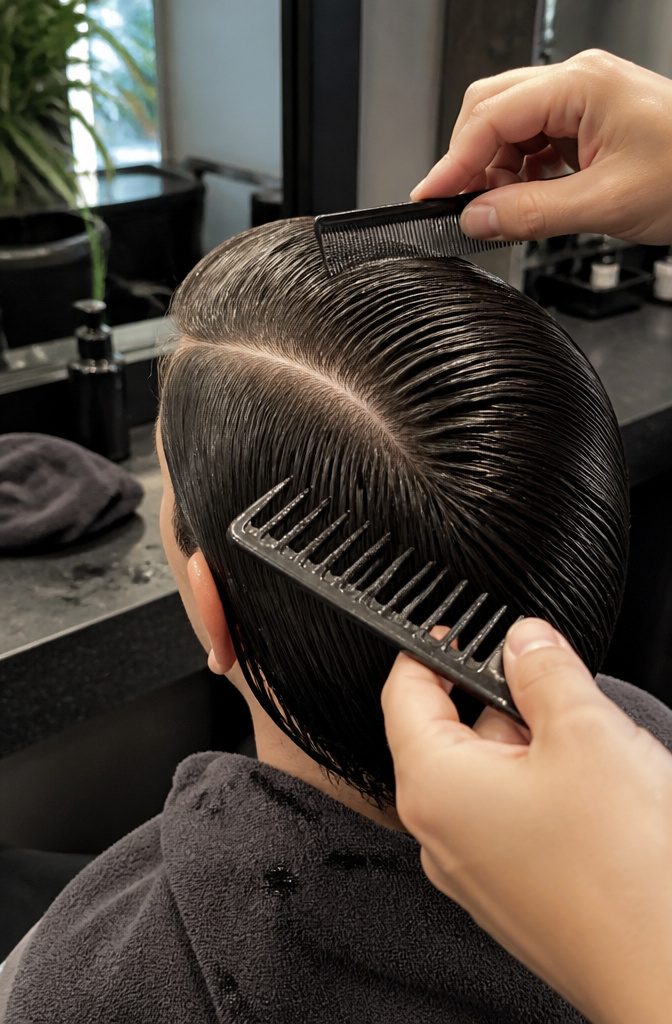
Pick the part before any product goes on, and draw it as a clean, defined line.
A deep side part pairs well with rounder faces, and a center part puts the cheekbones on show for heart-shaped faces. Combing everything straight back is the third route, and the sleekest.
Work the gel through with a wide-tooth comb; its job is spreading product, not smoothing. A fine-tooth comb or slicking brush comes next, to flatten the surface.
Fingers are the better tool on curls, since they leave no comb marks and keep the curl pattern intact. I’d keep a fine-tooth comb away from curly hair.
4. Shape the Style
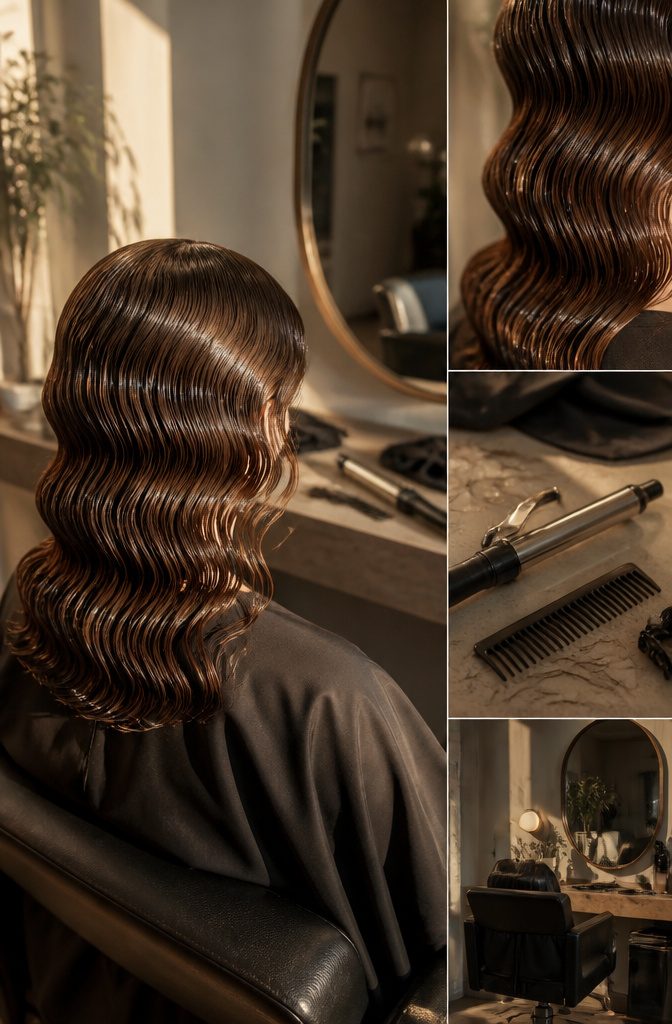
A soft bristle brush or fine-tooth comb gives the sleekest slicked-back look or ponytail, and straight or flat-ironed hair holds that line best.
For waves on long or medium hair, curl in four sections with a medium to large diameter curling iron, then comb the curls back before any gel goes on. Short hair can skip the curling.
A bob needs a different route.
Coat it root to tip with a wide-tooth comb, sweep it toward the crown and behind the ears, and tuck crease-free clips behind the ears so the front stays put even if the back loosens.
Curly hair does better with fingers than a brush, whether you finger-define or scrunch. I’d keep bristles off curls entirely to protect the natural texture.
5. Set the Finish
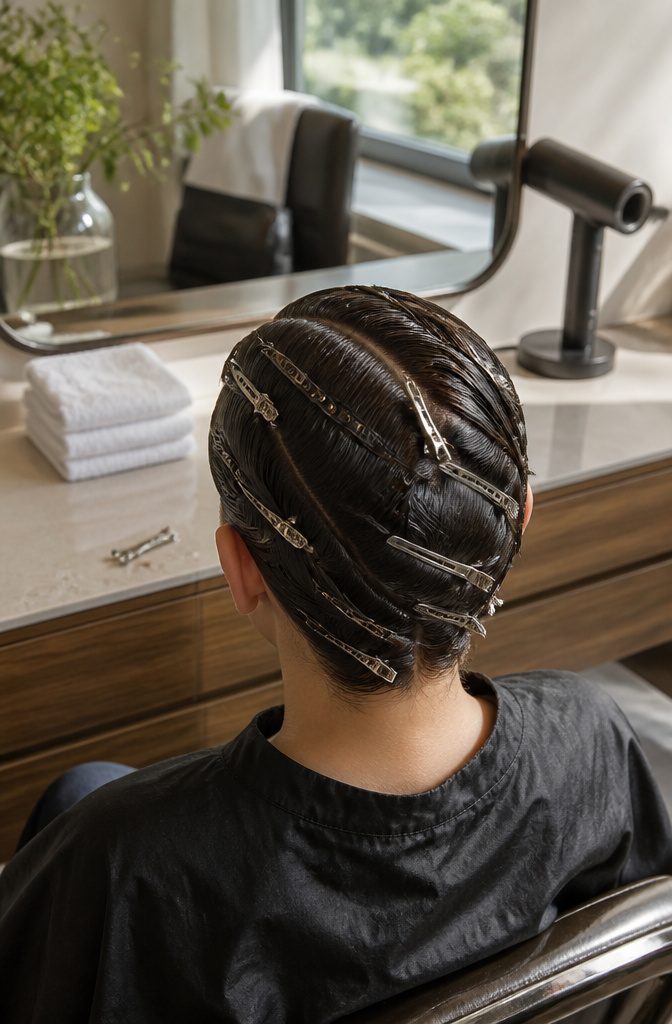
Seal the style with a glossy, firm-hold hairspray, and use enough of it: a generous coat can last until your next wash.
For shine, go over the top with a drop of serum or shimmering oil, or smooth on a little extra gel. Clips pin each section flat while it sets, so nothing shifts as you work around your head.
Blow-drying after the gel speeds things up, but heat above 284°F can damage the cuticle.
I’d skip the dryer whenever you have a few spare minutes, since letting the gel set wet is the heat-free route. Start to finish, the whole style takes about 15 minutes.
6. Maintain the Look
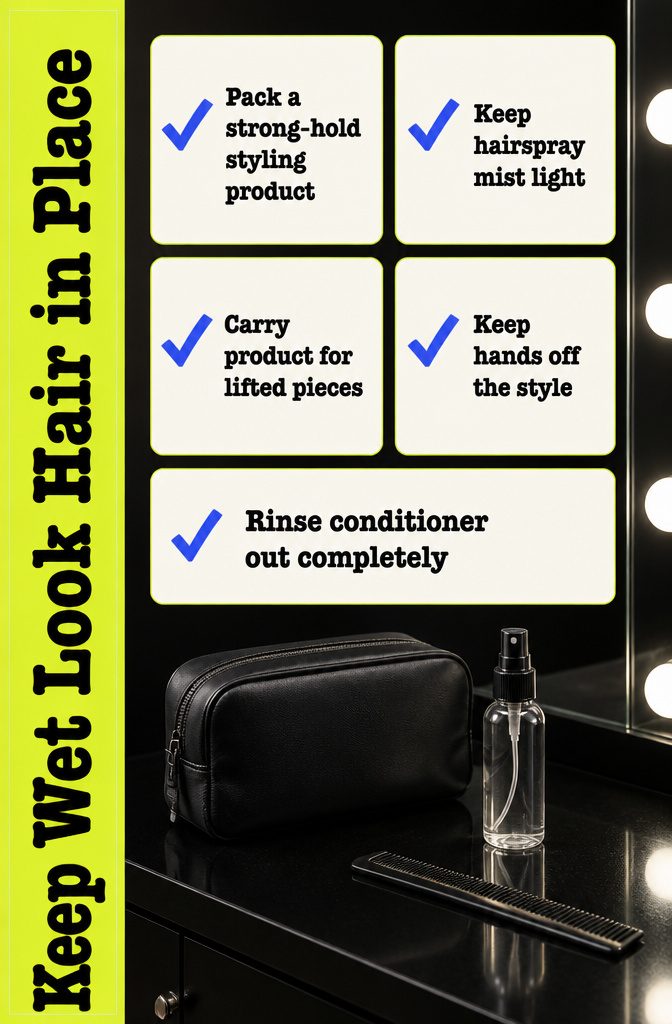
A strong-hold product does most of the work of keeping wet look hair in place, and a few habits protect it.
- Use a strong-hold styling product, since a good one keeps the shape through most of the day.
- Hairspray is optional. A light mist is plenty to keep hair flat, and enough of it can carry the style until your next wash.
- Slip a small amount of your styling product into your bag. Press it onto any pieces that lift, which matters most with thick or long hair.
- Keep your hands out of it. The more you touch the style, the faster it loses its shape.
- Rinse conditioner out completely before you style. Leftover conditioner can make hair look greasy instead of glossy, and no gel fixes that.
Adjust for Your Hair Type
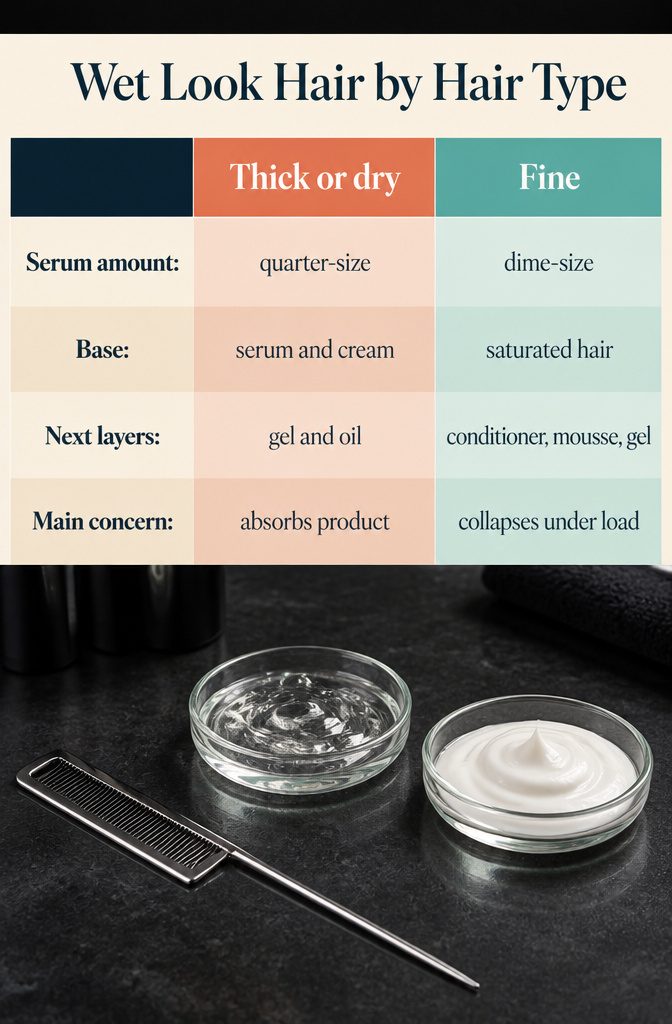
Thick or dry hair soaks up product, so go heavy: a quarter-size amount of serum and cream first, then gel and oil on top.
Fine hair collapses under that load. Use a dime-size portion of serum on saturated hair, or a light mix of conditioner, mousse and gel.
Curly hair needs moisture before anything else. Coat every curl with Curl Crush Defining Gel and Cream, then clip sections and pull them downward while they dry for a longer, stretched result.
Straight hair does well with gel alone.
Wavy hair takes mousse first, then more gel than feels reasonable, and flat clips around the face add definition. Short or long, gel stays the staple.
Gels and Oils by Name
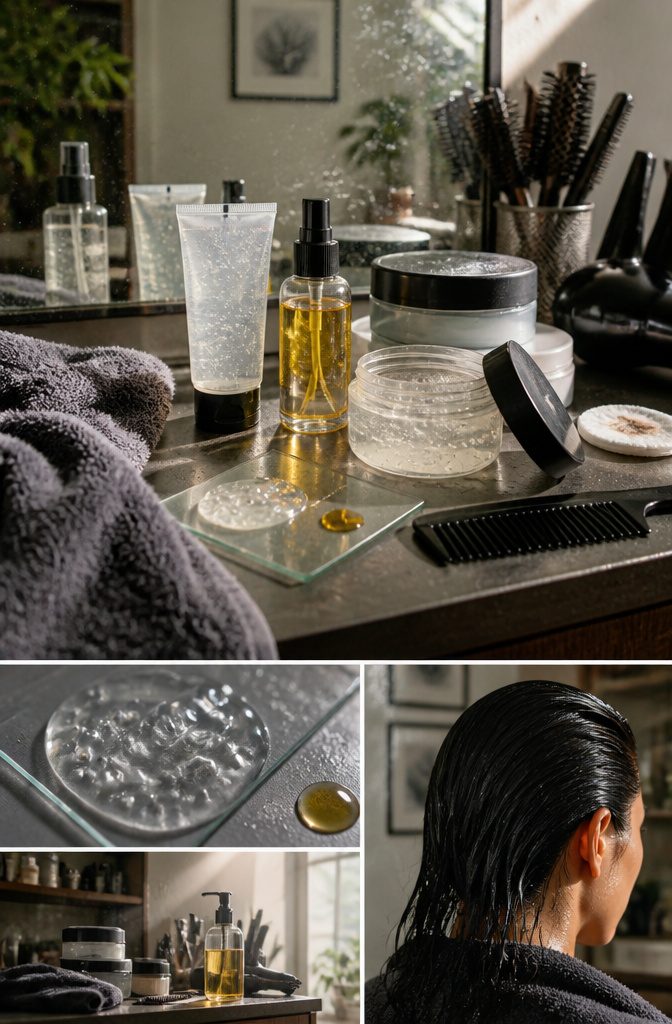
Gel is the base for wet look hair and oil is the shine on top. I’d start with Innersense I Create Hold and skip Briogeo, which sits at 2.6 stars out of 5.
| Type | Products (size) |
|---|---|
| Gel | Innersense I Create Hold (295ml); Ceremonia Pequi (200ml); Briogeo Curl Charisma (162ml); Sam McKnight Self Control (150ml); Final Touch Hair Styling Gel (n/a); No Inhibition Wet Hard Gel (n/a) |
| Oil | Amika Superfruit Star (50ml); Split Fix Hair Oil (n/a); Shimmering Oil (n/a) |
| Cream and pomade | JVN Complete Air Dry Cream (60ml); R+Co Fiber Stretch Pomade (60ml) |
| Spray and lacquer | Final Touch Hair Spray (n/a); Goldwell Super Firm Mega Hold (n/a); Tecni.Art Wet Domination Extreme Splash (n/a) |
A Wet-Look Bun
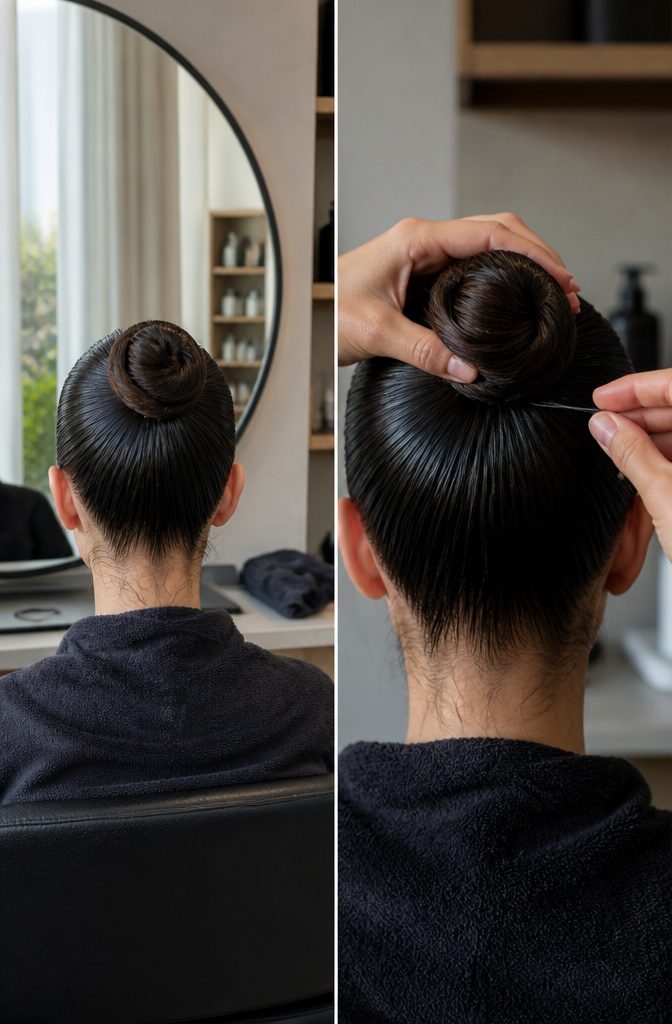
- Start with damp, towel-dried hair. Dry hair works too, but it takes noticeably more product to look wet. Pat and squeeze the water out instead of rubbing, which roughs up the cuticle and causes frizz.
- Work in a lighter layer of product than you would for loose wet-look hair. I’d rather add a little later than start with a bun that looks greasy.
- Gather everything into a high or low ponytail. High reads sharper and low reads softer, so pick by outfit.
- Smooth flyaways with a fine-tooth comb or soft bristle brush before you twist, because they’re hard to reach once the bun is formed.
- Twist or wrap the ponytail around its base into a bun.
- Secure it with pins or a hair tie, pulled snug enough to look tight and neat.
Oil-Only Wet Look
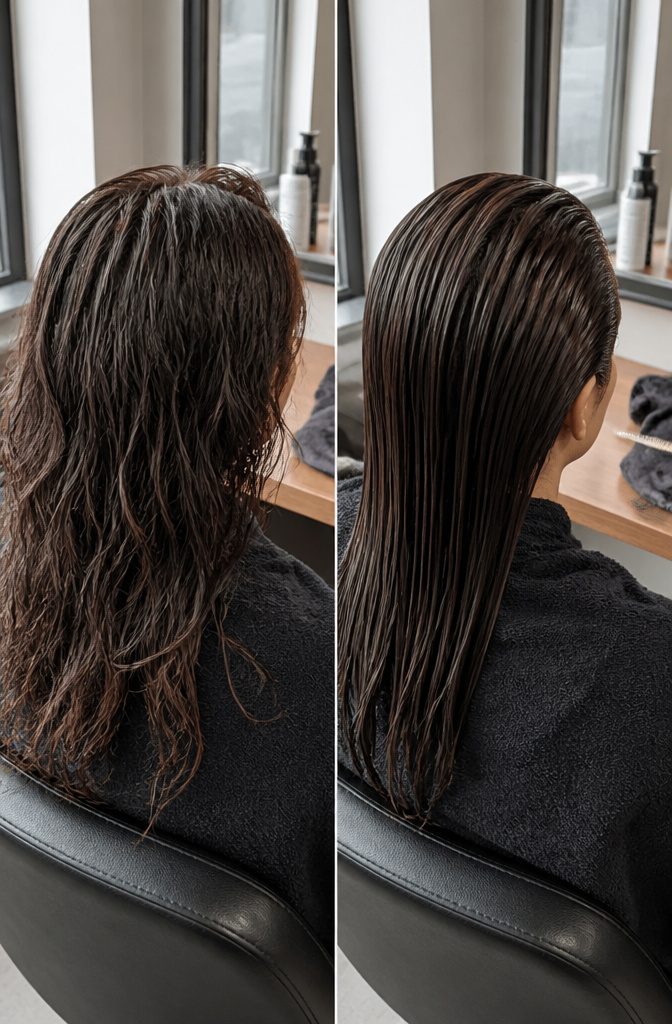
Oil gives you wet look hair that still moves.
Warm a little between your palms until it feels slick, then work it through from root to tip. A comb or brush slicks everything back, and you can stop there.
Gel is the opposite trade. It grips harder and holds longer, but it dries stiff and can turn crunchy.
Oil leaves hair soft and flexible, and it nourishes the strands while it sits on them. The cost is staying power, because oil fades sooner and the shape loosens as the day goes on.
I’d pick oil when you want a touchable finish and can live with a few touch-ups. For a sleek shape that has to stay put, gel wins.
Men’s Wet Look
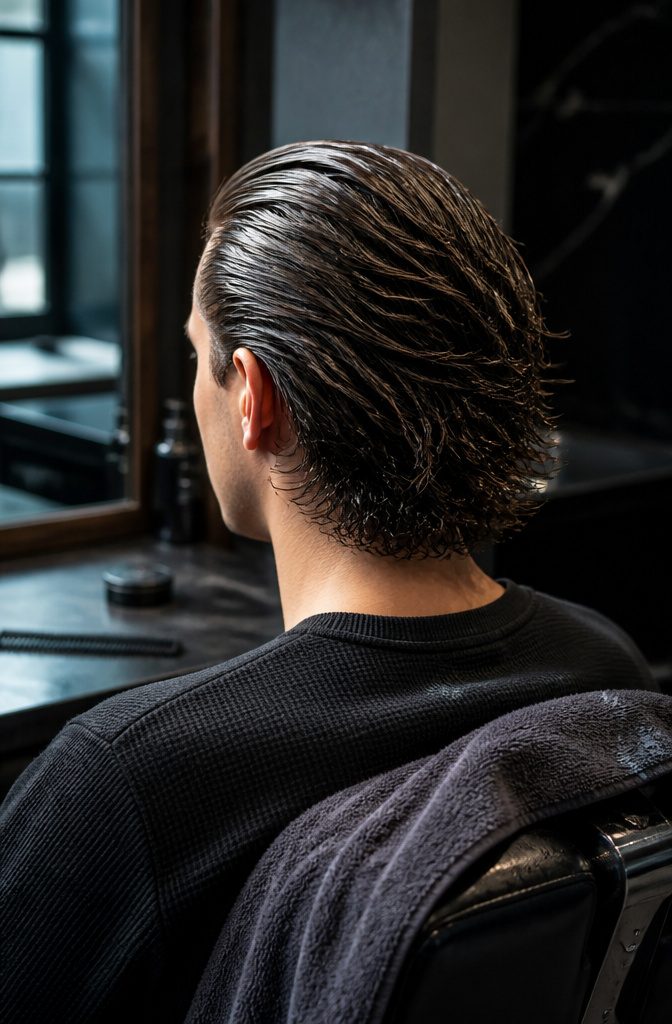
Slicked back is the classic, and the version I like best keeps the front sealed and the back loose.
A few spritzes of hair spray hold the front flat, while your fingers rough up the back so it looks like you just stepped out of the water.
For product, pomade, wax and gel all work, but a pomade that isn’t mattifying is what gives the glossier finish, so pick one that promises shine. Curly hair takes a curl cream or a little oil for definition.
A long fringe suits the combed-forward version, scraped straight down. Marine Mist adds texture and definition, and Thickening Shampoo and Conditioner build volume before you style.
Frequently Asked Questions
How do I get wet look hair?
Start with hair towel-dried to about 50–60% dry, damp but never dripping.
Work a generous amount of gel through from root to ends with a wide-tooth comb, flatten the surface with a fine-tooth comb or soft bristle brush, then seal it with a firm-hold hairspray. The whole style takes about 15 minutes.
What product makes hair look wet?
Gel is the base, and the more you apply, the wetter hair looks. Oil adds shine on top, and serum or cream underneath helps thick or dry hair that soaks up product.
For a men’s style, pomade, wax and gel all work, but only a pomade that isn’t mattifying gives a glossy finish, so pick one that promises shine.
How can I make wet look hair last all day?
Use a strong-hold styling product, because a good one holds the shape through most of the day.
A light mist of hairspray adds extra hold, though it’s optional. Touch the style as little as possible, and press a small amount of product onto any piece that lifts.
How do I get the wet look with oil?
Warm a little oil between your palms until it feels slick, then work it through from root to tip.
Comb or brush the hair back if you want it slicked. Oil feels softer and more nourishing than gel, but it fades sooner, so expect a few touch-ups.
How do I do wet look slicked back hair?
Comb everything straight back after working gel through with a wide-tooth comb.
Follow with a fine-tooth comb or soft bristle brush to flatten the surface. Straight or flat-ironed hair holds this line best, and a firm-hold hairspray locks it in.