Before taste comes into it, length and texture settle the question: curly, frizzy, thin and oily hair each hold an updo in their own way, and medium-length hair only needs a few inches left at the nape to be pulled up.
The range runs from a claw clip that replaces both the elastic and the pins to a rolled vintage updo I’d save for a morning when you can sit still for it.
1. Curly Updo
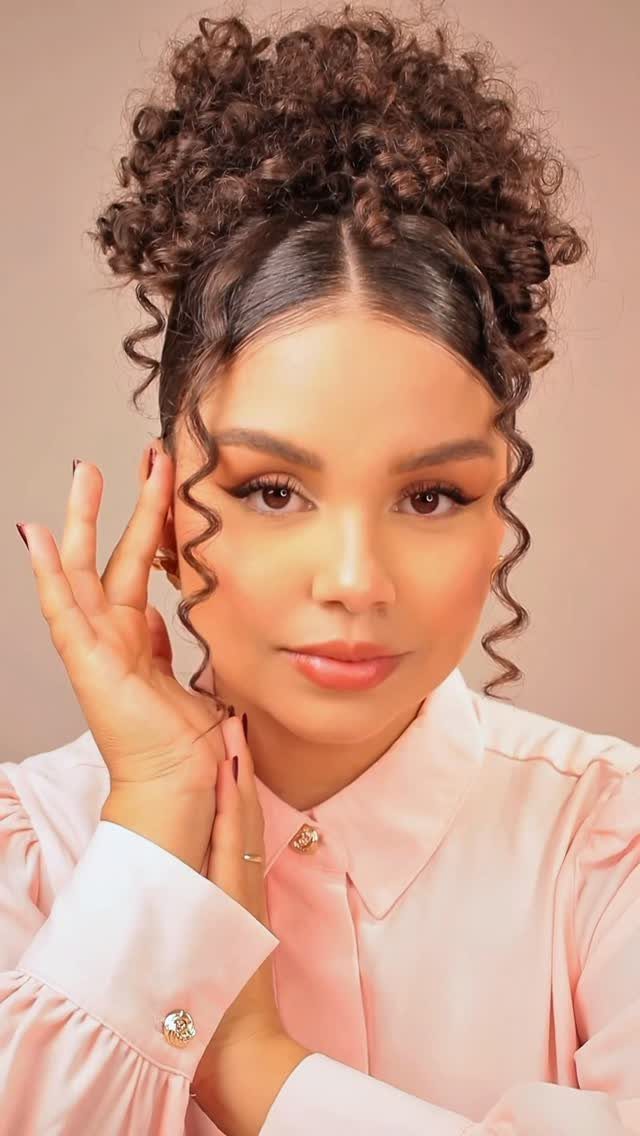
Curls are pinned or gathered at the crown while keeping their natural shape intact. This skips the flat iron step entirely, which saves time on a busy morning and keeps the texture you already have.
Pull sections up one at a time and secure them with bobby pins angled into the base, not straight down. Leave a few tendrils out at the front if you want softer framing around your face.
The volume at the crown balances out rounder face shapes, and the height makes it work for formal events without looking too done.
2. Slicked-Back Bun
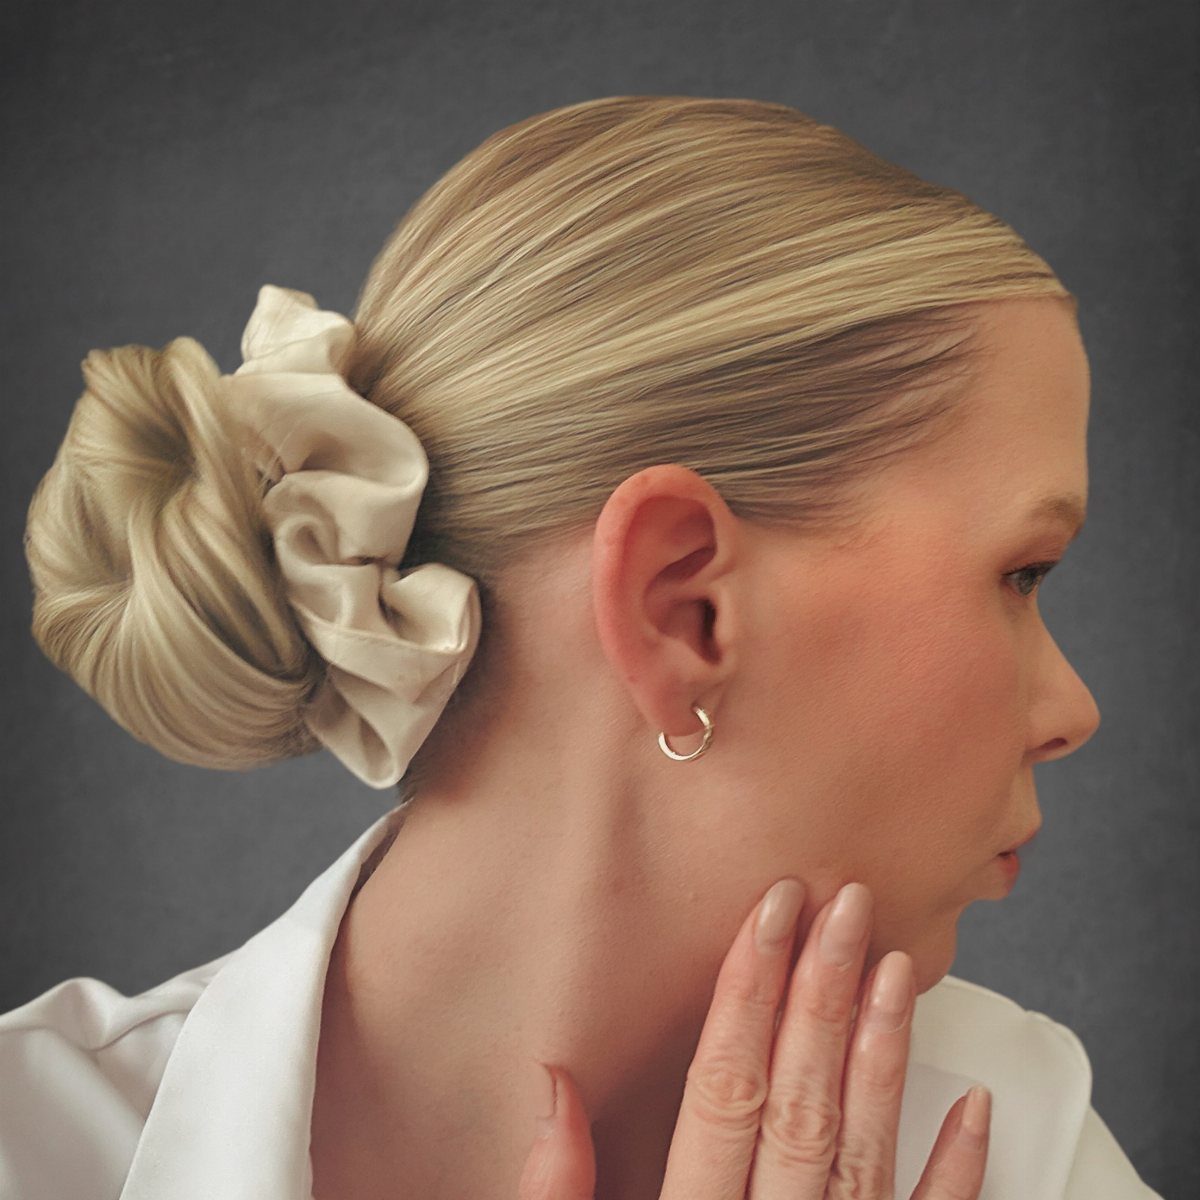
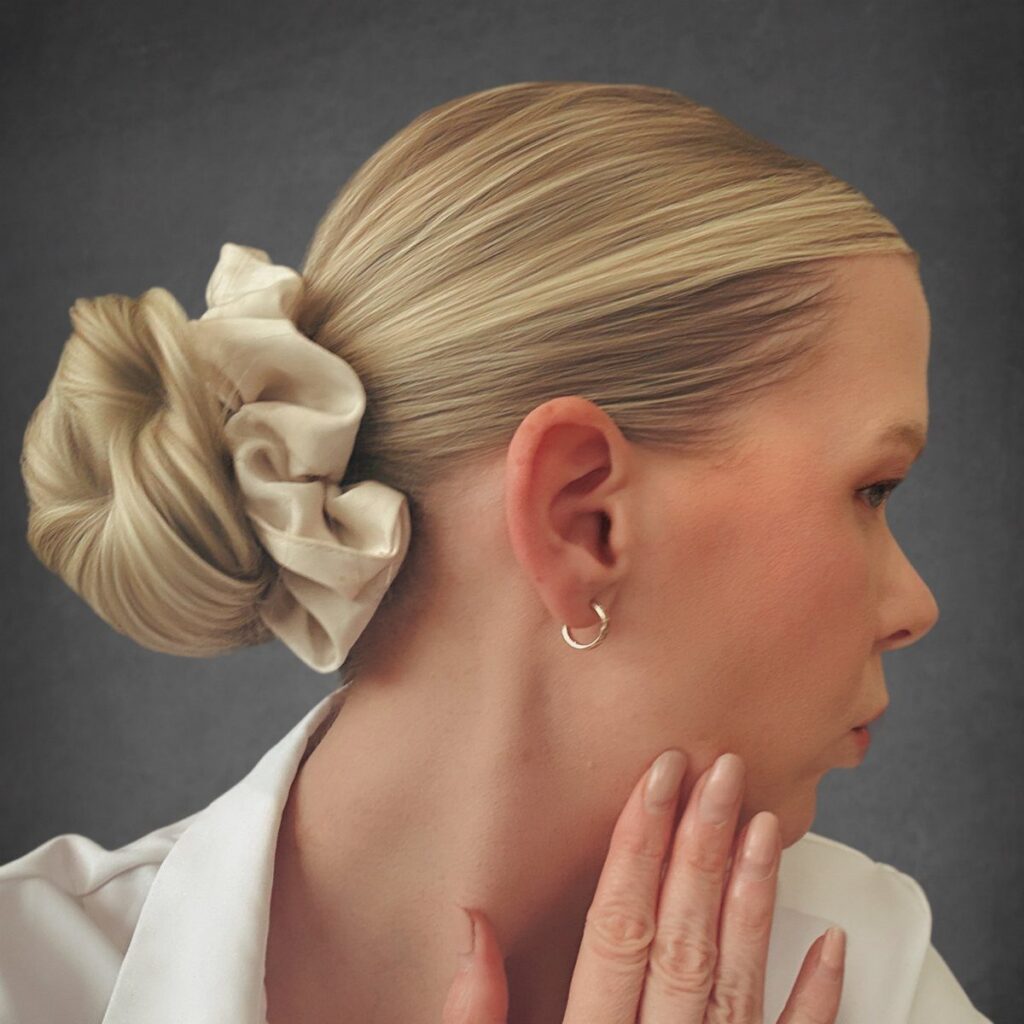
Hair is brushed straight back from the hairline and gathered into a low bun at the nape.
The smoothness is the point here, so this takes gel or pomade at the roots and a fine-tooth comb to get rid of bumps.
A scrunchie holds the bun without leaving a crease if you plan to wear your hair down later. Hide a clear elastic under a small wrapped strand of hair and the bun looks snugger and cleaner.
This shows off bone structure and keeps every strand in place through a full day. If your hair is fine or slippery, mist the roots with texture spray before you start so the gel has something to grip.
3. Half-Up Topknot
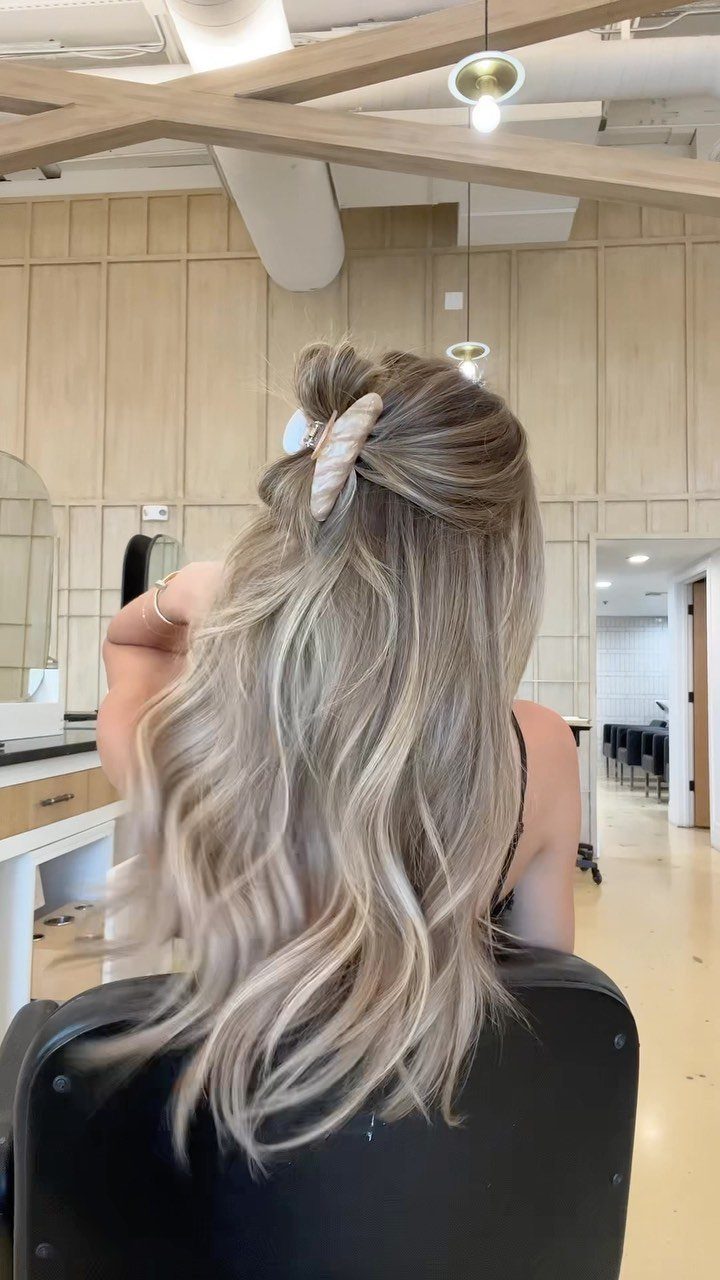
The top layer is twisted or tied into a small bun at the crown, and everything from the ears down stays loose. It works best on second-day hair, when the roots have a little grip.
Twist the top section before you wrap it into the knot so it holds its shape without a lot of pins.
A small elastic or scrunchie at the base keeps it secure, and you can pull a few pieces forward if you want more texture around your face.
The bun adds height without committing to a full updo, and the length below balances it out so it reads casual instead of formal.
4. Twisted Top Knot
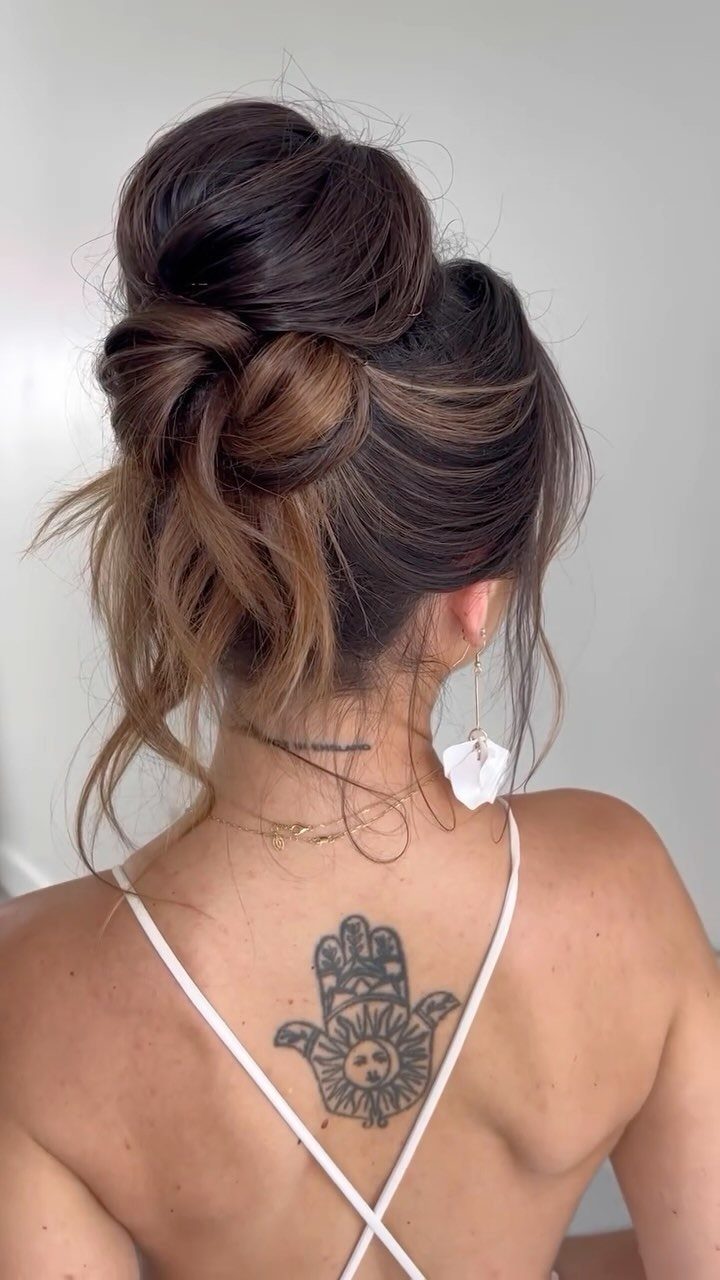
All the hair is gathered high at the crown, twisted tightly from the base, then wrapped around itself into a knot. The twist gives it structure, so it holds without a dozen pins.
Start with a high ponytail secured with an elastic, then twist the length in one direction until it starts to coil back on itself.
Tuck the loose end beneath the knot after winding the twist around the base, then anchor it with 2 or 3 bobby pins.
This sits higher than a low bun and keeps the neck clear, which makes it a good option when you want the hair fully off your shoulders.
On fine hair, I’d spray texturizer at the roots first, since the twist holds better with that bit of grit.
5. Curly Fringe Bun
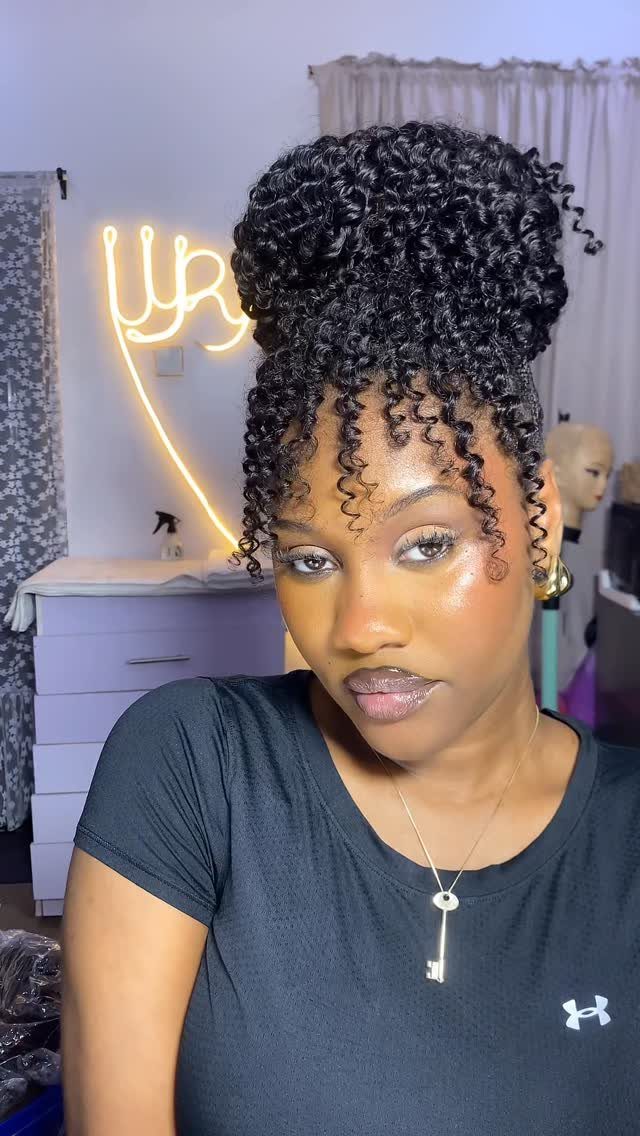
A messy bun sits high on the head, and curly bangs or a curly fringe frames the forehead.
The 2 textures match, so this works best if your natural curl pattern runs through the whole length or if you curl the fringe separately.
Gather the length into a high ponytail, twist or loop it loosely into a bun, and secure with an elastic and a few pins.
Leave the fringe out and define the curls with a curl cream or mousse while the hair is damp, then let it air dry or diffuse.
The curly fringe softens the updo and keeps it from looking too severe. If you have straight bangs, this will read as 2 different styles instead of one cohesive look.
6. Side Parting
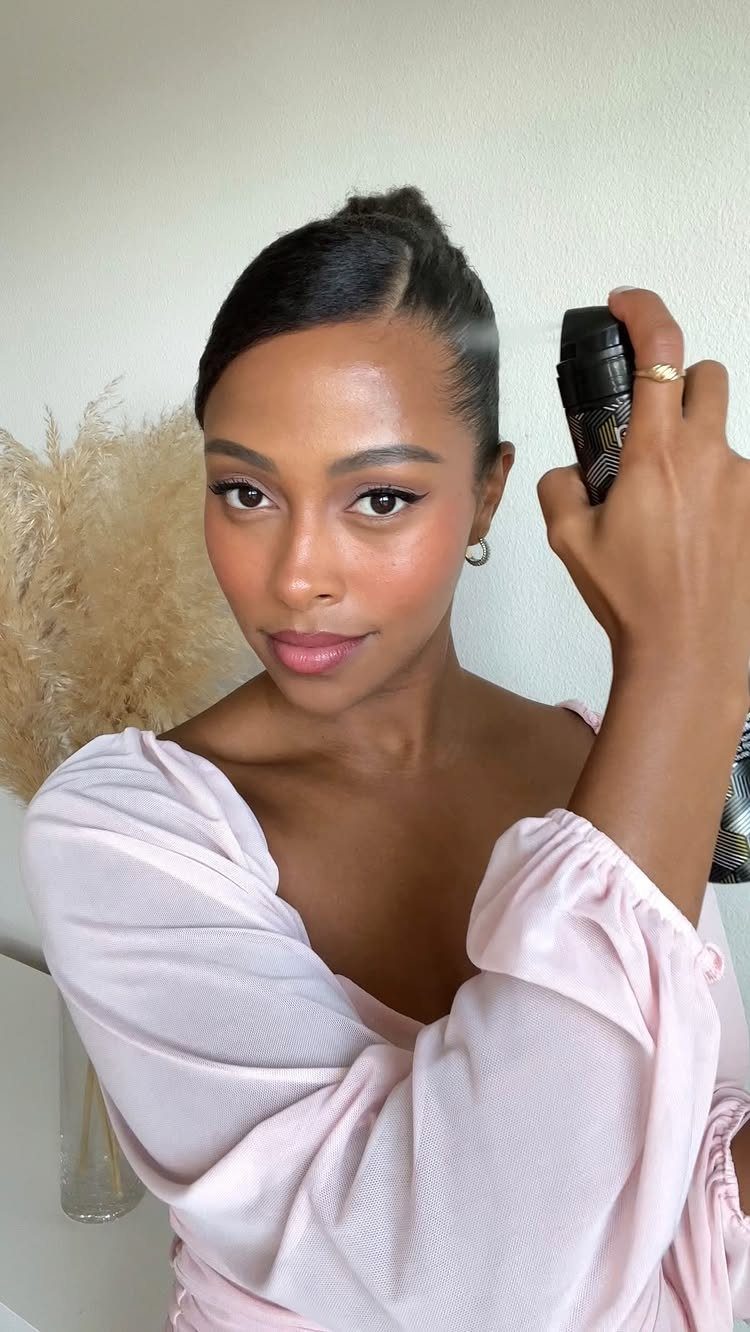
A deep side part shifts the hair across the head before it gathers into a low ponytail or bun. The asymmetry makes it more polished than a center part, and it takes the same amount of time.
Part the hair with a tail comb, then brush it across to the opposite side and secure it low at the nape with an elastic.
Smooth any flyaways with a small amount of gel or hairspray on a toothbrush or fine-tooth comb.
This elongates the face and adds a little drama to a basic ponytail.
If your hair has a strong natural part, you may need to blow-dry the roots in the new direction while the hair is still damp so it stays in place.
7. Messy Bun
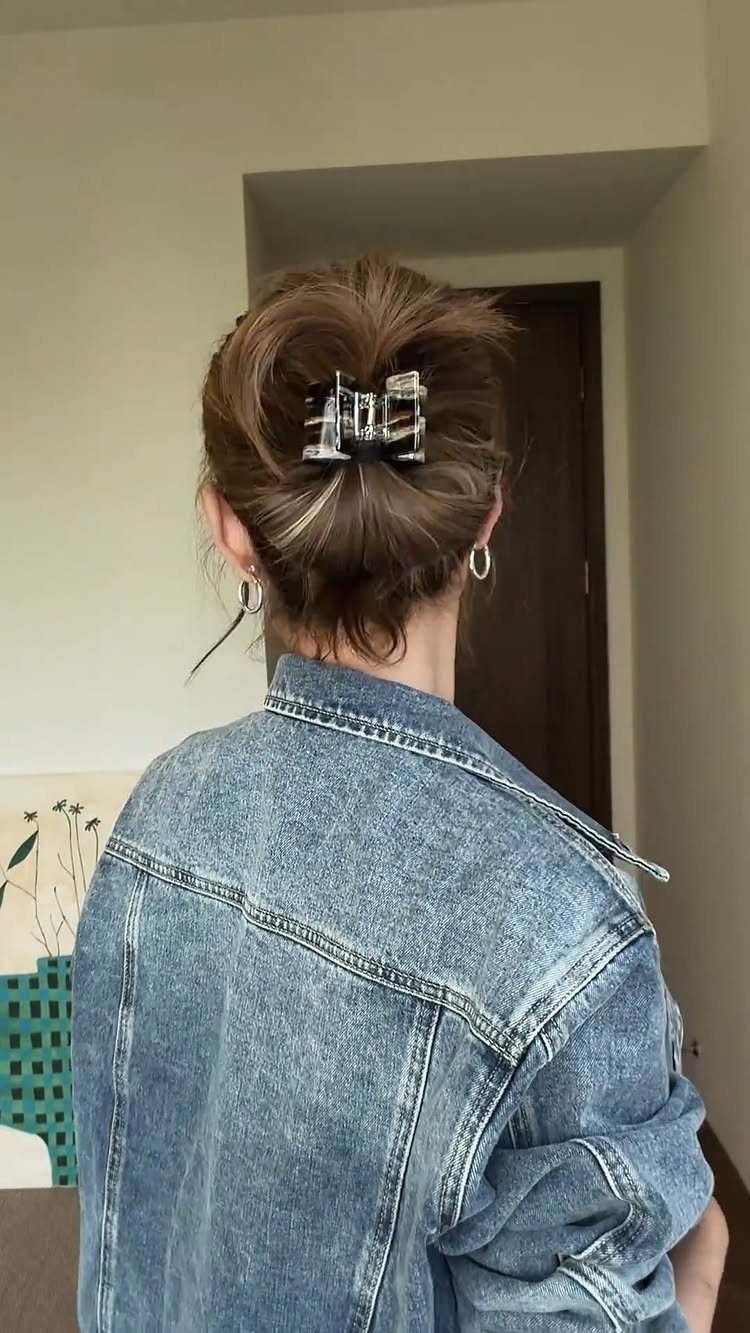
Loose is the whole instruction here. Twist the hair up without smoothing it, set it in a claw clip, and tug a few pieces free at the nape and around the face so it looks textured instead of tidy.
Second-day hair holds this best, since the grip does half the work. It forgives crooked placement, which makes it my pick for mornings when nothing else gets done.
8. French Twist
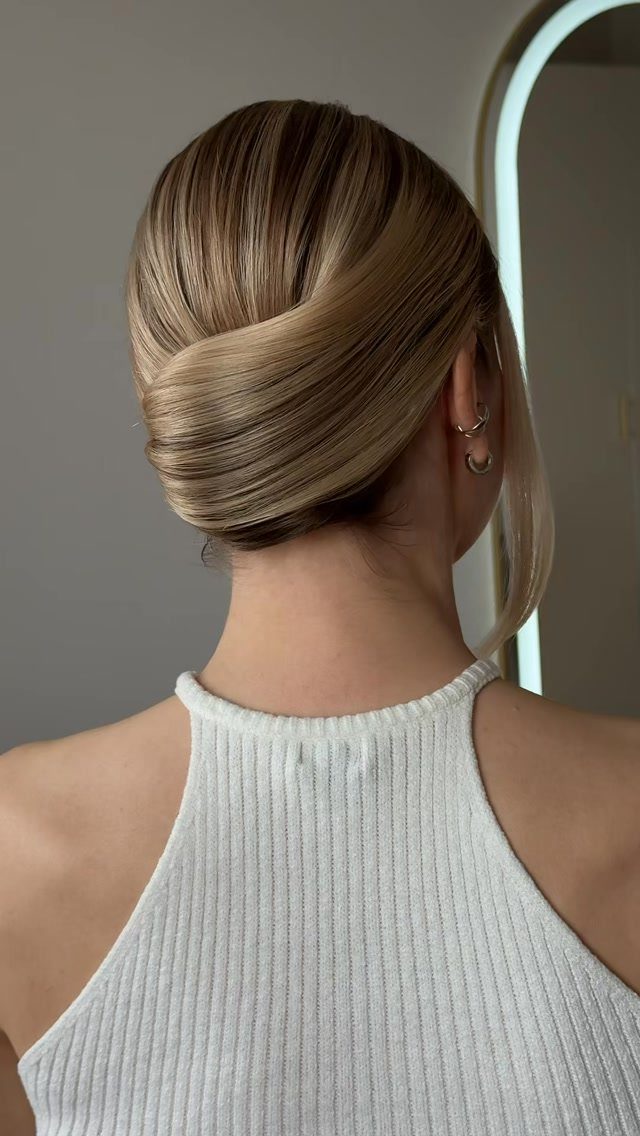
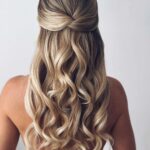
For a French twist, the hair gets folded upward into one vertical roll and pinned flat along the back of the head, which leaves a smooth line running from the nape up to the crown.
Gather the hair at one side, twist it upward, and fold the ends into the roll.
Pin along the seam with bobby pins, crossing them in an X so they grip. A little smoothing cream or hairspray keeps the finish sleek.
I’d choose this over a bun for events and office days: it looks formal and needs no curling.
9. Claw-Clip Updo
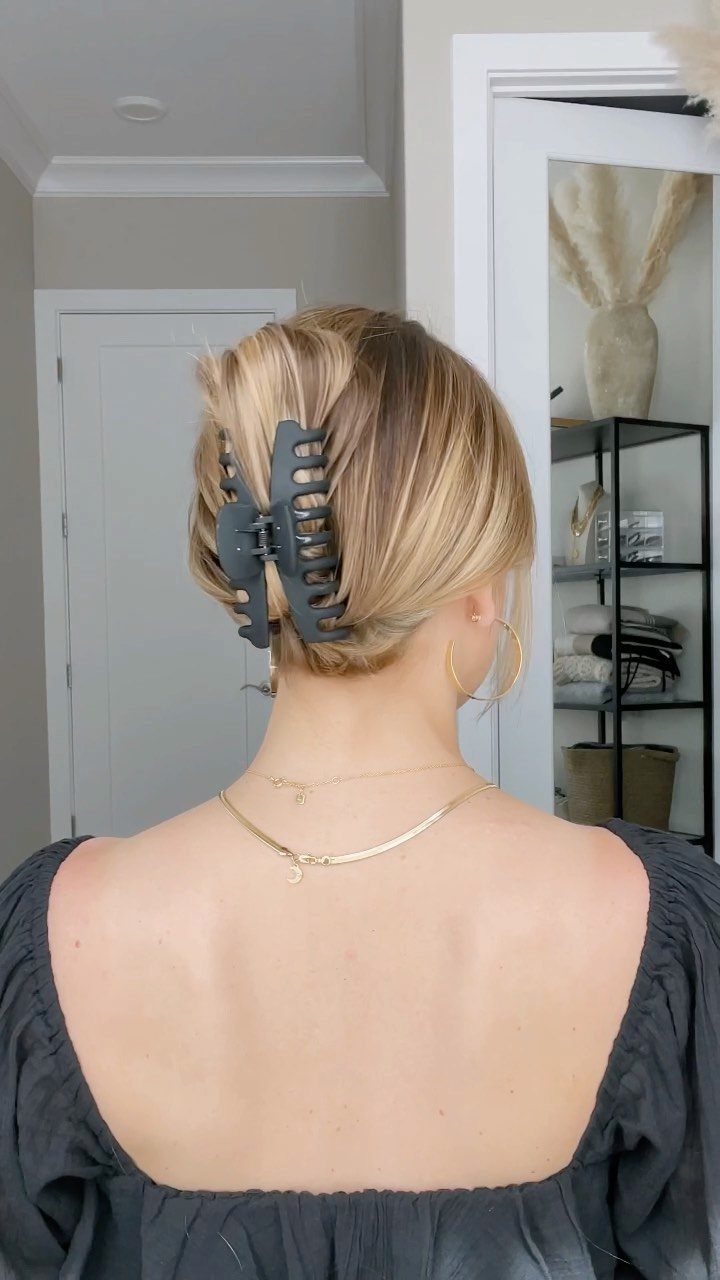
The person who styled this one says it stays put all day, and the clip is the reason.
Twist the hair up from the nape, fold the twist against the head, and press the clip across it so the teeth catch both the twist and the hair beneath.
No elastic and no pins, which makes it the fastest twisted updo I know. Pick a clip sized to the amount of hair you have; a small one will fight you.
10. Slicked-Back Ponytail
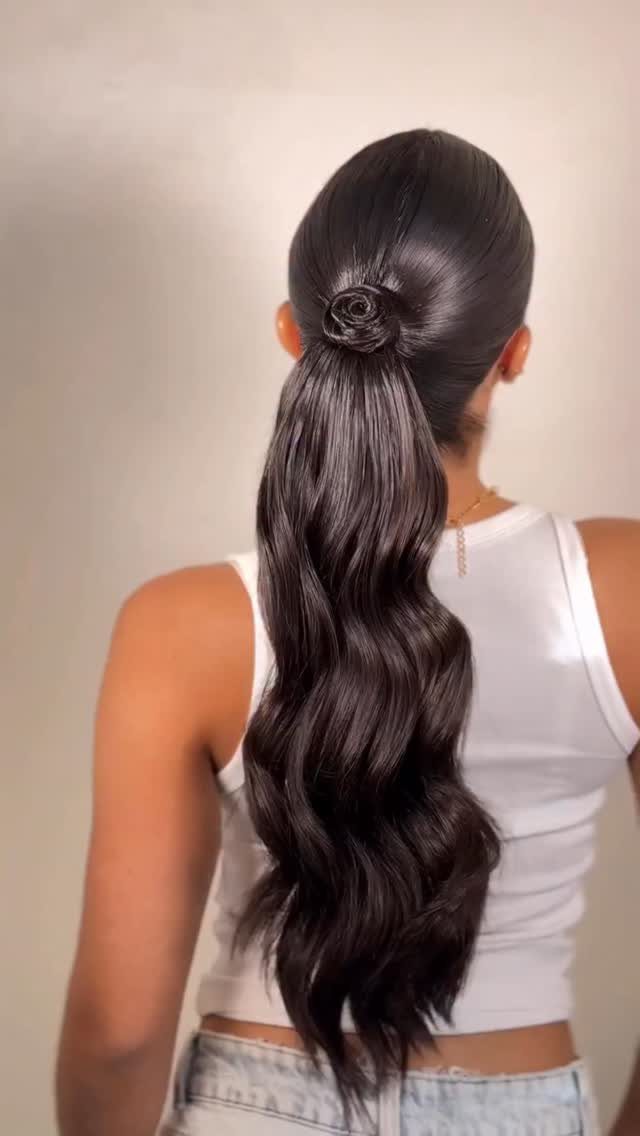
Gloss sells this ponytail. Work a smoothing cream or gel through damp hair, brush it straight back, and gather it at the height you like before securing it with an elastic.
Hide the elastic under a hair wrap, a ribbon, or a small strand wound around the base. Leave the length in its waves: a sleek top above loose, glossy ends is the contrast I like best here.
11. Ponytail Braid
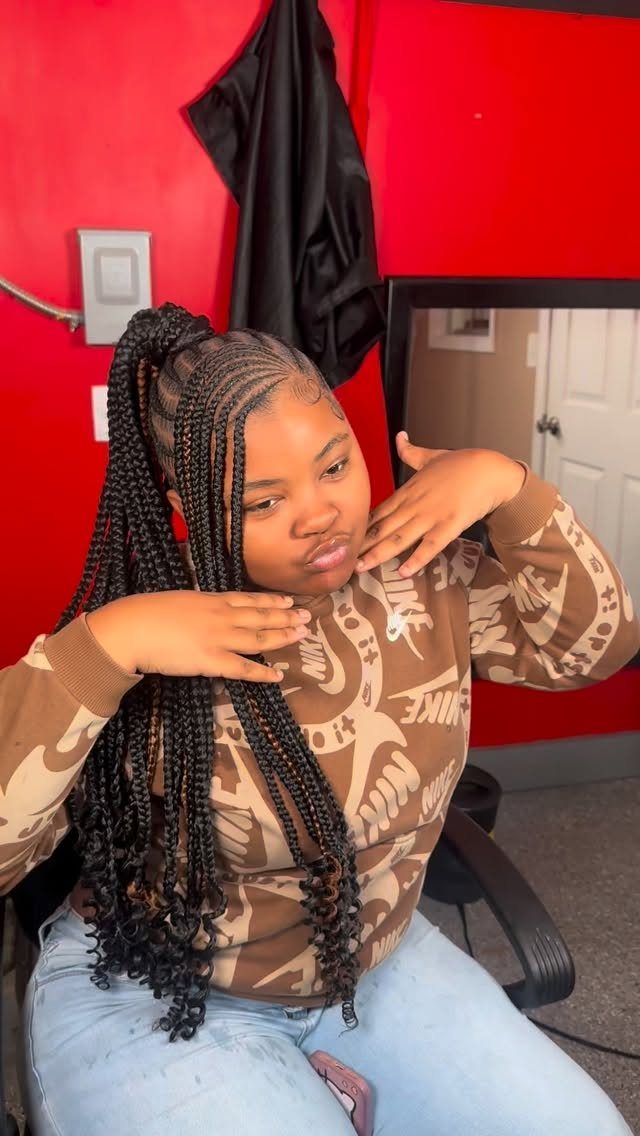
Braiding the length of a ponytail gives you a style that looks planned for about the cost of one extra step.
Make a high ponytail first, then braid down from the elastic, keeping the tension even, and close the end with a small elastic.
Tight, even sections give the neat woven look. If you’d rather have something softer, loosen the braid by gently pulling at the edges of each loop.
12. Braided Bun
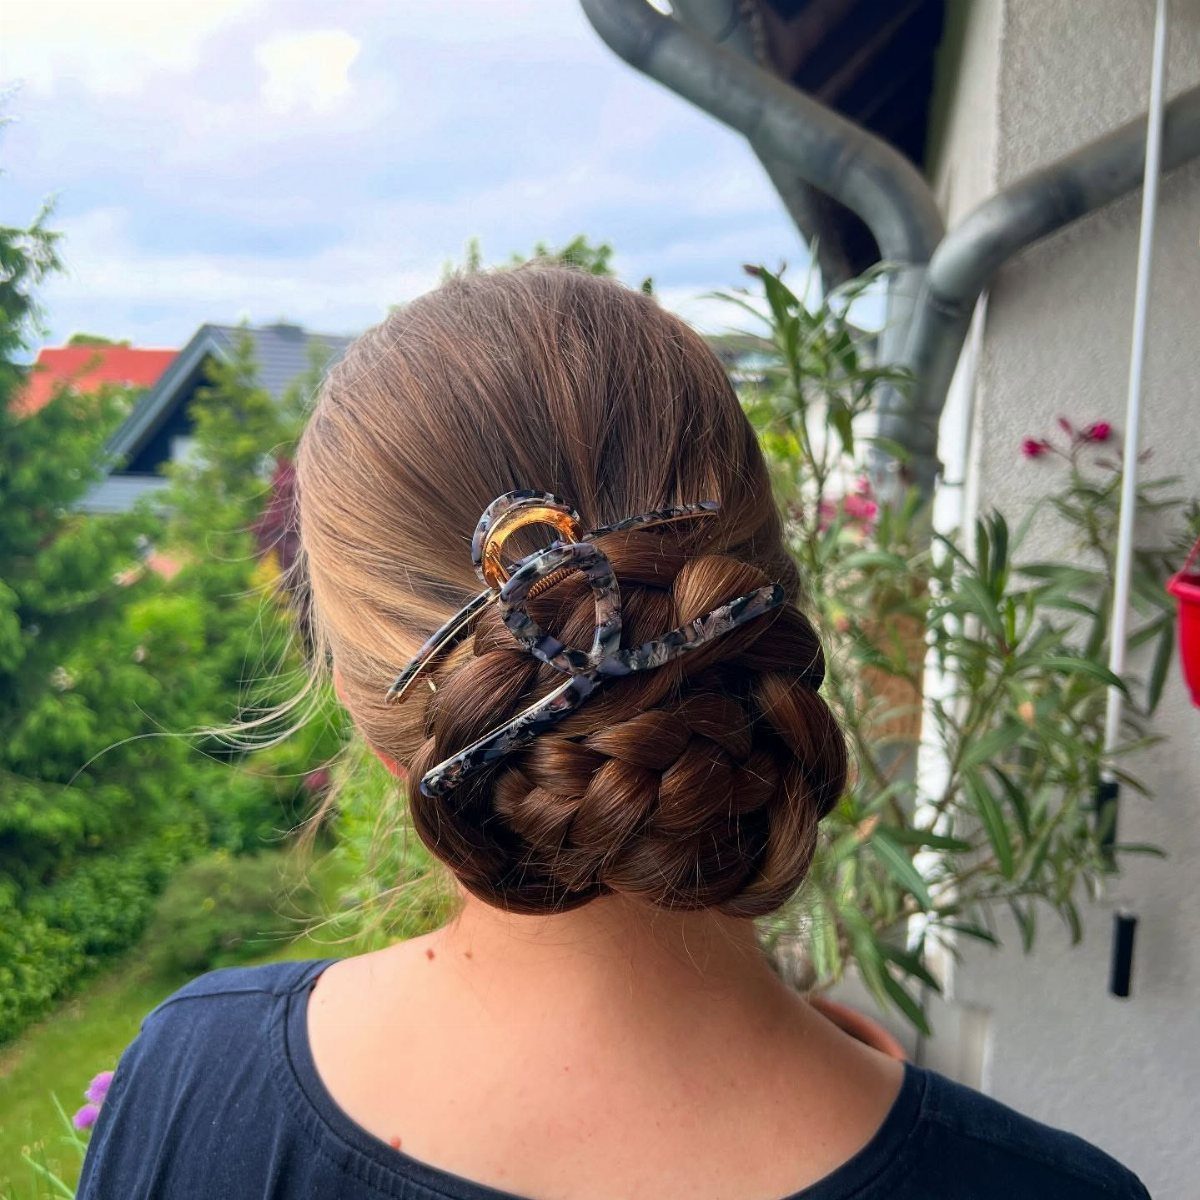
Wrap a braid around its own base and the bun arrives with texture built in. Braid the hair from a ponytail, coil it around the elastic, and tuck the end under the coil.
A claw clip can hold the whole thing, or you can use a few bobby pins if you want a lower profile. I like to loosen the braid a little before wrapping, since it makes the bun look fuller.
13. Tucked Ponytail
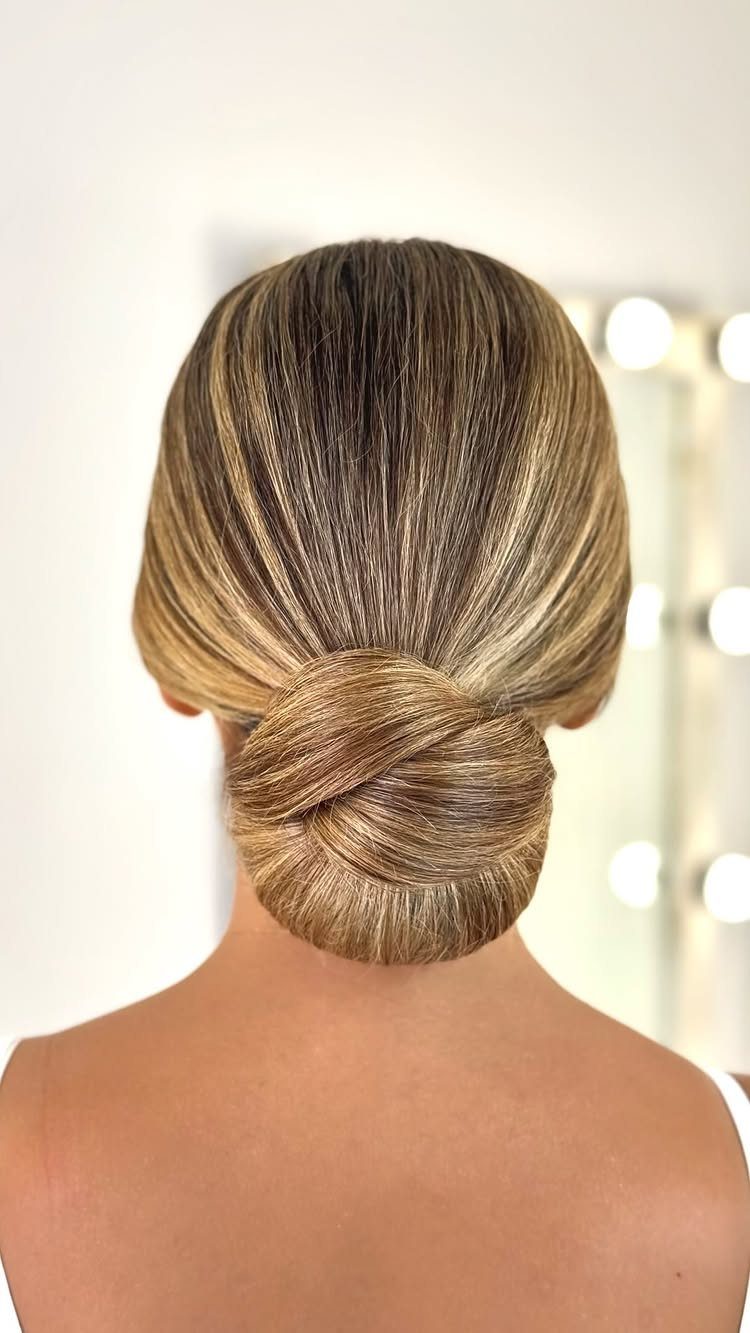
Flipping a low ponytail through itself turns a plain elastic hold into a smooth tucked roll at the nape.
Smooth the roll with your palms, then pin the ends if they want to slip out. Straight, sleek hair shows the shape best, and the whole thing takes about as long as a regular ponytail.
14. Half-Up, Half-Down
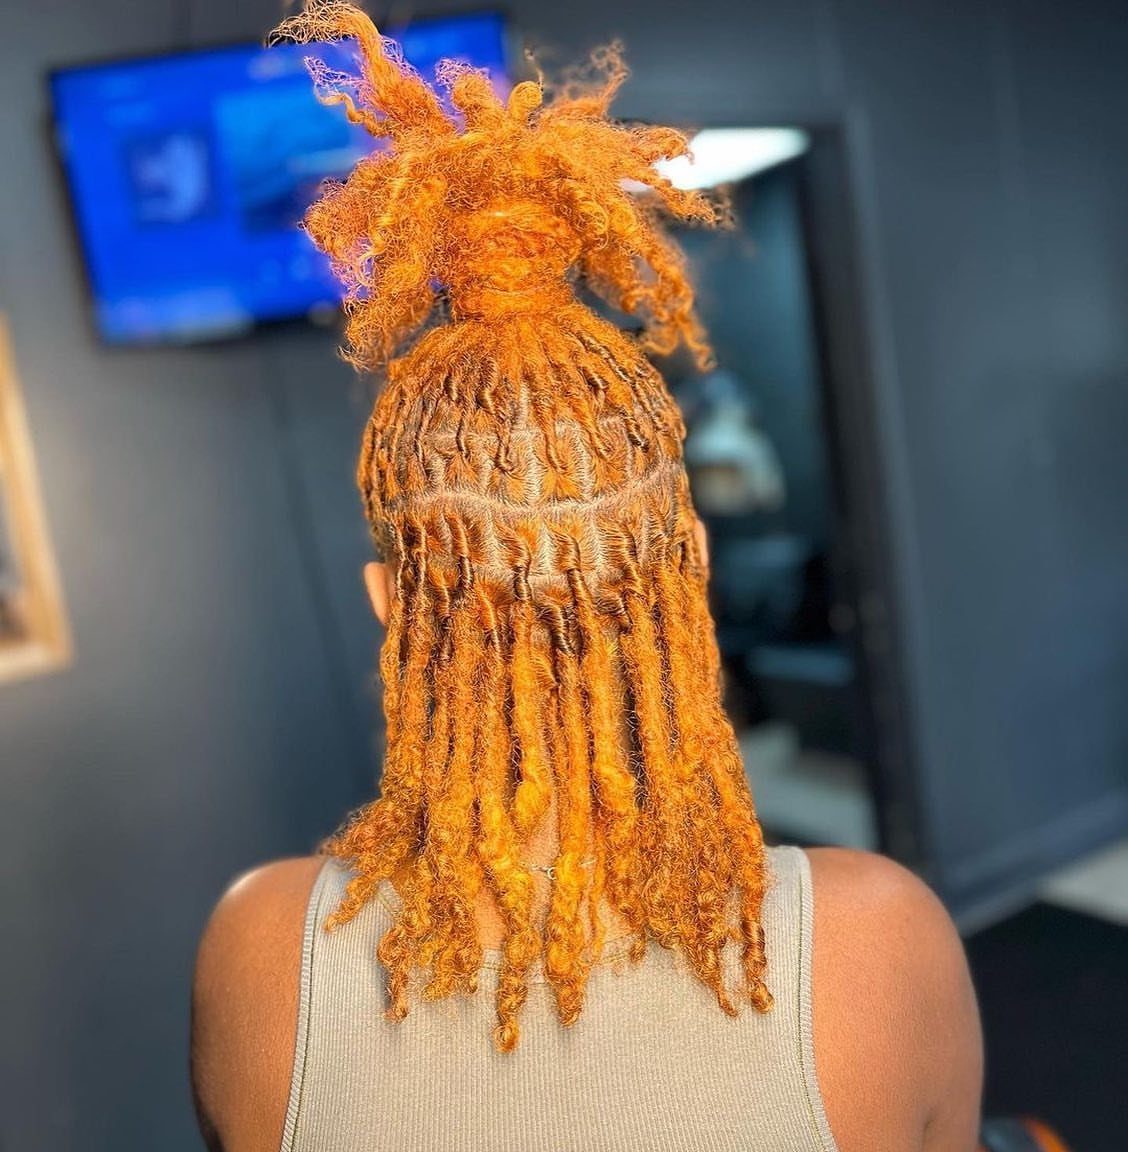
Take the top section only, secure it, and leave everything below loose. That is the entire idea, and it works with a bun, a ponytail, or a twist as the anchor.
I like a high bun here because it adds height while the length keeps the look relaxed. Gather from ear to ear across the crown, tie it off, and coil the section around its own base.
15. Low Chignon
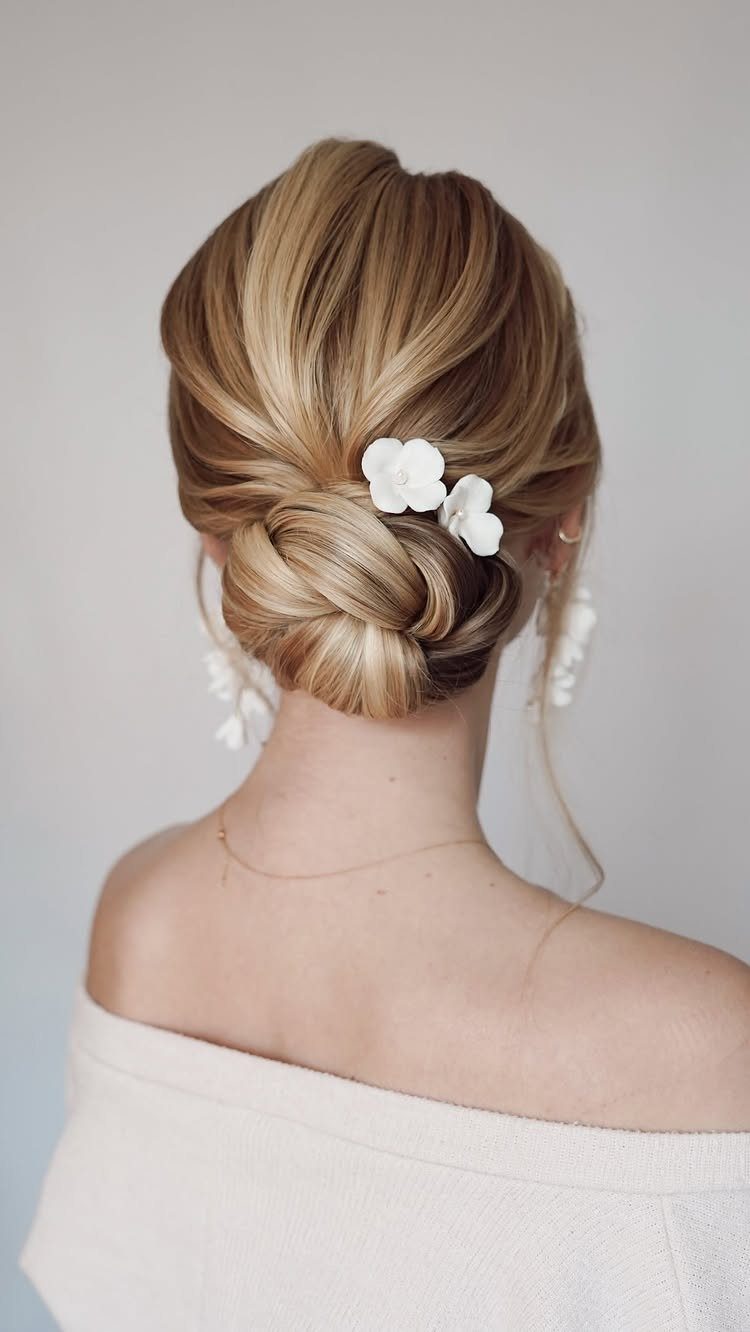
Sitting at the nape, a knotted chignon is quieter than a high bun and suits formal plans well.
Start with a low ponytail, twist the length, and wrap it into a knot against the base. Pin it in from several angles so it doesn’t sag by evening.
Flowers or small pins slide into the knot afterward, which makes it a natural choice for weddings. Skip the decoration on a workday and it still looks finished.
16. Face-Framing Updo
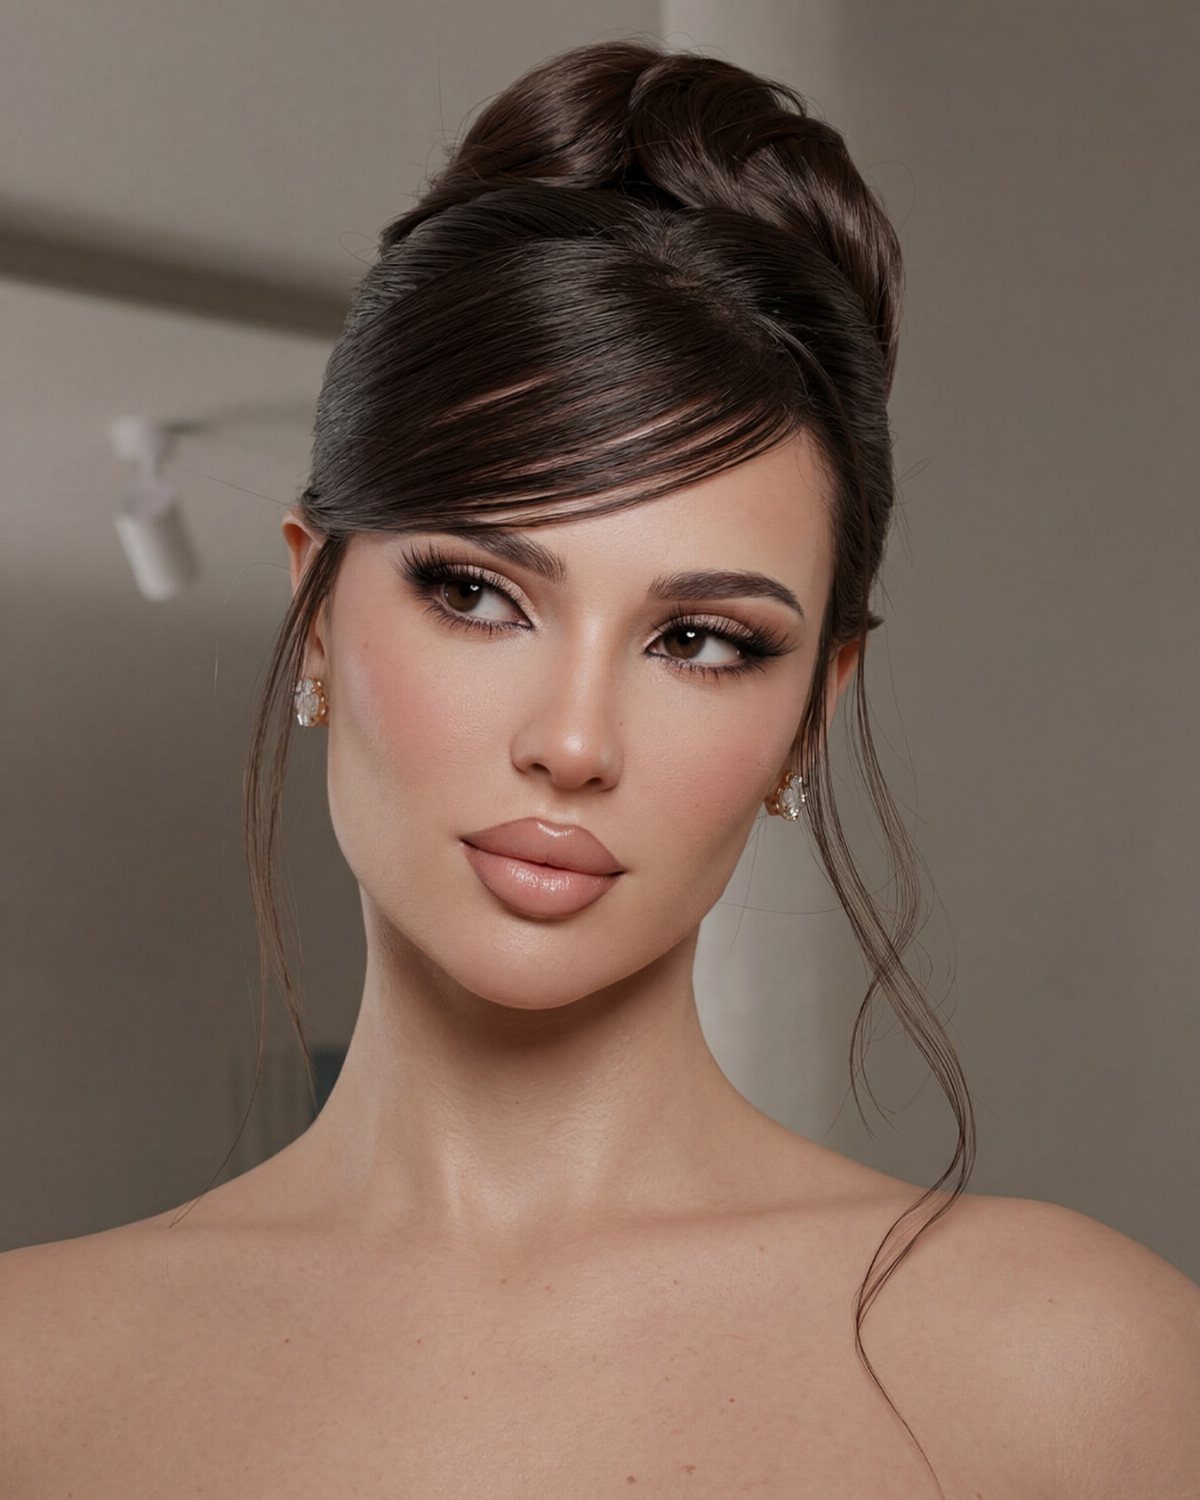
Pull a few strands out around the temples and ears, and even a basic updo looks softer. Pin the bun first, then release the face-framing pieces so the shape doesn’t loosen the whole style.
A curling iron makes those strands curve inward toward the cheeks; a quick pass is enough. I’d keep them thin, since thick pieces can look like the updo is slipping rather than styled that way.
“You can leave face-framing pieces out around your face and adjust the volume to suit what you’re comfortable with.” The style works across a range of hair textures and lengths, making it one of the easiest updos to personalize.
17. Rolled Vintage Updo
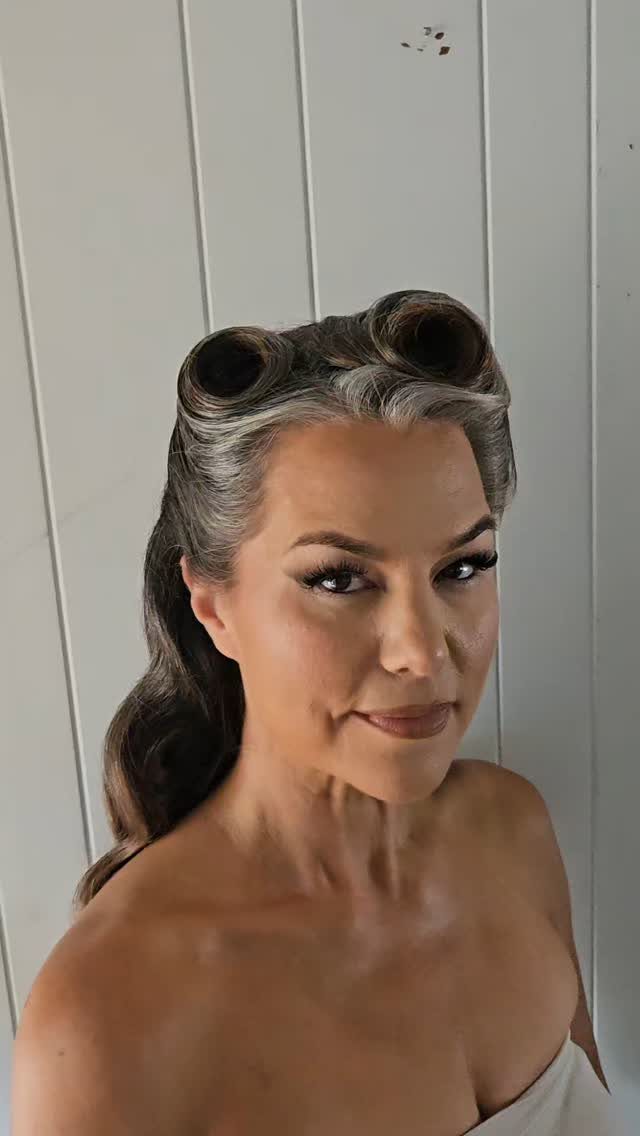
Structured rolls at the front give this updo its retro, pin-up outline.
Each roll is wrapped around your fingers or a curling iron barrel, then pinned flat so it holds its rounded shape. Hairspray between sections keeps the volume from collapsing.
Leaving the length down in waves, as here, balances the formality of the rolls. It takes more time than a ponytail, so I’d save it for an event morning when you can sit still for it.
18. Curly Ponytail
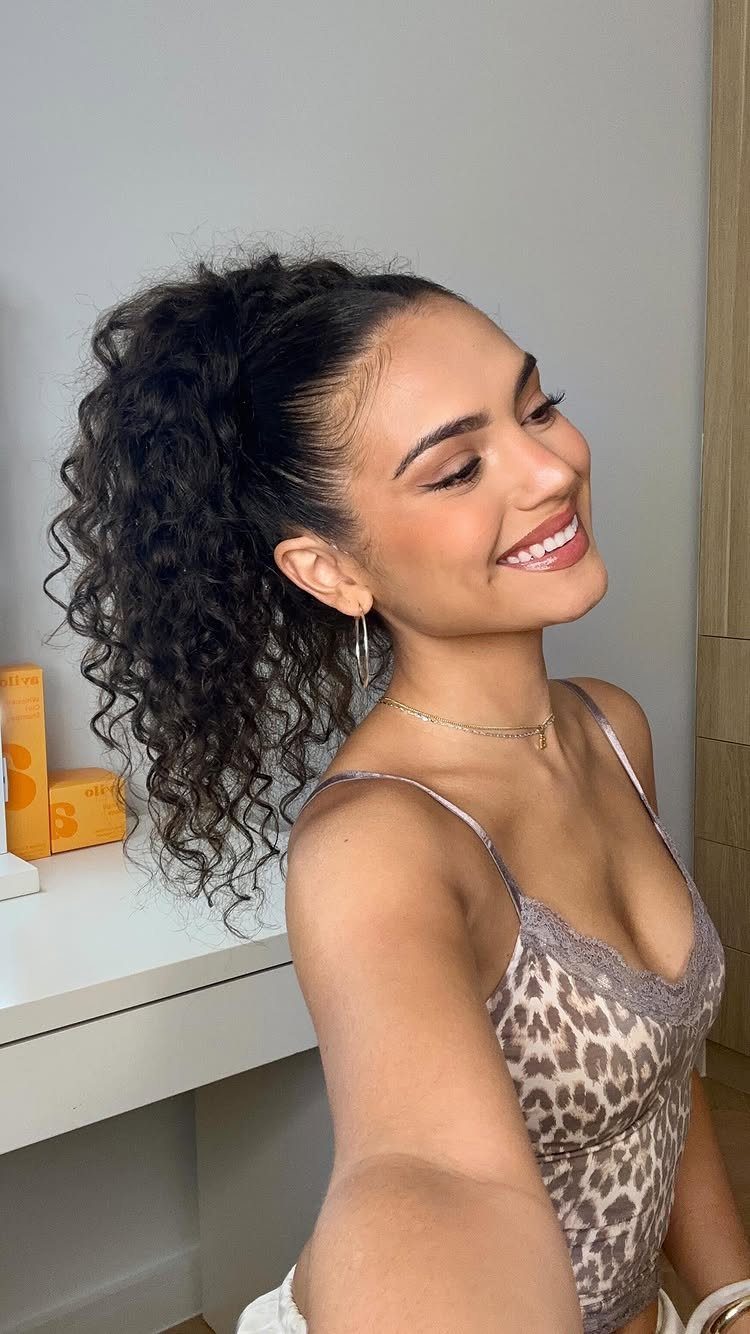
Curls hold their volume best in a high ponytail, since the elastic gathers them without flattening the pattern.
Curls set best when the cream goes in on damp strands, so wait for them to dry or use a diffuser before you pull the hair into the elastic.
Use a soft elastic or scrunchie and gather loosely; pulling tight stretches the curls and shrinks the shape. Fluff the ponytail with your fingers once it’s secure, and the crown gets that rounded, full look.
19. Textured High Pony
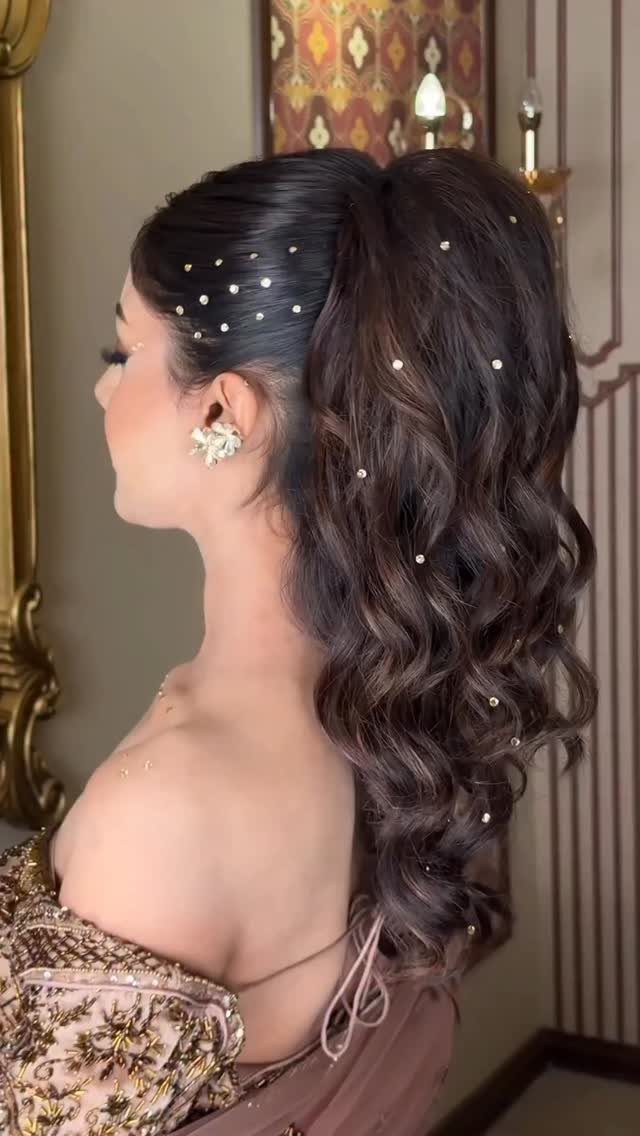
Small pearls pinned along the ponytail give this style its finish, and the waves are what make the pearls look intentional.
Lift the hair to the crown, secure it with an elastic, and rough up the length with a texturizing spray or a light curling pass so it fans out with volume.
Slide the ornaments in after the ponytail is set, spacing them out so they catch the light along the length. I’d keep them small and white, since bigger pieces pull the eye away from the waves.
20. High Ponytail
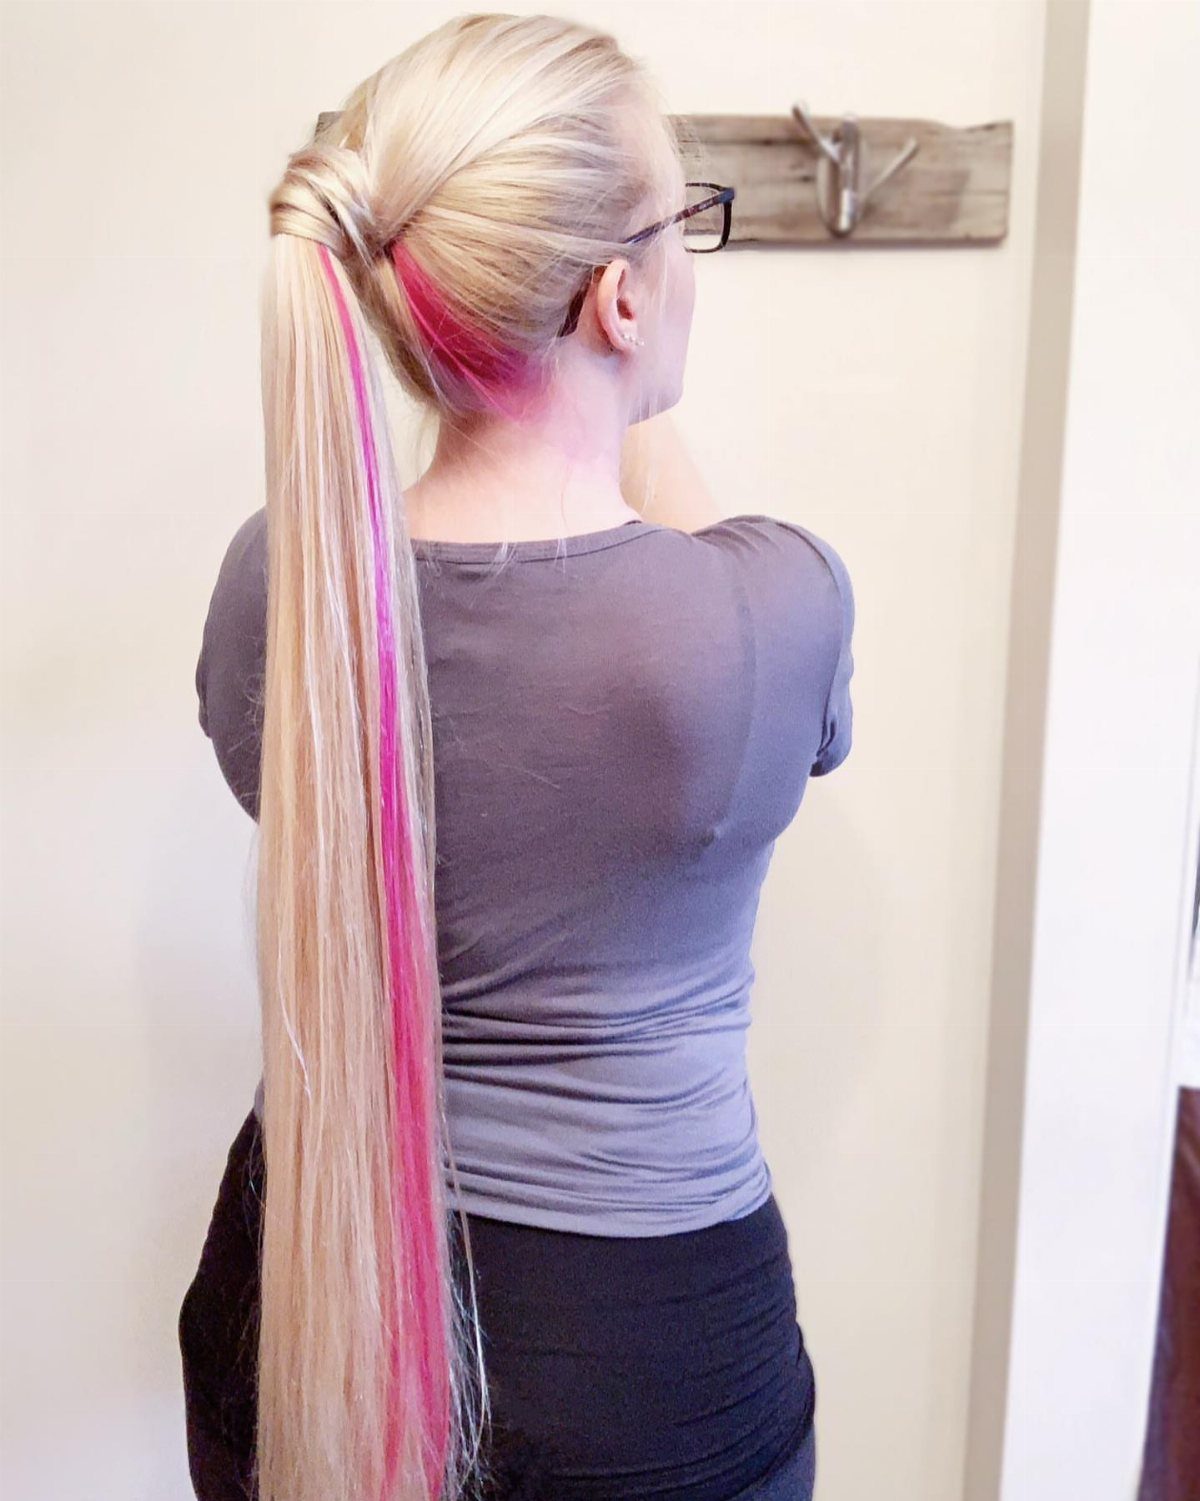
Everything gathers at the crown here, so the ponytail swings clear of the neck and the length hangs straight down the back.
Brush the hair up first, hold it in your fist at the height you want, and then wrap the elastic around it.
A high ponytail suits a rushed morning because it needs nothing but a brush and a tie.
On long hair with color through the ends, like pink streaks, a plain high ponytail lets the color do the work, since nothing else in the style competes with it.
Choosing Styles for Length and Texture
Hair length decides which style you can pull off, so sort by length before you save a photo. Long hair has the most options.
Medium hair needs only a few inches at the bottom to go up, which is less than most people expect. Short hair can still work, though it usually means a smaller, more textured shape.
Texture matters as much as length. Curly, frizzy, thin, and greasy hair each hold an updo differently, so search for examples on your own texture and skip the most dramatic photo in the feed.
If your hair is shoulder length and straight, don’t write off a polished low updo because you think you lack the length.
A good stylist can build one from that. Save the image, bring it to a qualified hairstylist, and ask for it by name.
Frequently Asked Questions
What are the current updo trends?
Textured buns lead: the second-day topknot, the chic ballerina bun, and braided designs are all popular picks.
A claw-clip twist and a braid coiled around its own base fit the same loose, lived-in look. Texture is the common thread, so a light curl and tease, or a texturizing spray or powder, gives the finish.
What is the easiest hair updo to do?
A messy bun in a claw clip. A claw clip twist is the quickest option: gather the hair, roll it up loosely, clamp it, then pull a few strands free by the neck and temples so it looks relaxed.
It forgives crooked placement, and second-day hair supplies the grip. A high ponytail runs a close second at about 1 minute, and all it asks for is a brush and an elastic.