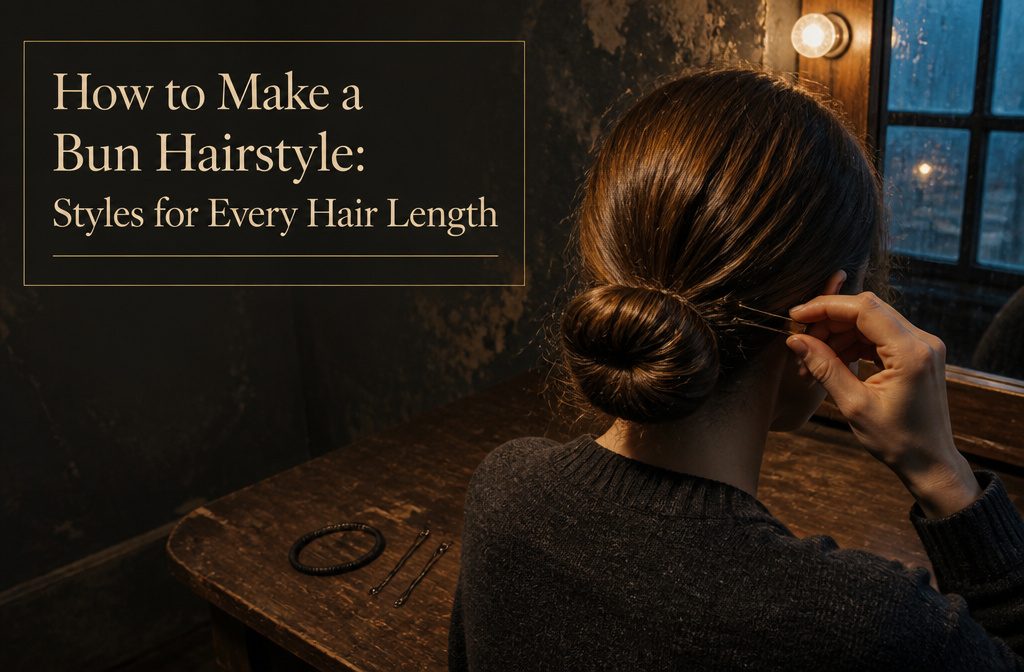
A neat bun takes a ponytail, a twist and 3–7 bobby pins, plus a few minutes. Messy ones need only an elastic wrapped about 3 times and 2–3 pins.
The step people get wrong is the pins: slide them under the elastic with only the tips showing, because extra pins show. On thick hair, swap the elastic for a hair bungee.
1. Classic Bun
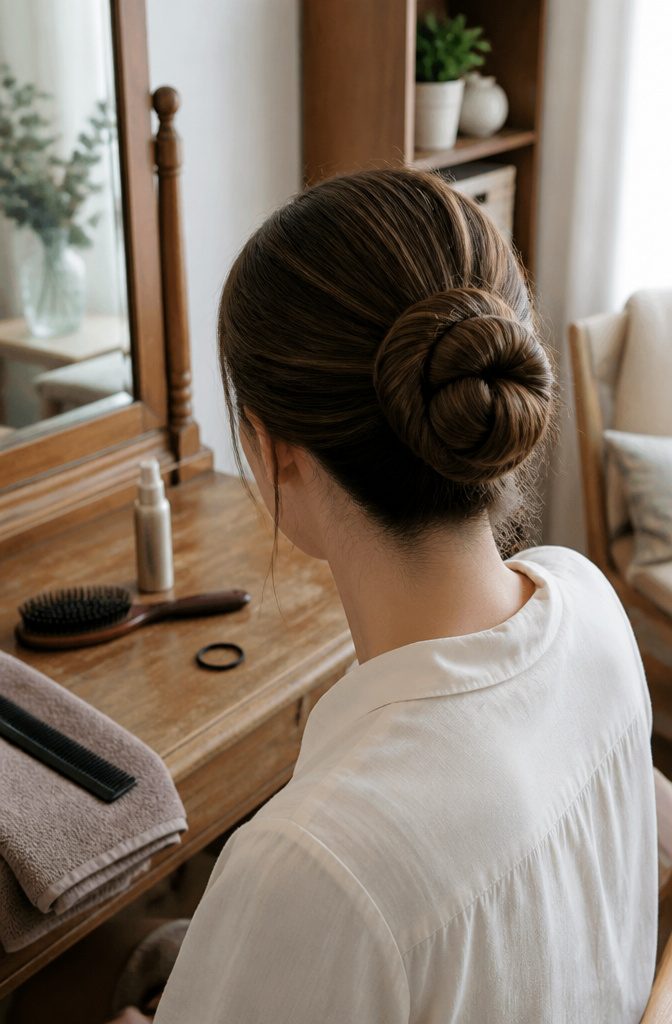
- Brush dry hair until the tangles are gone; a part isn’t needed. If you’ll be on the move, brush through a glob of hair gel for extra hold.
- Pull the hair into a ponytail at the low, mid-height or high spot where you want the bun. Thick hair holds better with a hair bungee than a regular elastic.
- Twist the ponytail from ends to base. The tighter the twist, the neater the bun.
- Wrap the twist around the hair tie in one direction and tuck the ends under.
- Slide in a few bobby pins, aiming toward your scalp, then turn each 180 degrees toward the center of the bun.
- Mist lightweight hairspray over flyaways. A hair net, ribbon or clip is optional.
2. Messy Bun
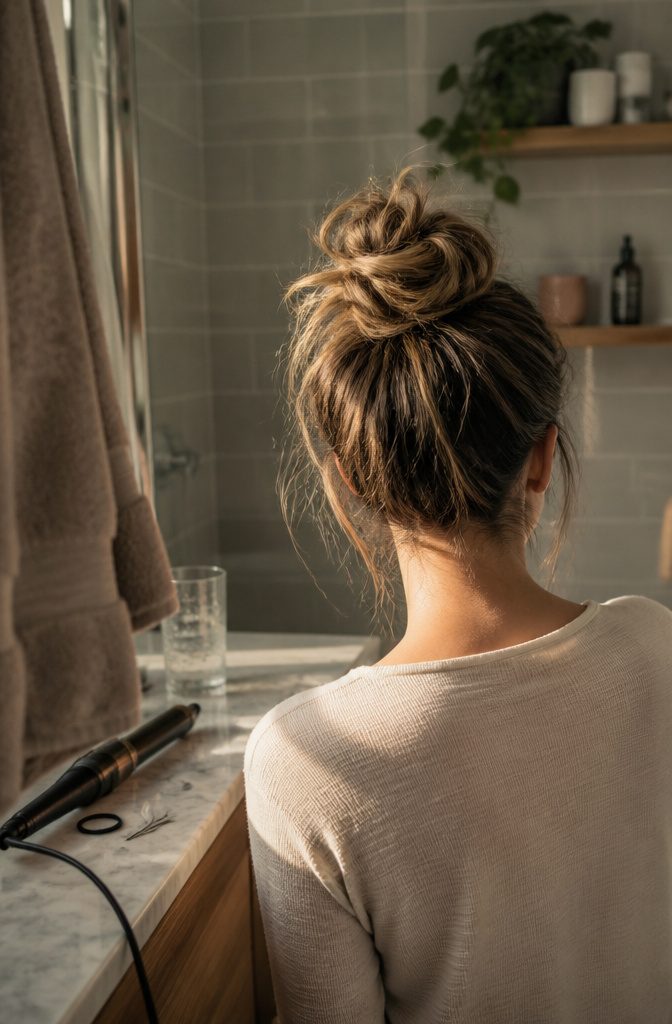
- Brush out tangles and stop as soon as they’re gone; heavy brushing isn’t needed.
- Gather the hair high. For the waved version, wave the ponytail with a tong first. I like the Babyliss PRO Ceramic Dial A Heat Tong, $45.25 on Beauty Bay US.
- Wrap the elastic about 3 times total, and on the last wrap leave ½–⅓ of the hair hanging as a tail. The rest becomes a loop. Thick hair holds better with a hair bungee.
- Wrap the tail around the base to cover the band, then pin it with 2–3 bobby pins.
- For the waved version, split the ponytail in two instead, knot the sections together with tails out each end, pin the knot into the base, and pin the tails around it.
- Pull sections loose with your fingers, then finish with hairspray.
3. Topknot
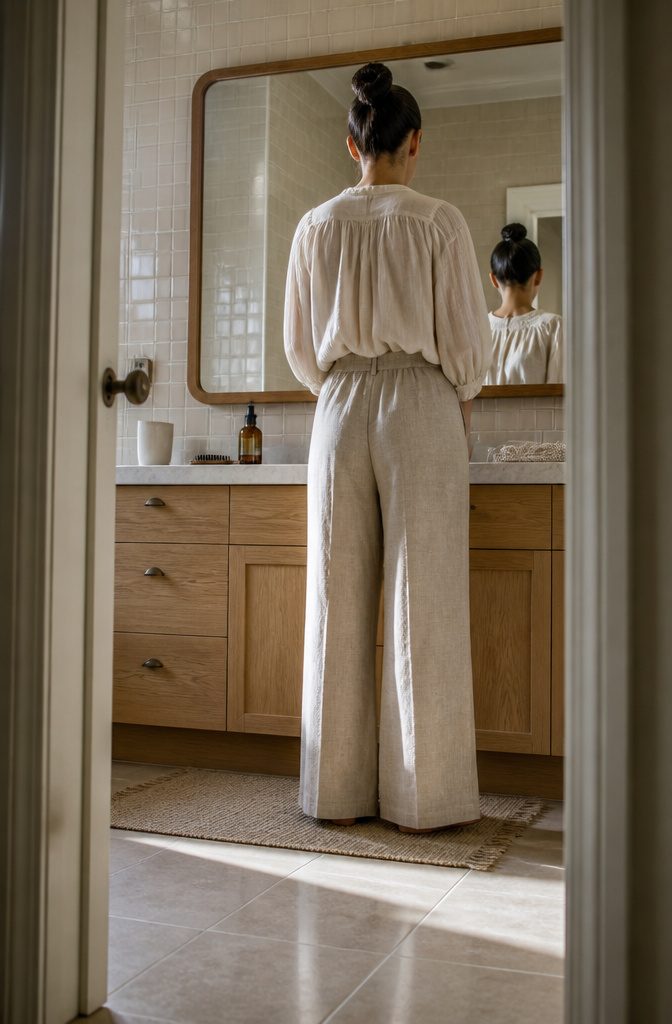
Topknots suit medium-length hair best, because short hair runs out of length once it’s gathered into a high ponytail.
- Gather the hair into a high ponytail and smooth it with oil. Living Proof No Frizz Vanishing Oil ($33 on the US site) keeps the finish sleek without looking greasy.
- Split the ponytail in two and knot the sections together. Very long hair may need a second knot before it reads as a topknot. For a tighter, rope-like shape, twist the whole ponytail instead and wrap the elastic around its base.
- Loosen the knot with your fingertips, massaging the hair outward for fullness.
- Pin loose nape hairs, or tuck the loose ends under the elastic.
- Finish with hairspray.
A mirror behind you makes steps 1 and 4 much easier.
4. Sleek Ballerina Bun
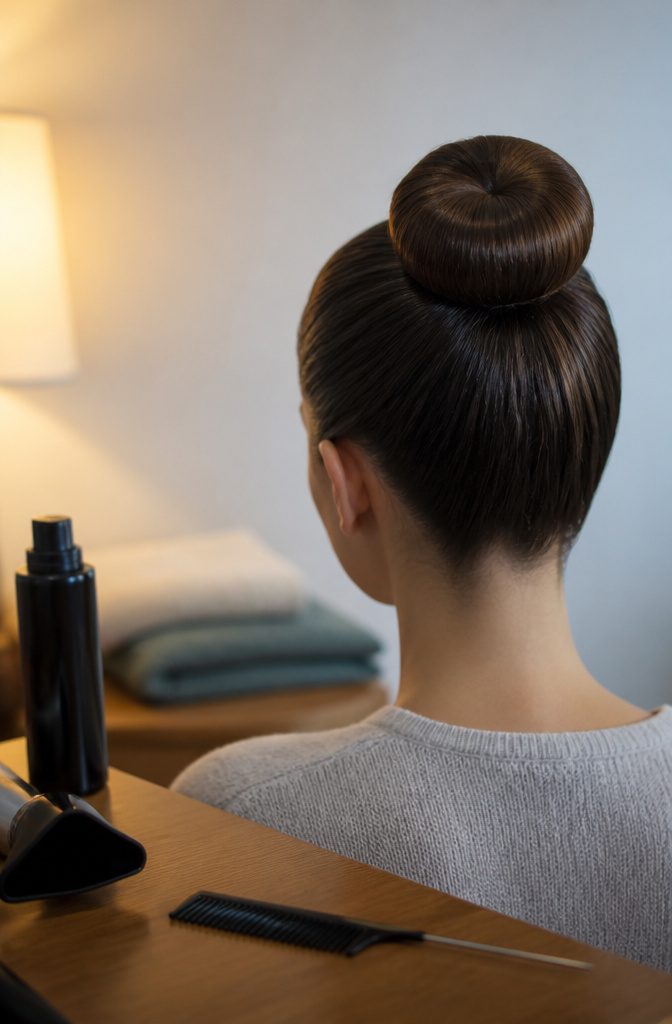
- Brush out every tangle until the hair is completely smooth. Curly or wavy hair needs a hairdryer or straightening iron first.
- Tie a tight ponytail at the crown.
- Back-brush it for volume with a pin-tail comb (So Eco Tail Comb, $4.25 on Beauty Bay US).
- Wrap the ponytail around its base. On fine hair, a Primark US donut ($1.50) adds size.
- Tuck the ends under and slide 3–7 bobby pins beneath the bun.
- Finish with Percy & Reed Hold It Right There hairspray ($21.48 on Feel Unique US).
Extra pins don’t hold better; they show.
Avoid using more than necessary though, as you will be able to see if there are many being used.
— wikiHow
Stop adding pins once the bun stays put.
5. Braided Bun
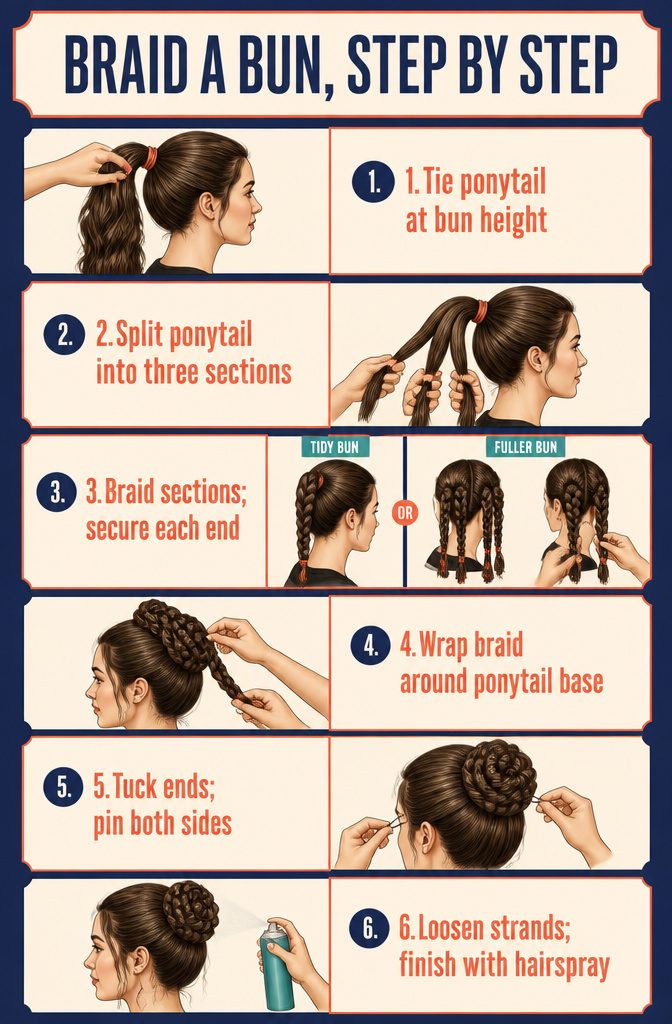
- Tie a ponytail where you want the bun to sit.
- Split the ponytail into three sections.
- For a tidy bun, braid the three sections into one braid. For a fuller bun, braid each section separately, fluff each braid with your fingers, then braid those three together loosely. Secure every braid with a clear elastic at the bottom.
- Wrap the braid around the ponytail base, laying the coils against each other.
- Tuck the ends under the ponytail elastic and pin both sides.
- Optional: pull out a few strands for a messy look, then finish with hairspray.
6. Sock Bun
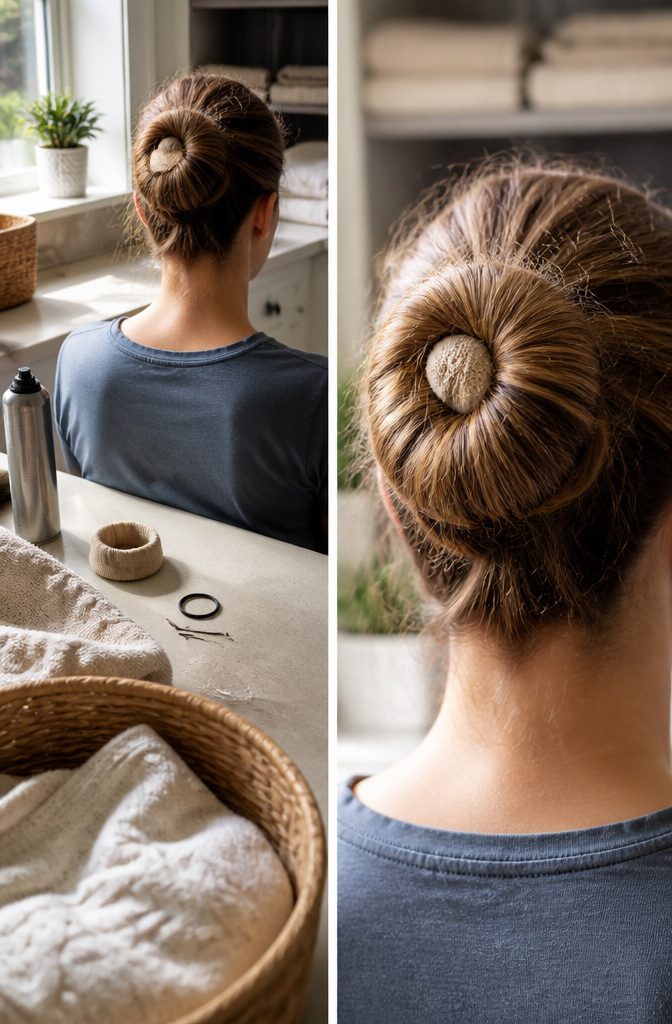
An old, clean sock does the job of a $1.50 bun donut for free.
- Pull your hair into a ponytail where you want the bun and secure it with an elastic.
- Cut the closed toe end off the sock, leaving a tube.
- Roll the tube down on itself into a donut.
- Slide the donut over the ponytail.
- Wrap the hair around the donut, ends going into the center hole.
- Roll the sock toward the base, shifting the hair as you go so it doesn’t gather in one spot.
- Adjust the shape and add bobby pins where it needs them.
- Finish with hairspray.
Leave the bun in for a few hours and you may take it down to waves, especially if you used styling product and hairspray.
7. Low Bun
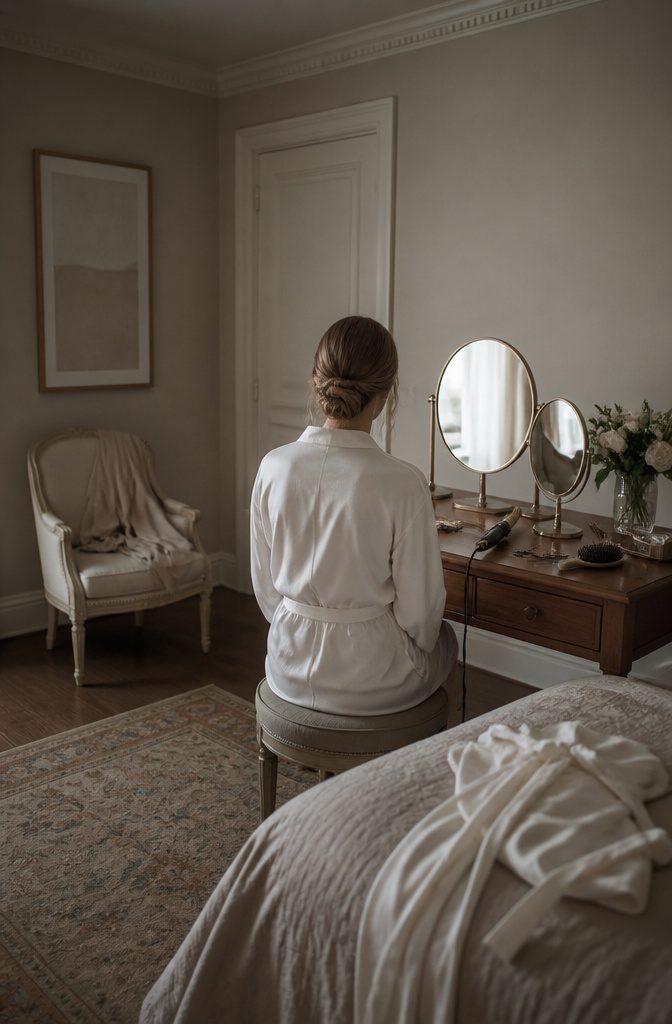
- Section off a veil of hair along the front hairline and clip it out of the way.
- Gather everything behind the veil into a low side ponytail.
- Split the ponytail in two, twist the halves around each other, and pin the twist in place. Slide the open pins underneath the elastic so they grip.
- Bend the front veil with a tong. The Babyliss PRO tong costs $45.25.
- Lay the bent pieces softly around the bun and pin wherever it looks prettiest.
- Hold one mirror behind your head and one in front to check the back.
Waved Hair Pins from Tappers and Pointers cost $2.50 on the US site, and their shape grips well. I’d spend there before the tong.
8. Long-Hair Buns
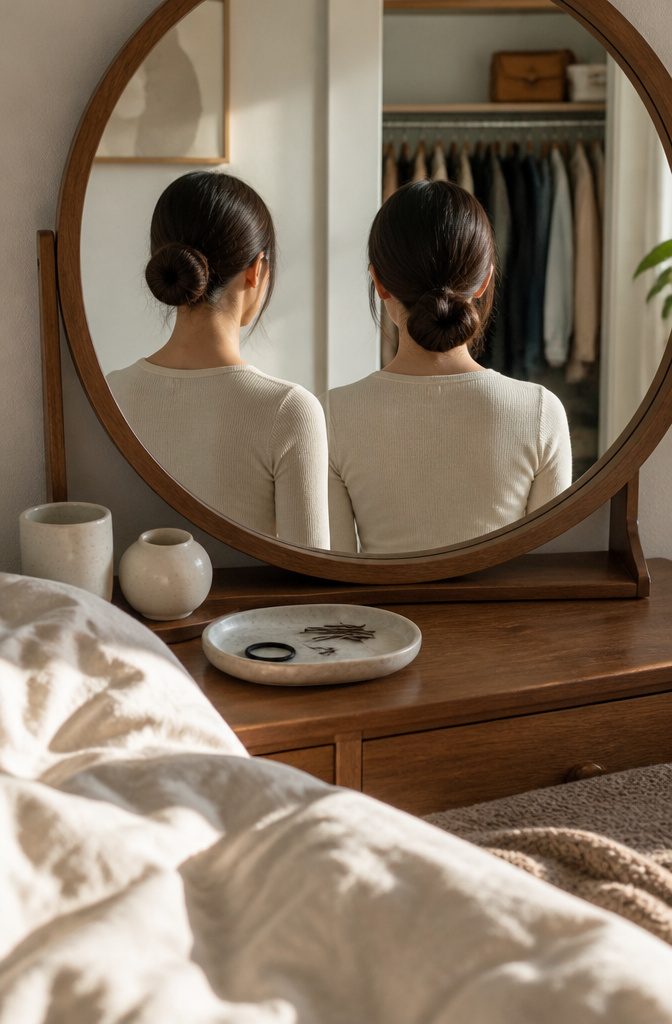
Long hair gets its own family because length makes the shortcuts possible. Fast beginner buns and pin-free buns are quicker, simpler versions of the classic, messy and topknot methods above, with fewer steps and less to get wrong.
A no-pin bun relies on two things: the elastic and the twist.
The elastic anchors the hair at the base, and the twist keeps the length coiled instead of hanging loose. With no pins to place or lose, this is the version I’d hand to a true beginner.
A loose, low bun looks soft, but it slips by mid-afternoon unless you add a second elastic or a few pins.
Pins grip from several angles, while a pin-free bun is only as secure as its elastic. A stretched-out or loosely wrapped one will let the bun slump, so start with a fresh, snug elastic.
Choosing Bun Placement
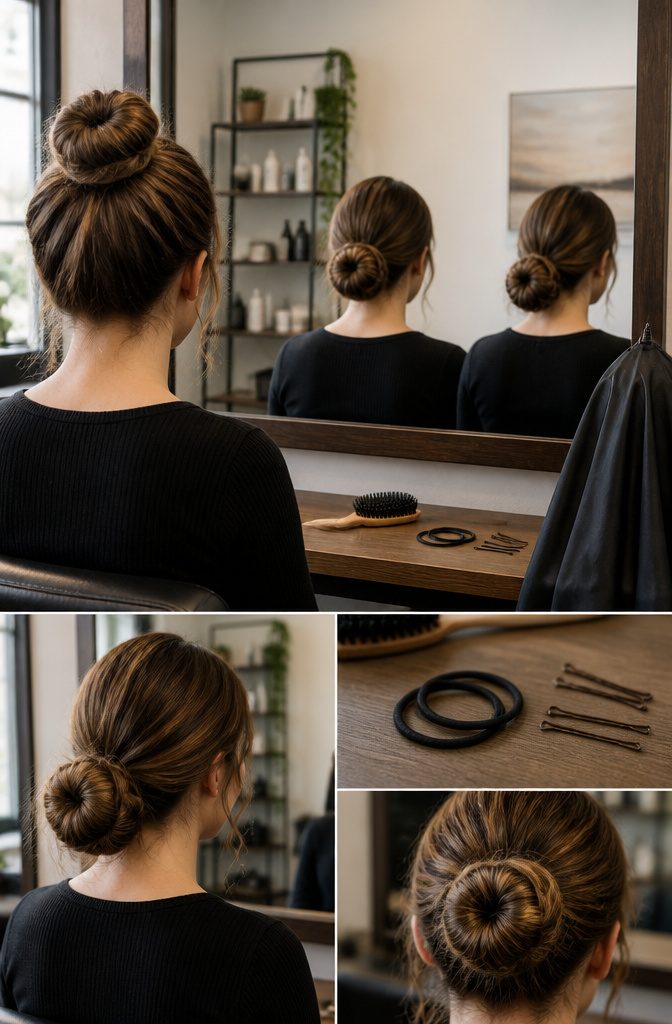
Where the ponytail sits decides the bun before any wrapping starts. Pull the hair very high near the crown for a sophisticated look; ballerina buns and top knots belong there.
Gather it at the center of the back of the head and the bun reads more professional. Drop it to the nape and it turns relaxed, which is where I’d put a messy bun for an easy, carefree feel.
Low buns can also sit to the side. Messy and classic buns go wherever you secure the ponytail, so they’re the flexible pair.
An off-center bun adds a playful note, and it works best when placed either very low or very high. Skip the middle ground if you want it to look deliberate.
Securing the Bun
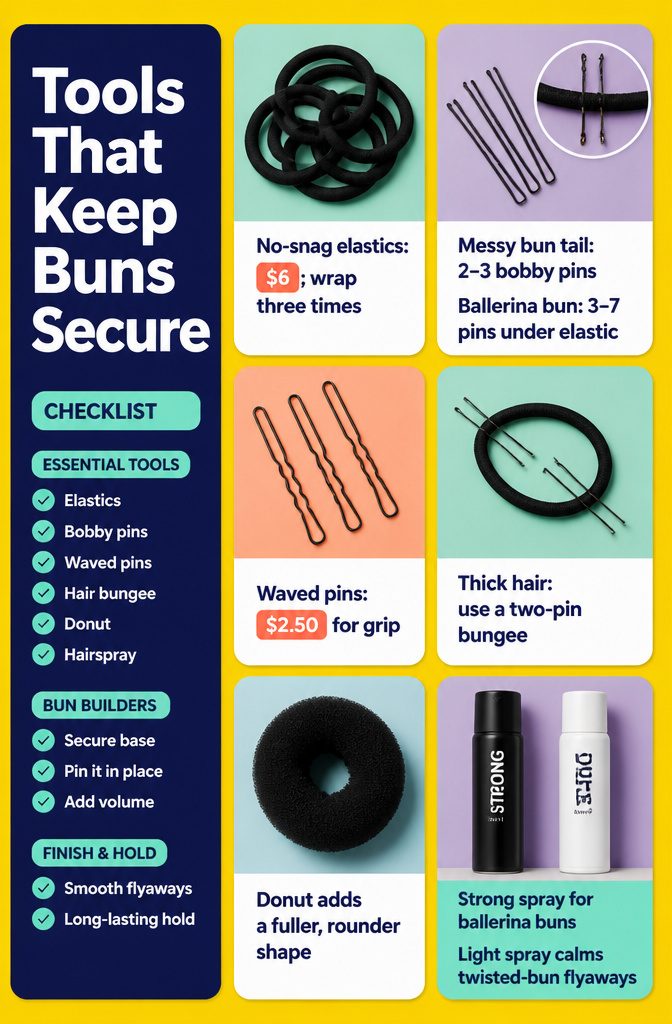
A bun stays up because of a few small tools, and each one does a different job:
- Elastics: Kitsch No-Snag Elastics cost $6.00 in the US. The no-snag part matters because you wrap the band about 3 times.
- Bobby pins: A messy bun’s tail takes 2–3, and a ballerina bun takes 3–7. Slide them under the elastic, with only the tips showing. Extra pins start to show.
- Waved hair pins ($2.50): The wavy shape grips well.
- Hair bungee: For thick hair, slip two bobby pins onto an elastic. Pin one at the top of the ponytail, wrap until the slack is gone, then pin the other toward the center.
- Donut: A foam ring gives the bun a fuller, rounder shape.
- Hairspray: Use a strong formula on a ballerina bun and a lightweight one on a twisted bun to calm flyaways.
Smooth or Messy Finish
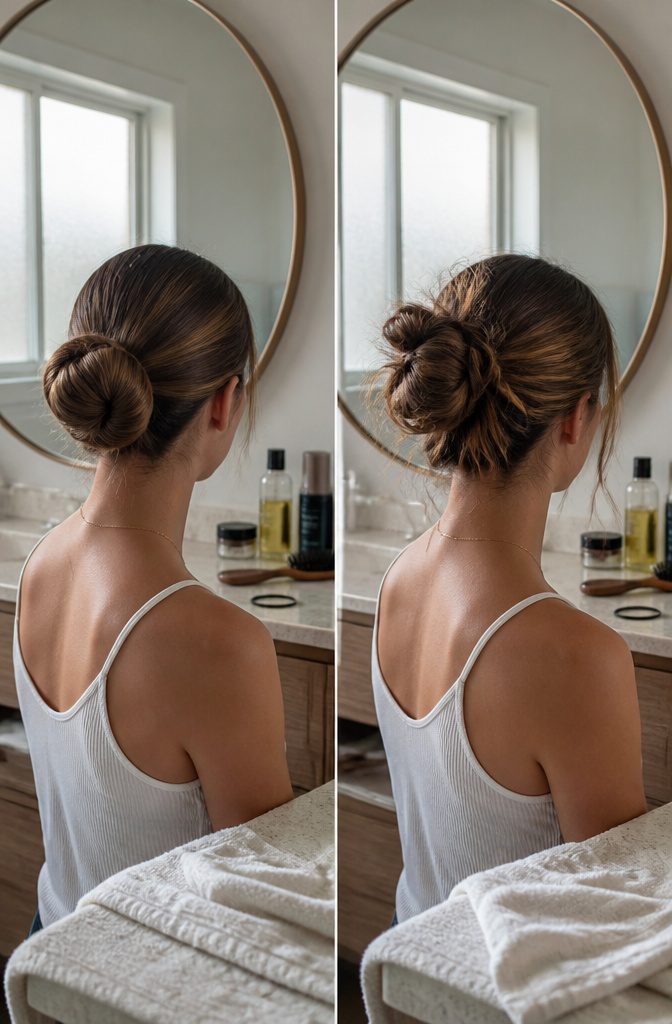
A relaxed finish forgives almost everything a beginner gets wrong. A lopsided wrap or a lumpy section reads as intentional once you pull a few strands loose or pinch and pull the hair above the bun for texture.
The messy finish is the one I’d hand to anyone on their first try, and it costs little: a hair tie, a light coat of hairspray and a few gentle tugs.
Smooth buns demand more of everything. You brush the hair, dampen it, work in oil or gel, flatten flyaways with a heat tool and seal it all with strong hairspray.
Every bump in the wrap shows, so the product list is longer and the morning runs longer too. Get the wrap neat in a messy version first, then add the polish.
Hair Length and Thickness
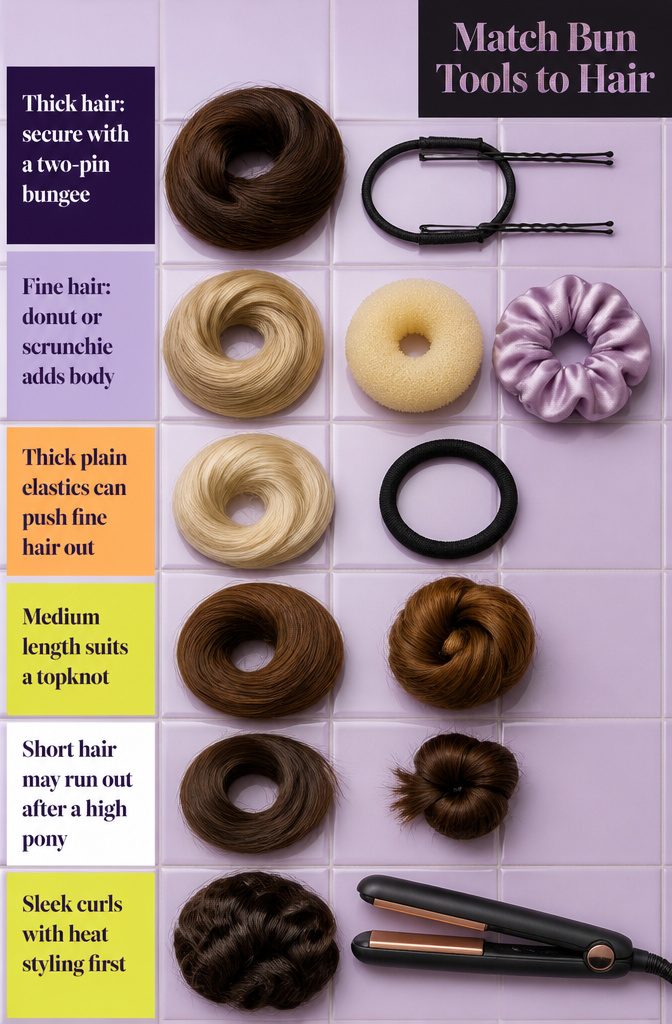
Length and texture pick the tool before they pick the style, so match the two first:
- Thick hair: an ordinary elastic struggles to circle the whole handful. Make a hair bungee: slide two bobby pins onto an elastic, pin one at the top of the ponytail, wrap until the slack is gone, then pin the second toward the center.
- Fine hair: a bun filler or donut adds body. Reddit posters also recommend scrunchies, which add volume and close the gap between bun and head, and warn that a thick plain elastic can push fine hair out.
- Medium length: topknots suit it best. Short hair may run out after the high pony, and very long hair needs the two pieces knotted more than once.
- Curly or wavy hair: run a hairdryer or straightening iron through first if you want a sleek bun.
Frequently Asked Questions
What is the easiest bun to make?
A messy bun is the easiest, since a lopsided wrap or lumpy section looks intentional once you pull a few strands loose.
For a true beginner, a pin-free bun is even simpler because it uses only a snug, fresh elastic and a twist, with no pins to place or lose.
A stretched-out elastic lets the bun slump, so swap it for a fresh one or loop it an extra time.
How do you make a messy bun?
Gather your hair high and wrap the elastic about 3 times, leaving ½–⅓ of the hair hanging as a tail on the last wrap so the rest forms a loop.
Wrap the tail around the base to cover the band and pin it with 2–3 bobby pins. Tug sections loose with your fingers and finish with hairspray.
How do you make the perfect bun in your hair?
Twist the ponytail tightly from the ends to the base, because a tighter twist gives a neater bun.
Wrap it around the elastic in one direction, tuck the ends under, and slide in bobby pins aimed toward your scalp, turning each one 180 degrees toward the center. A mist of lightweight hairspray settles any flyaways.
What is a ballerina bun?
A ballerina bun is a smooth, tight bun set high at the crown of the head.
Tie a tight ponytail, back-brush it for volume, wrap it around its base, and tuck the ends under. Slide 3–7 bobby pins beneath the bun, and use a strong hairspray to hold the finish.
How do you make a homemade hair bun?
Make a sock bun: cut the closed toe off a clean sock and roll the tube down on itself into a donut.
Slide it over a ponytail, wrap your hair around it with the ends tucked into the center hole, then roll the sock toward your base. It does the same job as a store-bought bun donut, which costs about $1.50.