Hair length and texture decide which of these works for you. The Sleek Ponytail and the Slick-Back Bun smooth fastest on straight hair, the Curly Updo keeps a curl pattern intact, and the Crown Braid asks for length.
The range runs from a Messy Bun built on second-day hair to the Stitch Braid Pony, which is usually done at a salon and then holds for days.
1. Messy Bun
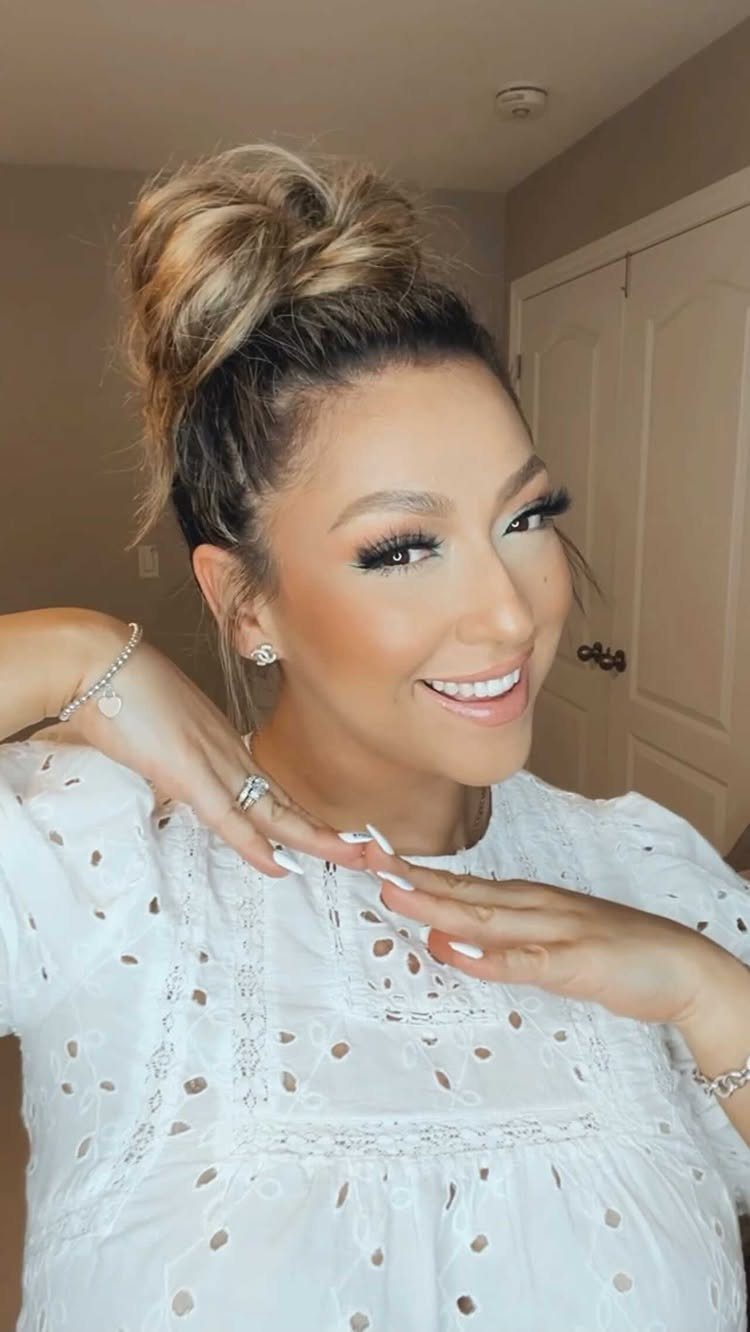
The bun sits high and loose, with strands pulled free to soften the silhouette. You can twist the ponytail before wrapping it or skip that step entirely, the goal is texture over precision.
Start with second-day hair or add dry shampoo for grip.
Secure the ponytail, wrap it around the base without smoothing, and pin wherever it holds. Pull a few pieces around your face and let the back stay relaxed.
Takes 90 seconds once you stop trying to make it neat.
Few hairstyles have reached icon status quite like Pamela Anderson’s messy bun. supermodel, it’s intentionally imperfect—wispy face-framing pieces, a little volume at the crown, and a bun that looks like you threw it up in 30 seconds (even if you definitely didn’t).
2. Ponytail Braid
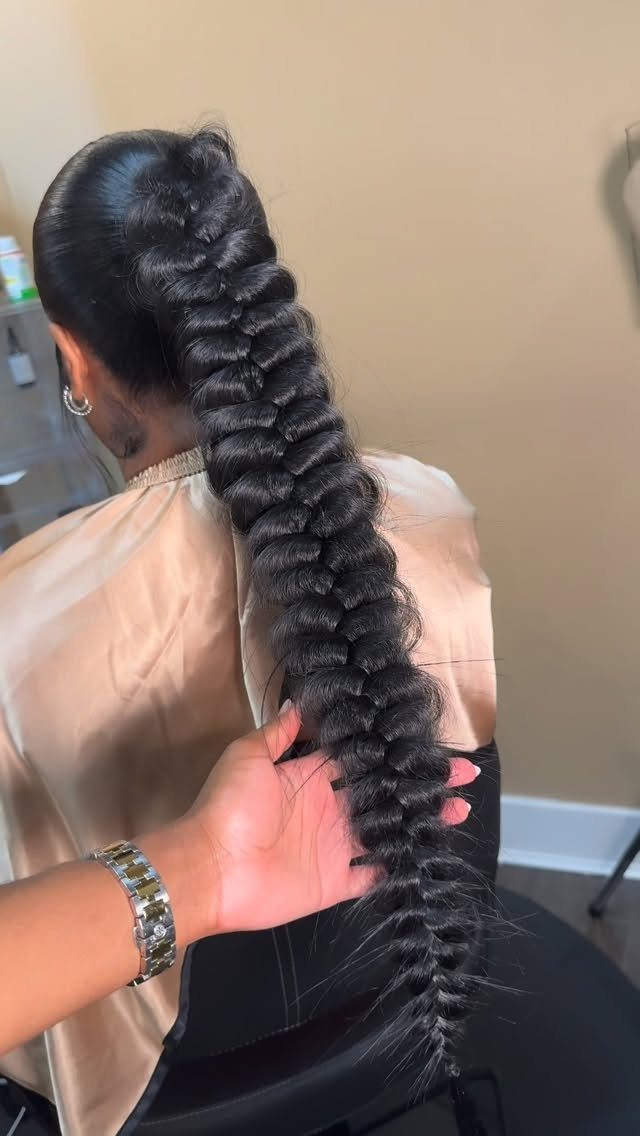
Start with a ponytail at any height, then braid the length. The braid keeps the ponytail from swinging and gives you a finished edge without heat.
A 3-strand braid works for speed, a fishtail or Dutch braid adds dimension if you have the time. Secure the end and pull the braid apart slightly for width.
Holds better than a loose ponytail and hides day-old texture. Add a ribbon woven through the braid if the occasion calls for it.
3. Bubble Ponytail
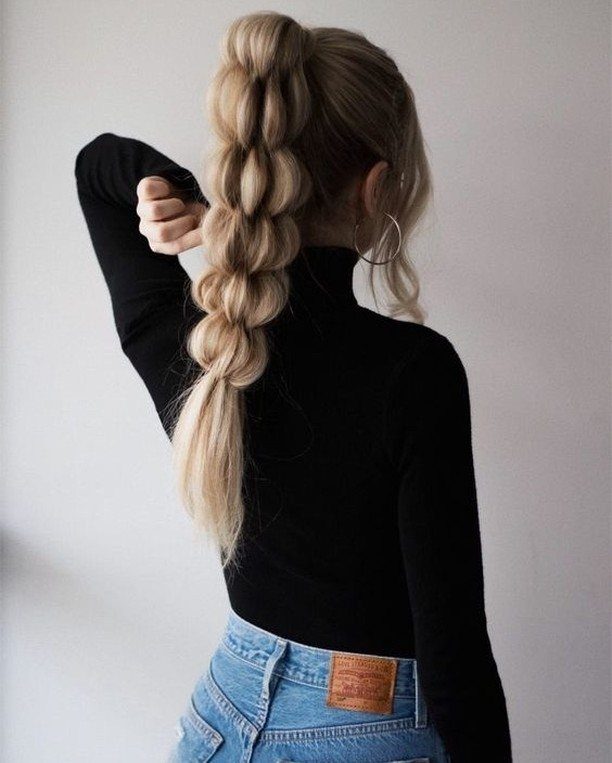
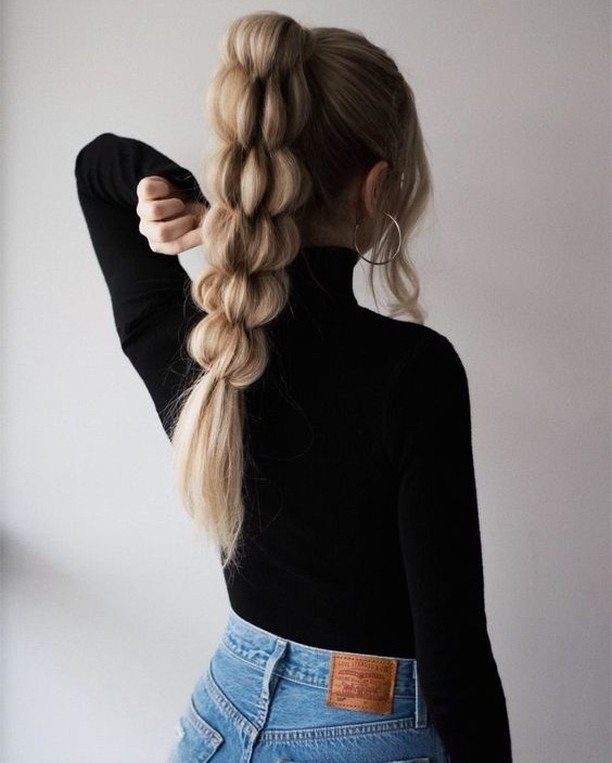
Each section balloons out between elastics, giving flat hair instant volume. The effect reads as deliberate, not accidental, which makes it popular for casual events and gym days alike.
The higher the ponytail, the more lift you get at the crown.
Thin hair looks fuller, thick hair stays controlled. Spray lightly between sections if you want the bubbles to hold their shape all day.
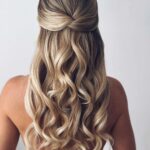
4. Half-Up, Half-Down
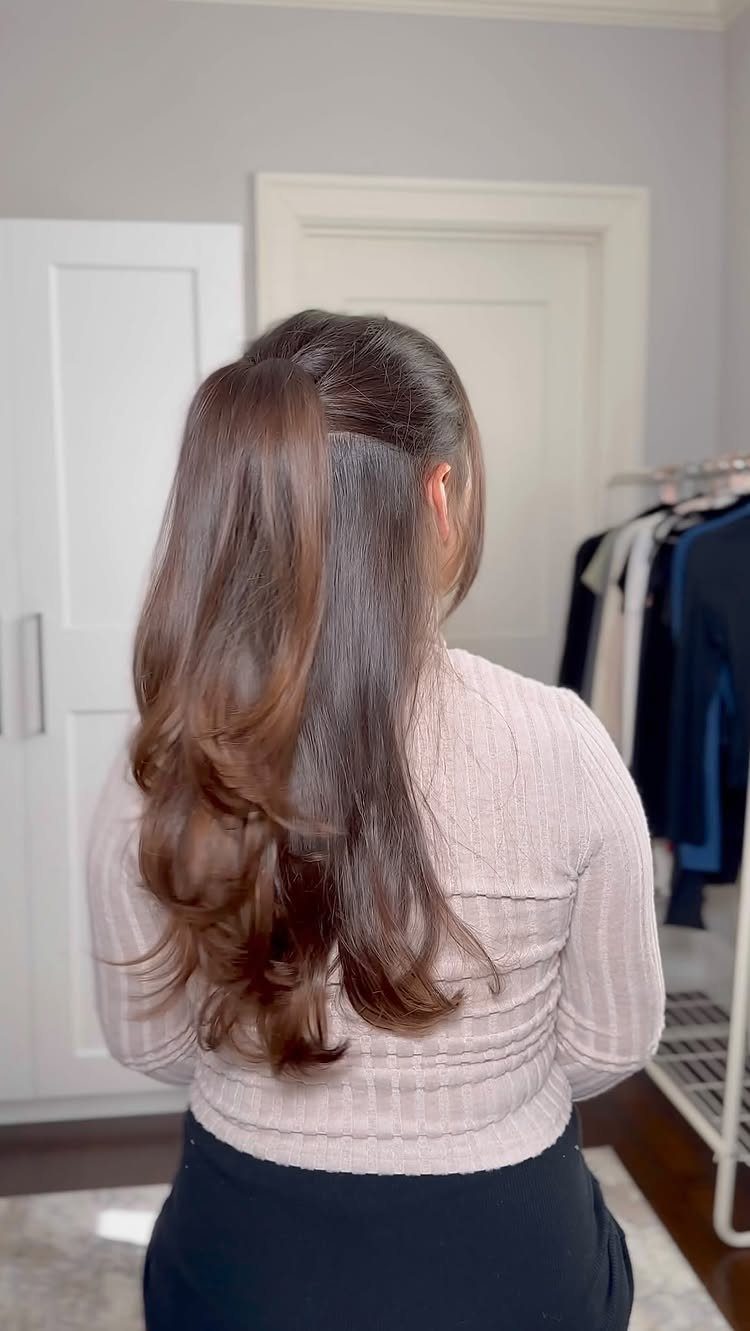
Gather the top section from temples to crown and secure it with a clip, elastic, or twist. The bottom stays loose, so curls, waves, or straight ends all show.
This works on any length past the shoulders and takes 30 seconds. Add a braid to the top section, tease for volume, or leave it smooth depending on the look you want.
The style keeps hair off your face without the commitment of a full updo, which makes it the default choice for casual days and first dates alike.
5. Sleek Ponytail
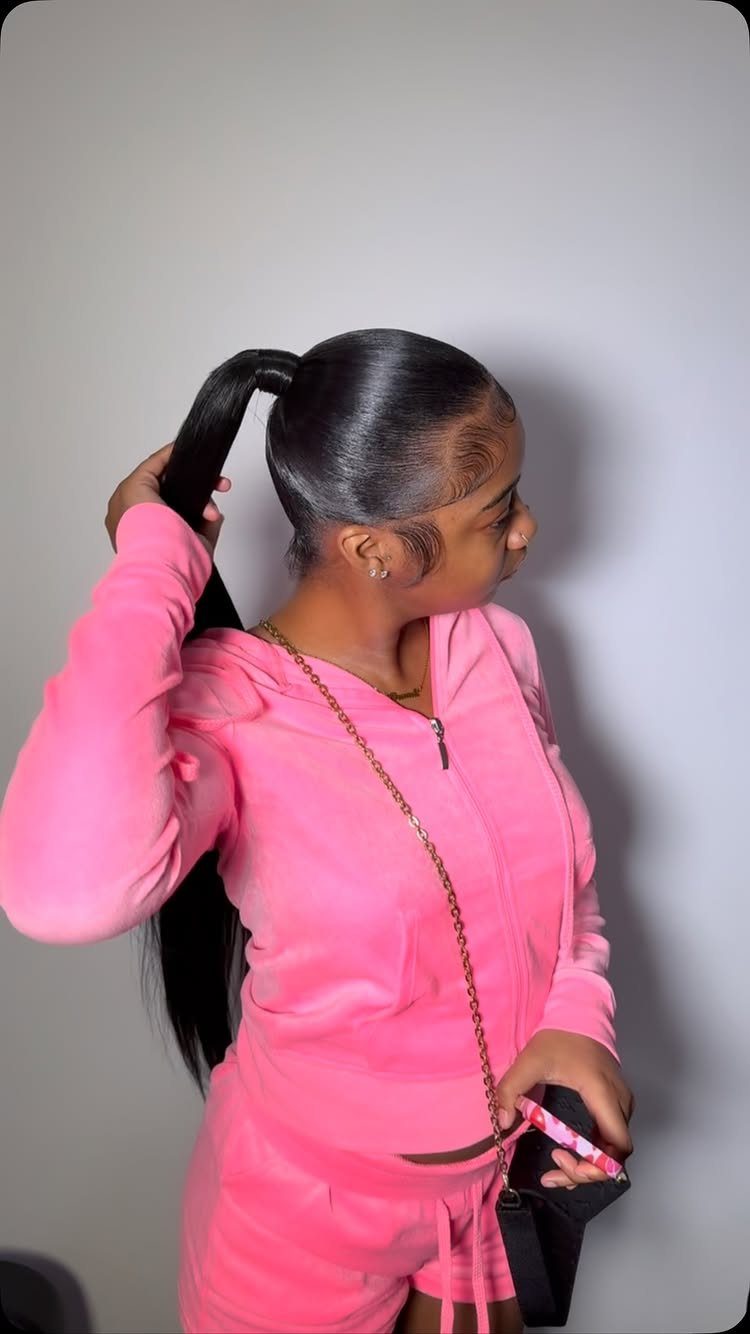
Gel or pomade smooths every strand back before you secure the ponytail, and the result sits tight against the scalp with no flyaways. The laid edges along the hairline finish the look.
Use a boar bristle brush to pull hair straight back, apply tension as you tie, and wrap a small section of hair around the elastic to cover it. Spray to lock it down.
This reads formal even when the setting is not. Works best on naturally straight or relaxed hair; curly textures require more product and time to get the same hold.
6. Space Buns
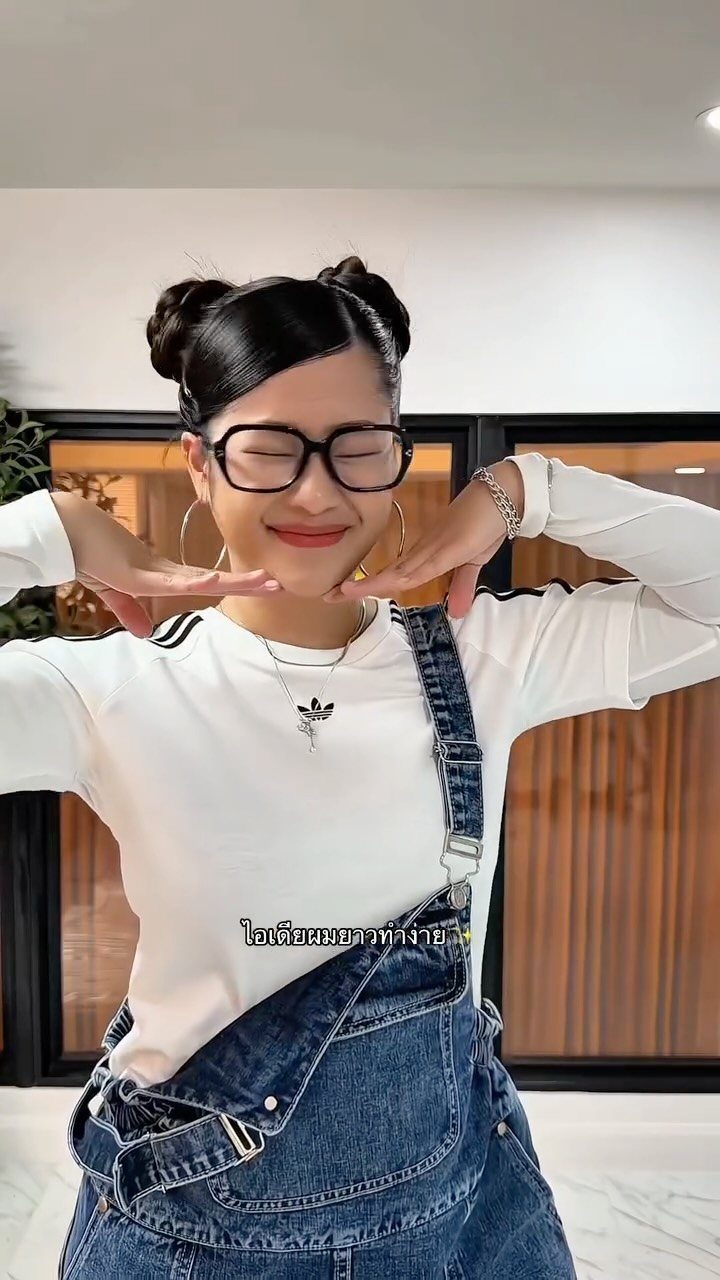
Part your hair down the middle, secure 2 high ponytails, then twist each one into a bun. The symmetry makes them recognizable from across a room.
Sit the buns high near the crown for the classic version, or drop them lower for something softer. Keep them tight and round or leave them loose and textured depending on how much time you have.
Short to medium hair works best. Long hair can make the buns too heavy, and fine hair may need teasing inside each bun to get the right volume.
7. Curly Updo
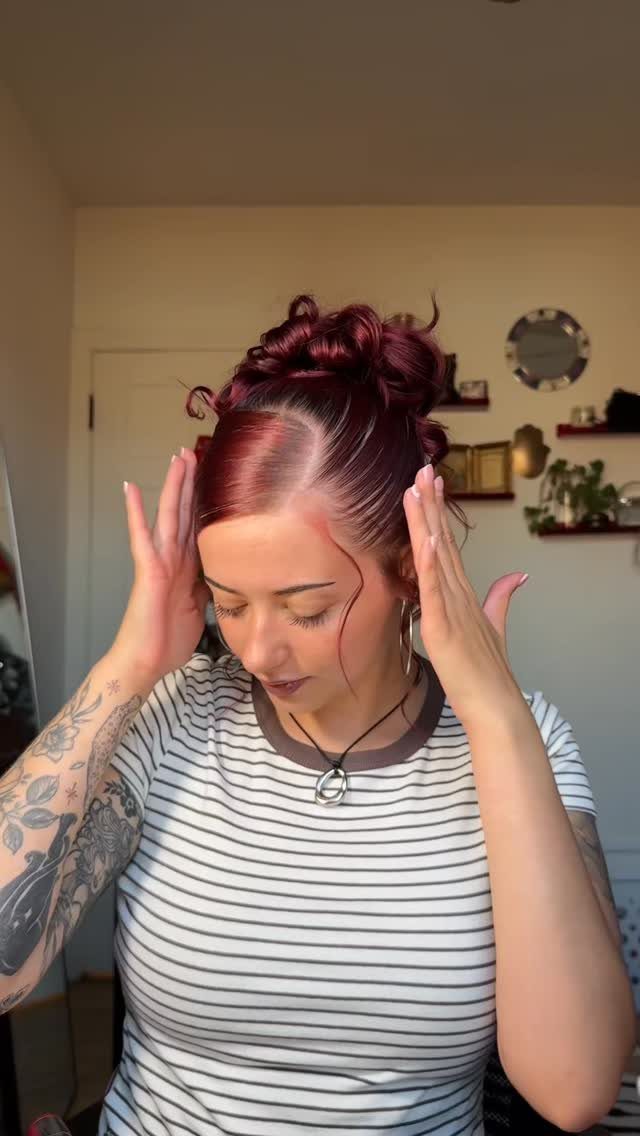
The curls gather loosely at the crown or nape, pinned to hold their shape without flattening the texture. Volume stays intact because you are securing sections, not brushing through them.
Work with curls as they set, either air-dried or from a curling iron.
Pin each section individually around the base, letting the ends spiral where they land. Leave a strand or two loose near your temples if you want.
Fine or medium curls hold better than thick, heavy spirals. Add a light hold spray before pinning if your curls tend to drop.
8. Twisted Bun
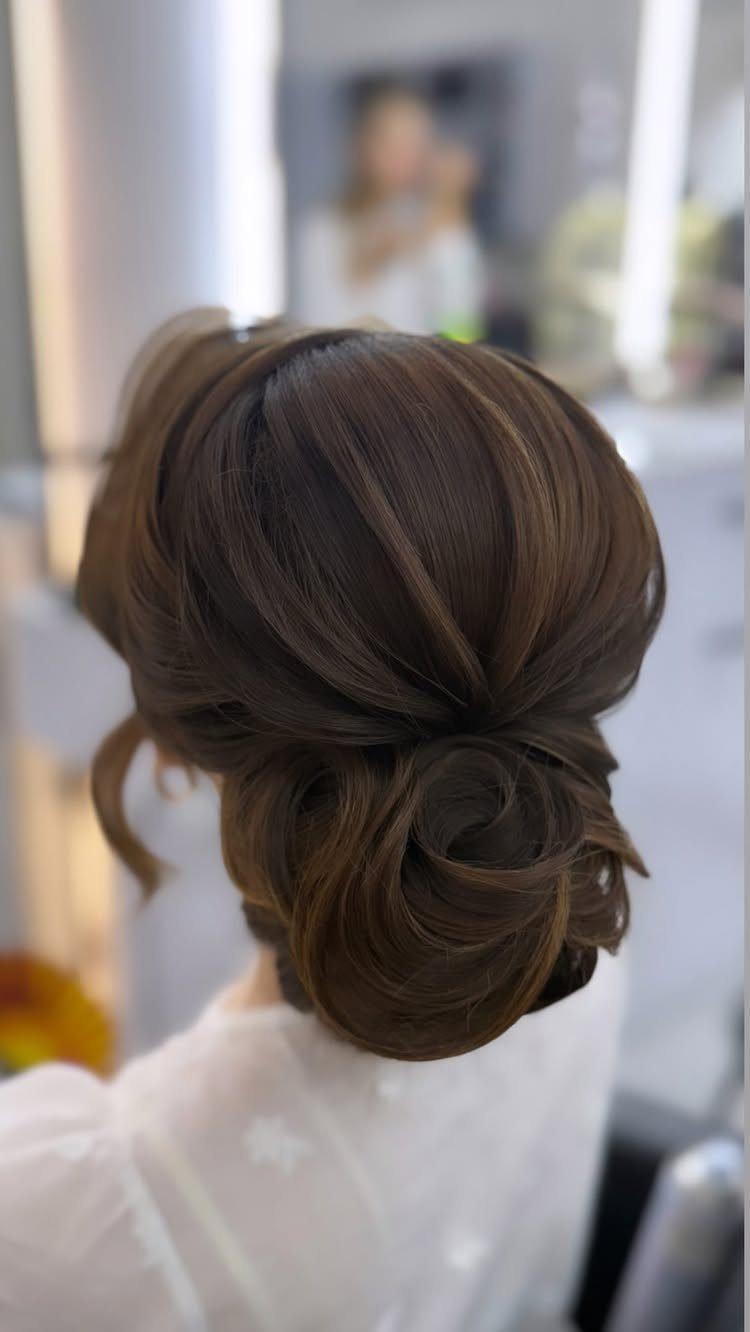
Sections of hair are twisted before being wrapped into the bun, which adds dimension and keeps the style from looking too plain. The twist catches light differently than a smooth roll.
Part your hair down the middle or to one side, twist each section loosely, then wrap and pin them together at the nape. Leave a few strands loose at the front if you want softness.
Works on straight and wavy textures. Curly hair will need more tension in the twist to show the pattern clearly.
9. Multiple Buns
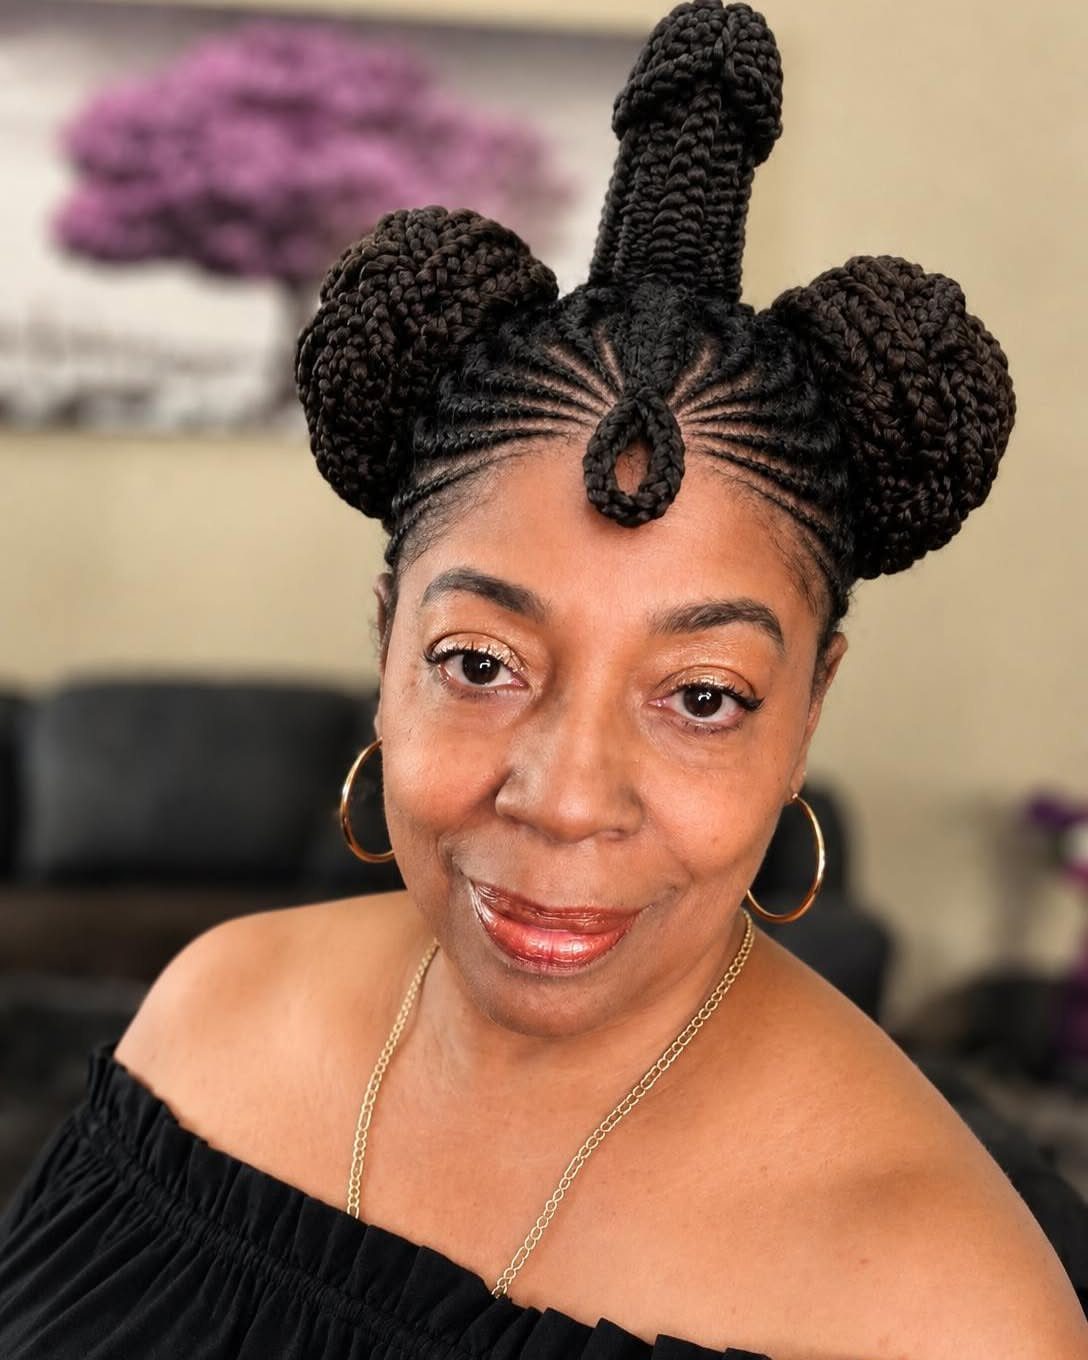
Instead of one bun, the hair is divided and pinned into several smaller ones arranged across the scalp. The layout creates structure and works well for formal settings.
Placement can run in a line down the center, cluster at the crown, or sit asymmetrically. Each bun can be smooth or textured depending on how much you manipulate the sections before pinning.
Long, thick hair gives the best volume.
Medium-length hair works if you tease each section first. Short hair will struggle to create distinct shapes.
10. Wavy Updo
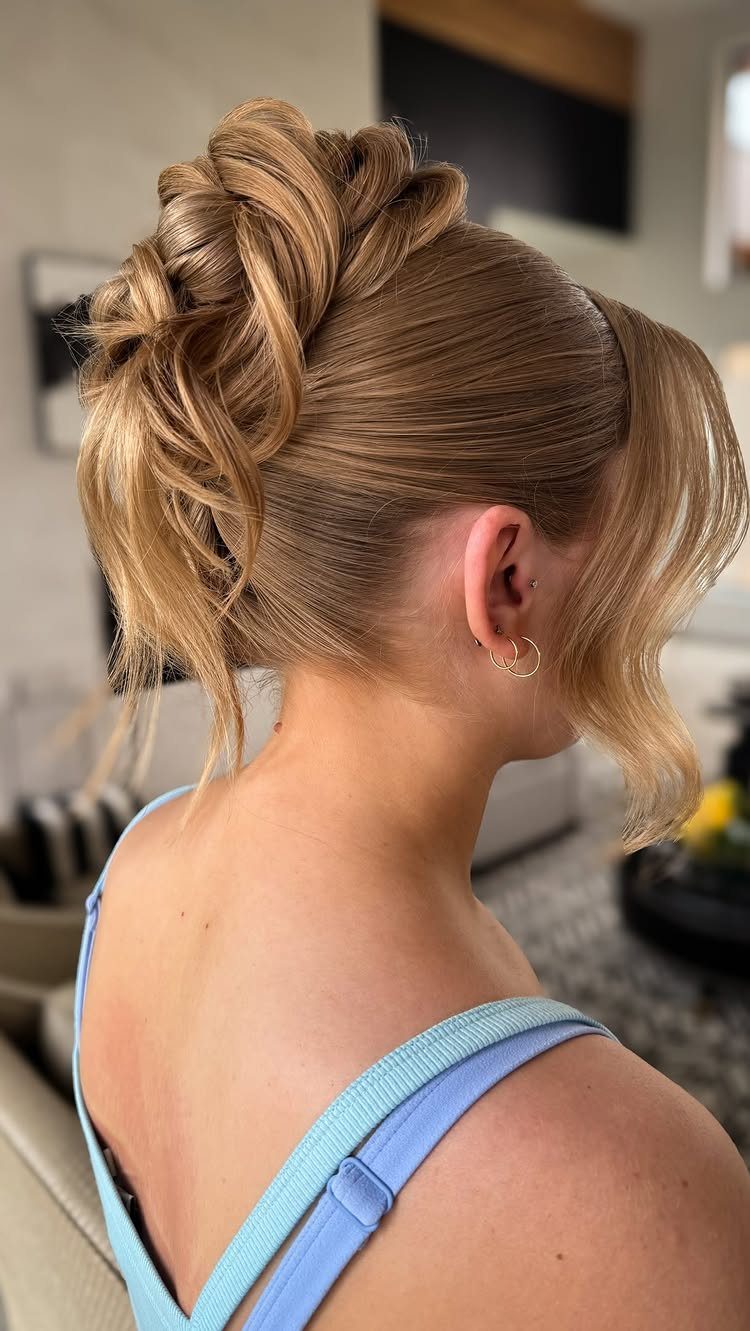
Loose waves are pinned up rather than left down, so you get the texture and movement without the length. The result sits somewhere between casual and formal.
Curl your hair first with a wand or iron, then gather sections and pin them into a loose roll or cluster at the back. Leave the front pieces wavy and free, or pin them back for more structure.
Medium to long hair works best. Fine hair may need backcombing at the roots to hold the volume once pinned.
11. Crown Braid
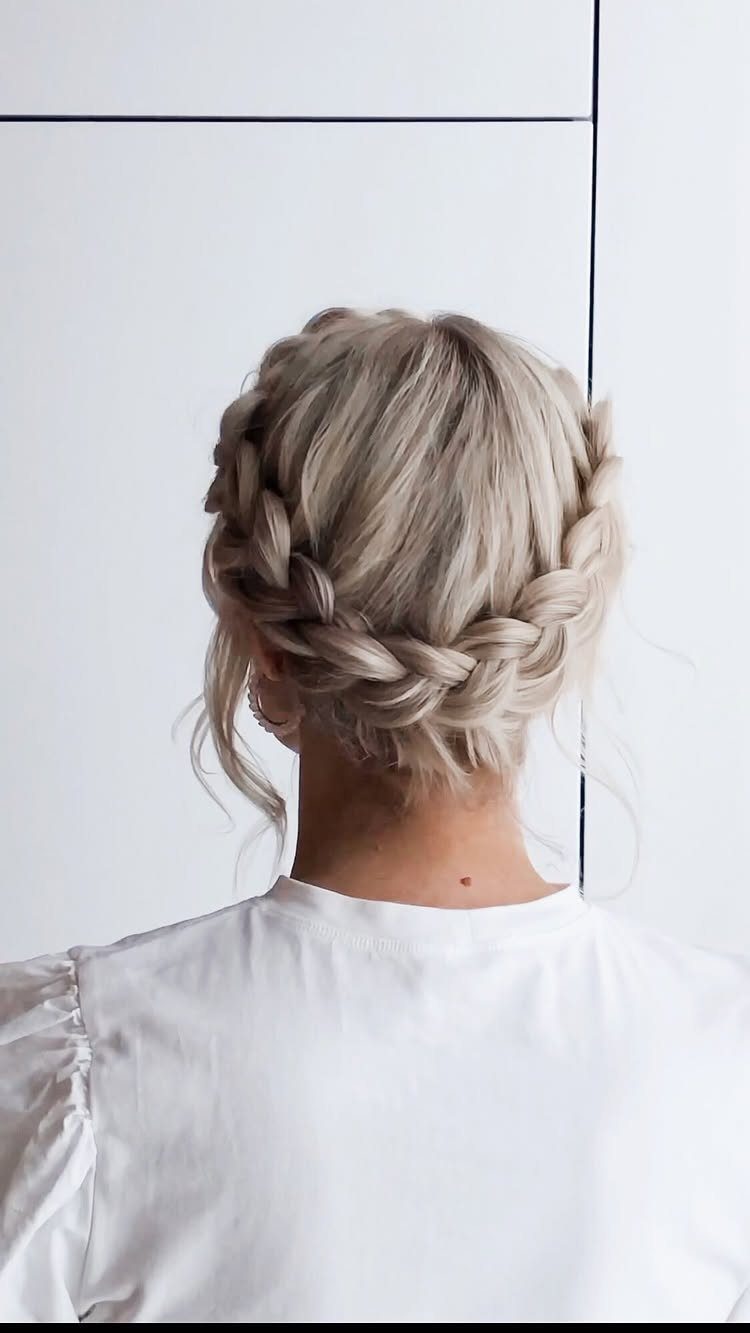
The braid wraps around the top of the head from ear to ear, sitting like a headband made from your own hair. The rest can stay down or be tucked into the braid for a full updo.
Start a Dutch or French braid at one temple, curve it over the crown, and end at the opposite ear.
Pin the tail under or let it hang. Tug the outer loops gently to widen it.
Long hair gives the cleanest result. Shorter layers may slip out halfway through, though pins and spray can hold them.
12. Slick-Back Bun
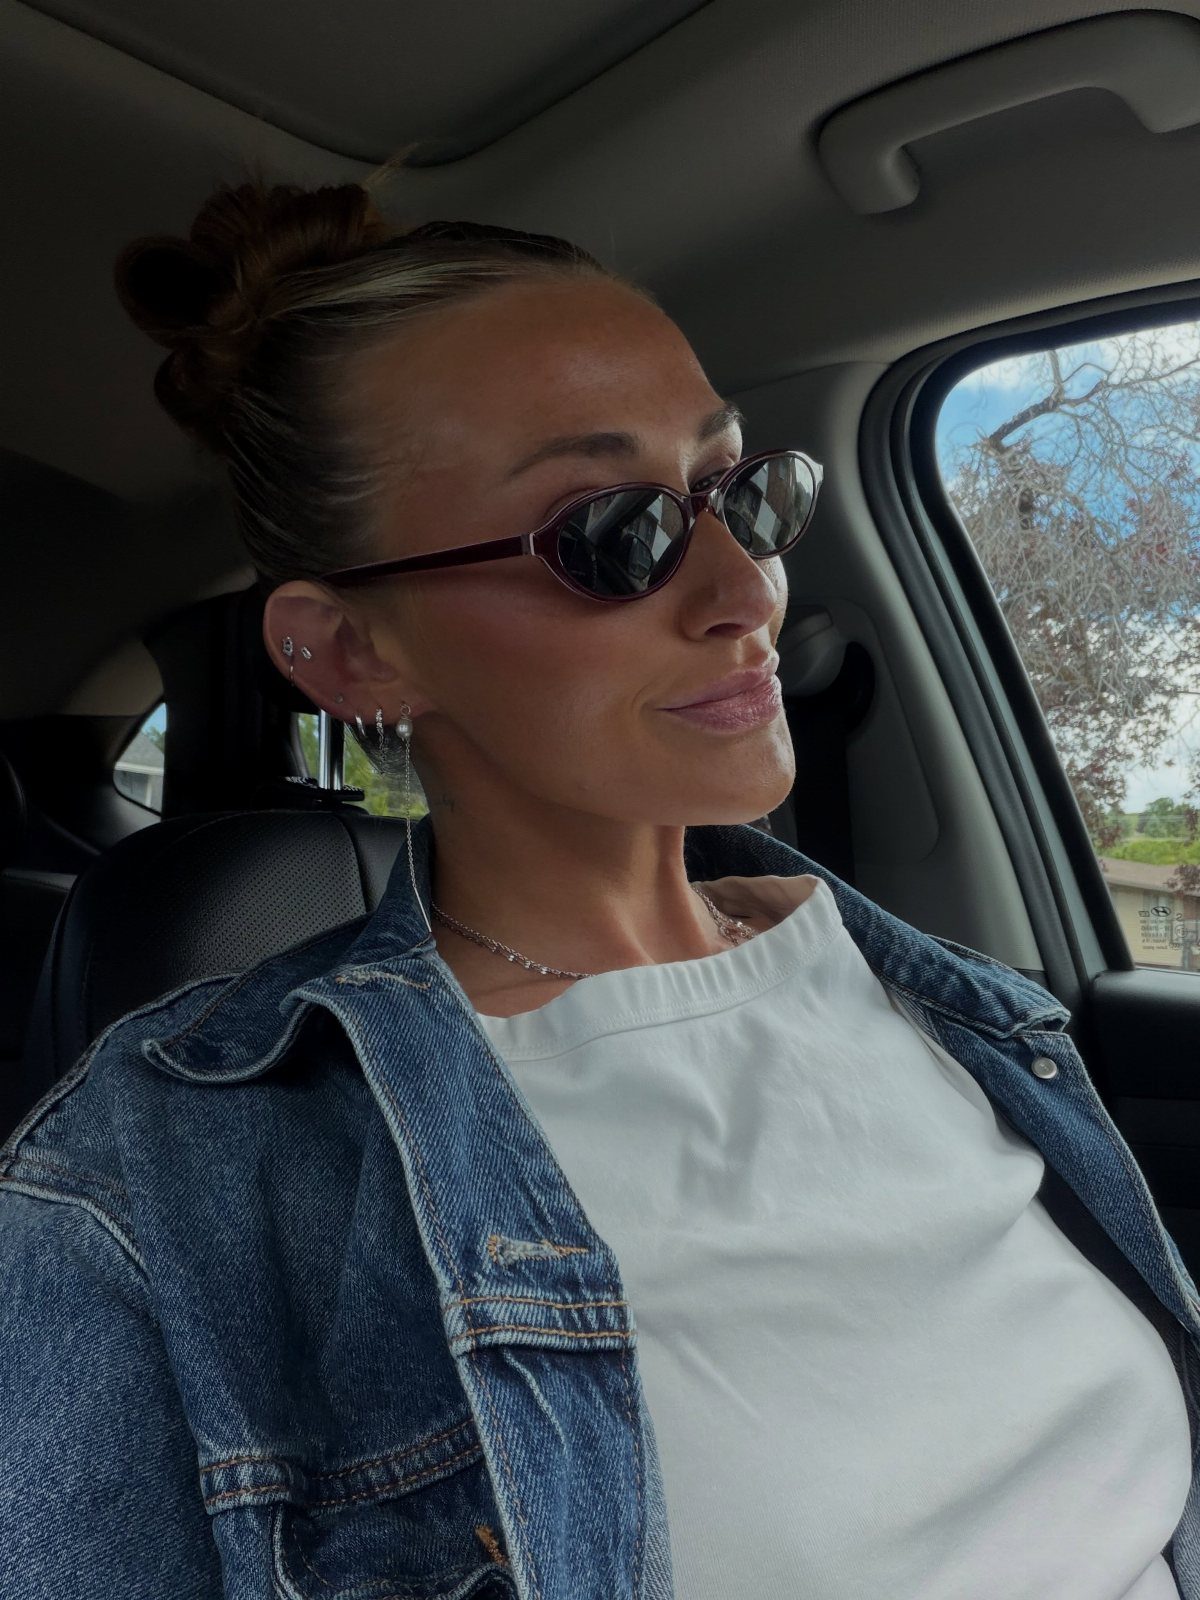
Every strand is brushed back tight and secured into a bun at the crown or nape, with no texture or flyaways. The finish is polished and deliberate.
Use gel or pomade on damp or dry hair, brush it straight back with tension, and tie it firmly. Twist the length into a coil and pin it flat against the head.
Straight or relaxed textures smooth fastest.
13. Ballerina Bun
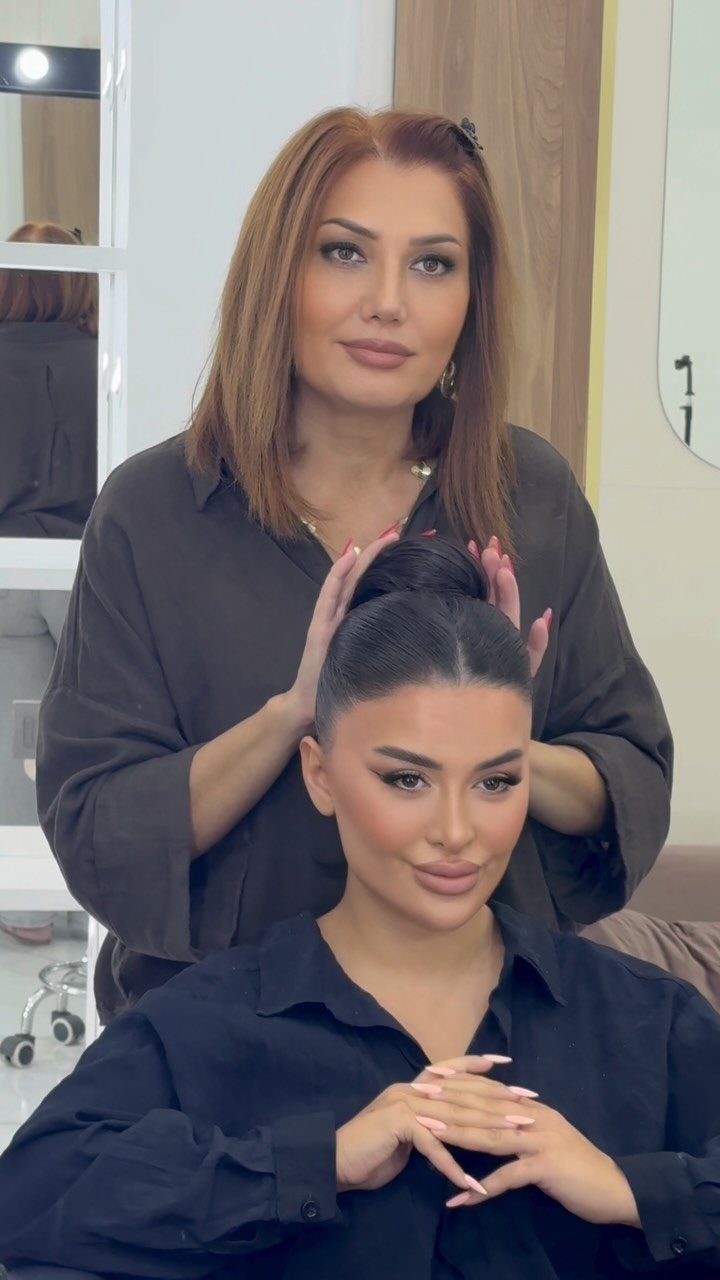
The bun sits high and centered, pulled smooth and pinned tight enough to hold through hours of wear. The shape stays round and compact, with no loose pieces or texture softening the line.
Brush your hair into a high ponytail with firm tension, twist the length into a coil, then wrap it around the base in a spiral.
Pin as you go, tucking the ends under, and smooth any bumps with gel or spray.
Best for formal events where the style needs to last. Curls need extra gel or cream to lie flat against the head.
14. Stitch Braid Pony
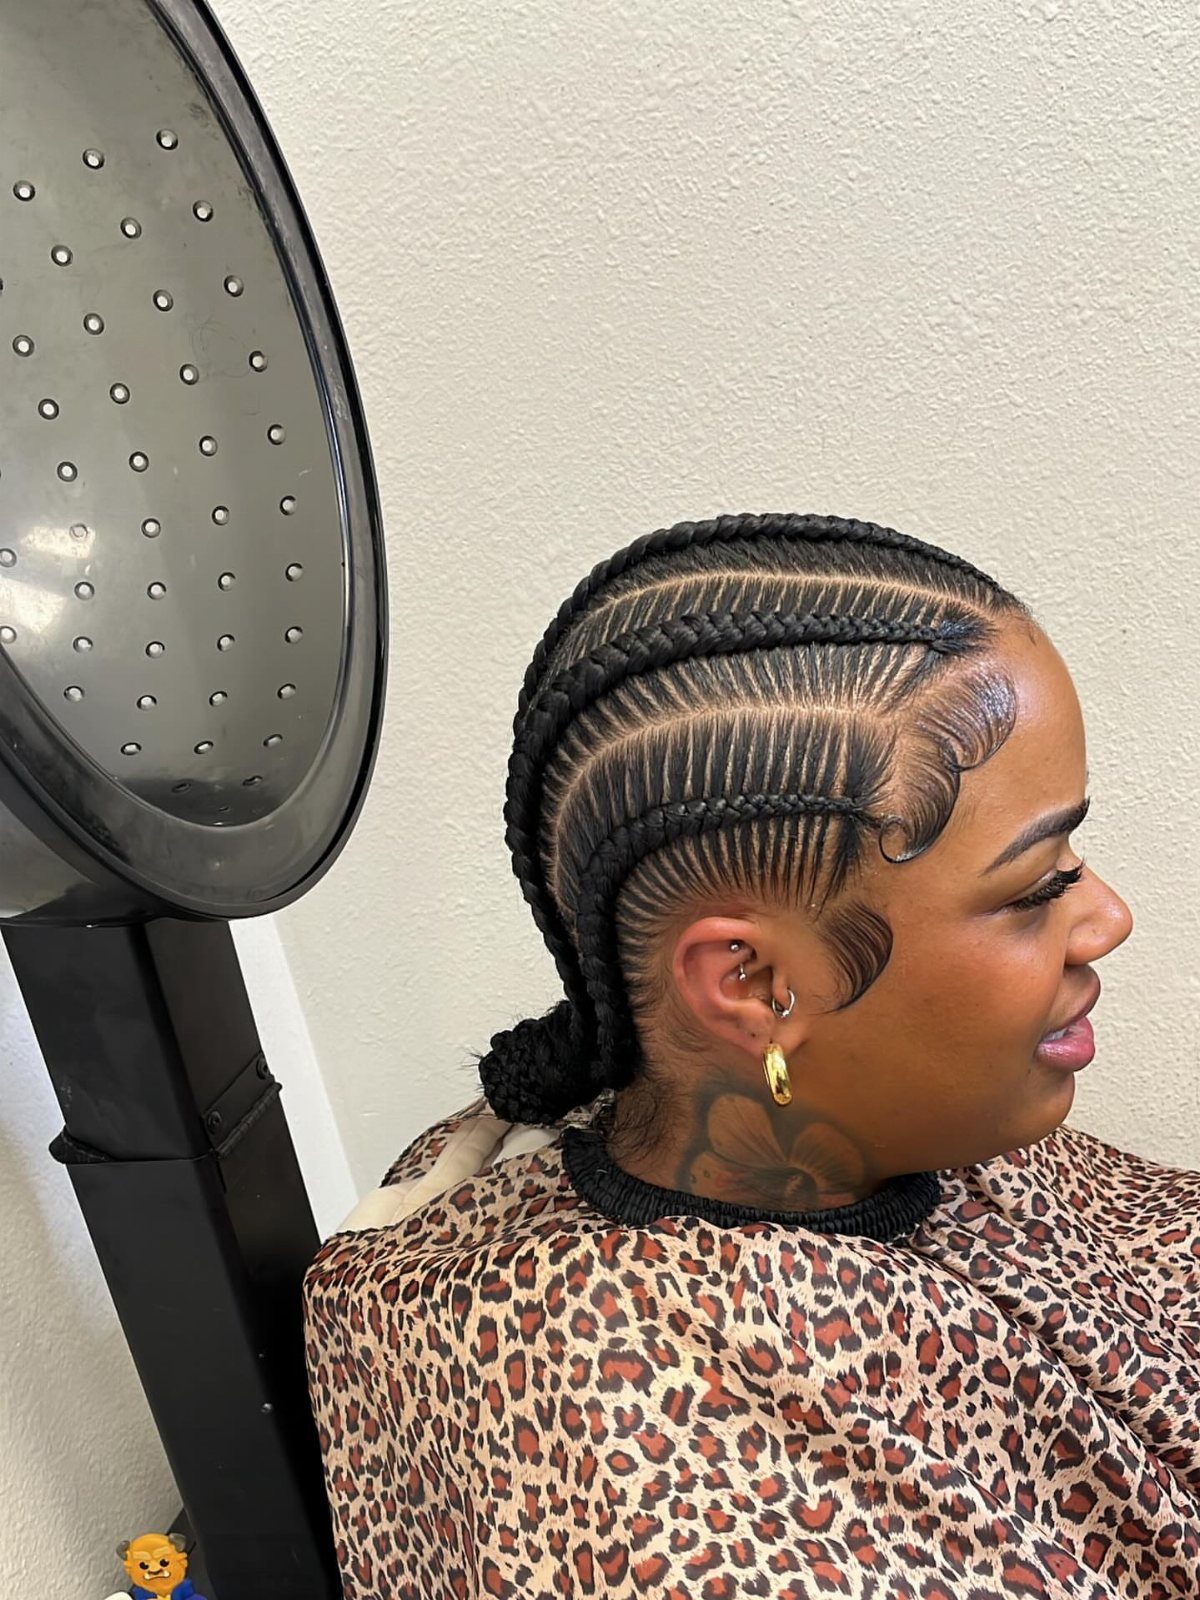
Stitch braids run back along the scalp in parallel lines, then gather at the nape into a ponytail or low bun. The pattern stays visible, and the length is controlled without heat.
The braids themselves take time, usually done at a salon, but once they are in, pulling them back takes seconds. The style holds for days, and you can switch between a ponytail, bun, or leaving the ends loose.
Works for medium to long braids. Wrap a section around the elastic to finish the base, or leave it plain if you prefer.
Preparing Hair for an Updo
Hair that is a little dirty grips pins far better than hair fresh out of the shower.
Freshly washed hair is slick and lets pins slide out, so I wash it the day before and let a little natural grip come back.
Top Whip from Goldwell is the mousse I reach for here, because the texture it leaves is still there the next morning.
If you washed that morning, detangle with a brush or wide-tooth comb first.
For extra height, a light backcomb at the crown does the job. Adding more volume is easy, but undoing too much backcombing is not.
Tools and All-day Hold
Gather bobby pins and elastics before you start. Clear elastics, or ones close to your hair color, blend into the style and stay out of sight.
Hairspray matters as much as the pins, and a texture-giving formula beats a stiff one.
Goldwell’s Perfect Hold is a strong option, and KMS Dry Wax comes out as a spray without leaving hair rigid, so you can still mold it.
Once the style is in, tug gently at a few different sections. Anything that shifts gets another pin.
Finish by spritzing the whole updo with hairspray, or use a shine mist. For long days, tuck spare pins and a mini hairspray into your bag for touch-ups.
Relaxed Updo Finish
Set the finished style with a spritz of hairspray, then decide how polished you want it. Simple, relaxed and a little messy usually looks better than overworked.
To get there, tug gently on the twists. This adds volume and softens the finish, so pull a little at a time, since loosening more is easy and tightening back up is not.
Frequently Asked Questions
What are the different types of updos?
Most updos fall into 4 families: buns, ponytails, braids, and pinned-up curls or waves.
Buns run from a loose messy bun to a ballerina bun pulled smooth and pinned tight, and ponytails range from a gel-slicked version to a bubble ponytail with sections puffed out between elastics.
A crown braid also counts as a braided updo: one braid loops across the top of the head like a halo, running from one ear to the other.
Smooth and tight reads formal, while loose and textured reads casual, so the finish changes the occasion more than the shape does.
What are easy hairstyles for long hair that I can do myself step-by-step?
A messy bun is the easiest place to start, and it takes about 90 seconds.
Second-day hair grips best, and dry shampoo gives clean hair the same texture; gather a high ponytail, wind it loosely around its base, and push pins in wherever the hair holds.
A half-up style (30 seconds) and a braided ponytail are also simple for long hair.
What tools do I need for an updo?
Bobby pins, elastics, and hairspray cover the basics. Choose elastics that are clear or close to your shade, and they disappear under the wrap.
A texture-giving hairspray holds better than a stiff one because you can still mold the style. After pinning, tug a few sections gently and add a pin anywhere that shifts.